
One of the most requested features for the BuddyBoss App has been enhanced customization options for the header and navigation menus.
Previously, the Tab Bar could support only four menu items, with additional items contained in the More Menu. This has now changed with the introduction of the new App Navigation Header.
Key Features of the App Navigation Header
- Customizable Action Buttons: The top header now includes two customizable action buttons.
- Relocatable More Menu: The More Menu button can be moved to the top header, allowing an additional menu item on the Tab Bar.
- Replaceable Icons: Icons on action buttons, such as Create Post or Add New Group, can now be replaced for better customization.
Customize the App Navigation Header
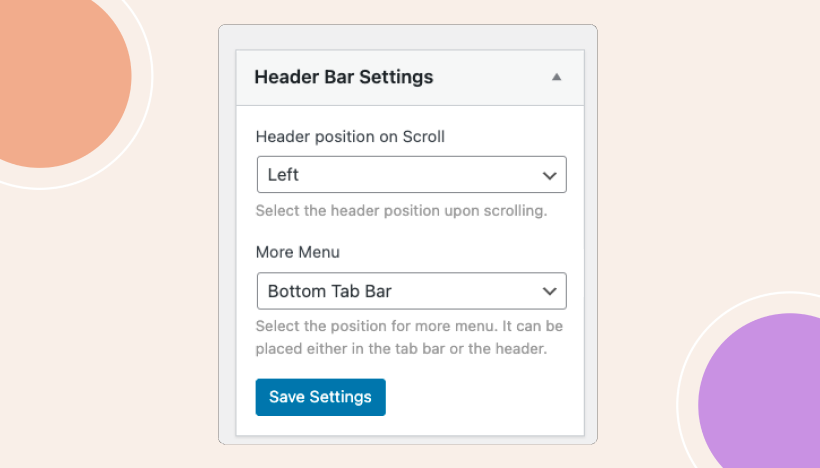
1. Access Header Bar Settings
From your WordPress backend:
- Navigate to BuddyBoss > Menus > Header Bar.
- In the Header Bar Settings section, choose where you want the page header to display when users are scrolling: LEFT aligned or HIDDEN.
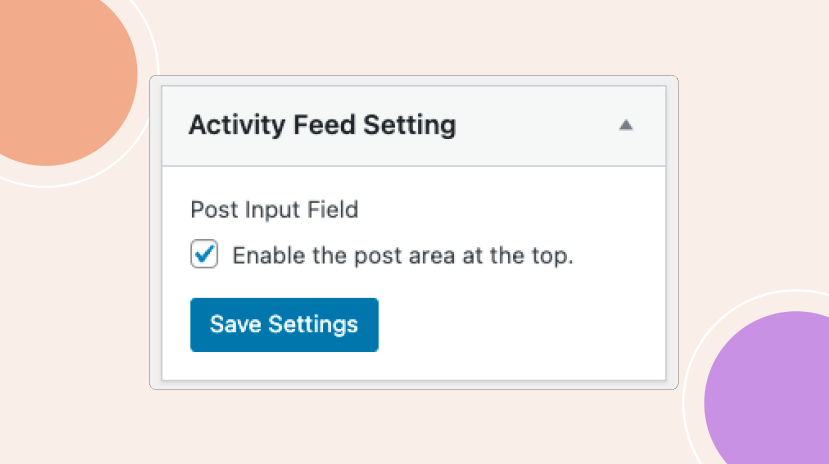
2. Configure the Activity Feed Setting
Enable the Post area at the top of the activity feed, which encourages users to easily share updates directly into the activity feed or group feeds.
This feature is similar to the “What’s on your mind?” input box found on other social media platforms, making it simple and intuitive for users to engage with the community.
3. Configure the More Menu
You have the option to decide the placement of the More Menu:
- Tab Bar: This leaves you with four menu items.
- Header Bar: This frees up an additional menu item on the Tab Bar.
Once configured, click Save Settings.
4. Update Your Menu Structure
Example Configuration:
- Menu Title: Keep it on the left.
- More Menu: Move it to the Top Header. Note that the More Menu will always appear in the last position when placed in the header bar.
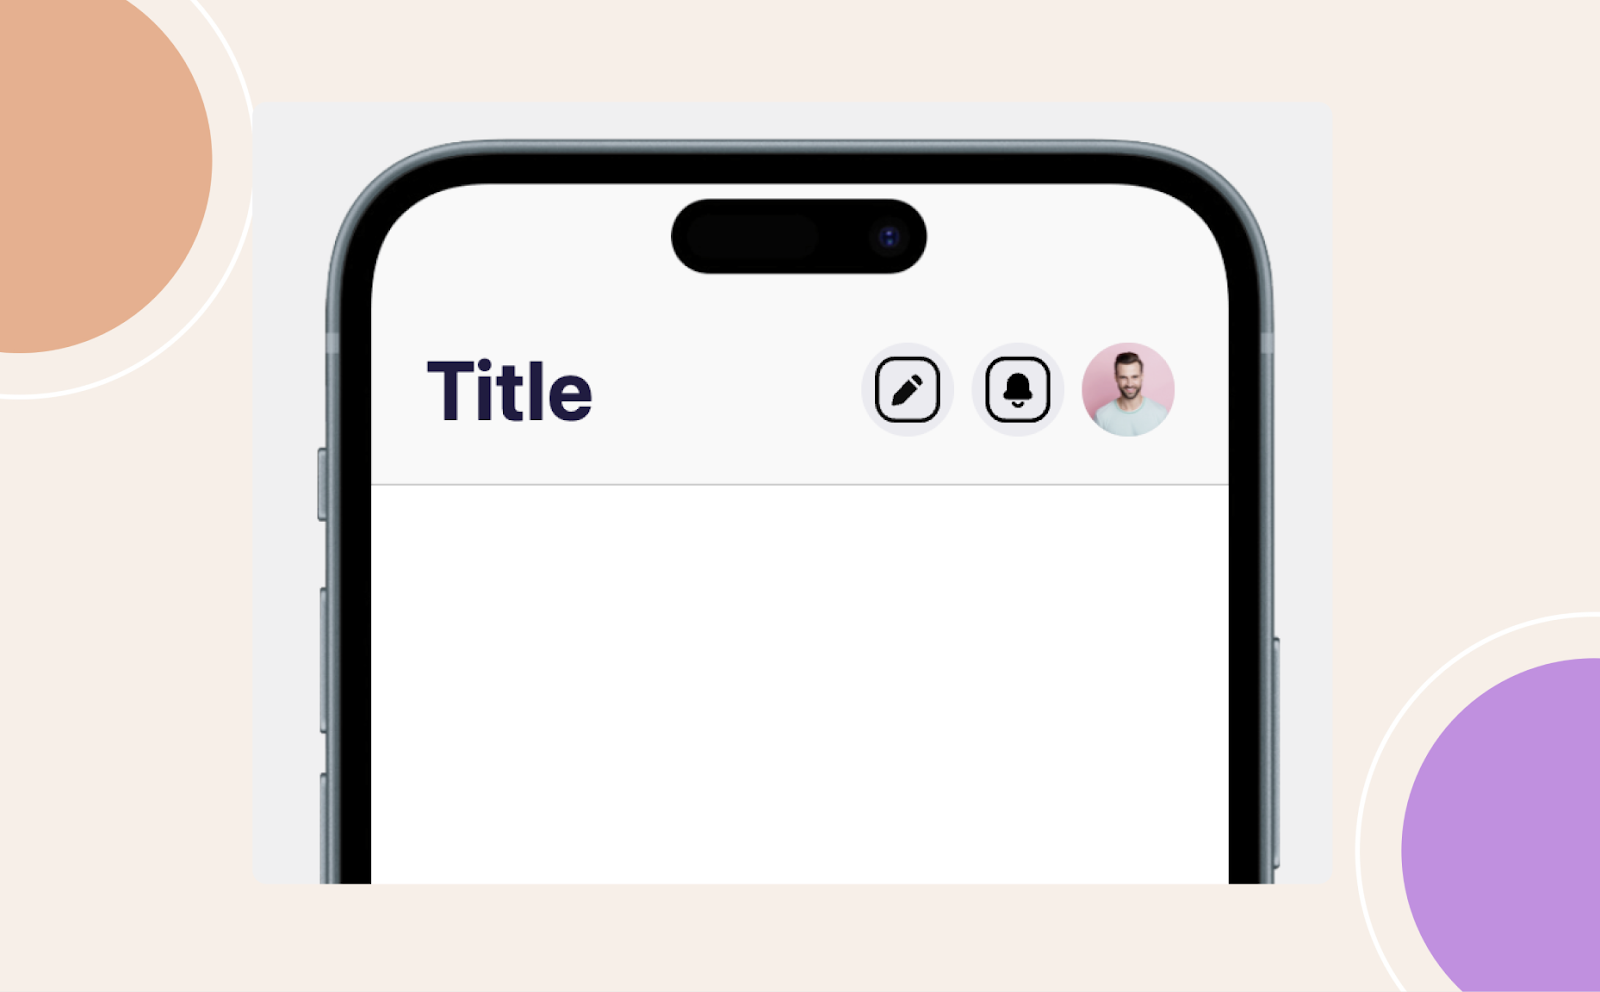
Currently, the header menu will include:
- More Menu: By default, this uses the user’s avatar, which can be changed by clicking into the menu item.
- Action Button: This button appears on screens with specific actions (e.g., Create New Post, Add New Group, Send New Message). Customize the icons to match your brand or add flair.
You can also add a third menu item to the app. For example:
- Notifications: Move this from the Tab Bar to the header, freeing up space on the Tab Bar.
After making these changes, click Save Settings.
5. Update the Tab Bar
With the More Menu moved to the Header Bar, you can add another item to the Tab Bar.
Remember to click Save Settings after all changes.
Summary
This new customization feature allows for a more flexible and personalized navigation experience in the BuddyBoss App. You can now manage your menu items more efficiently, enhance the visual appeal of your app, and ensure better brand consistency.
For detailed customization, follow the steps provided and take advantage of the new options available in the BuddyBoss App.