
One of the most beneficial WordPress plugins available is Bit Integrations. This versatile tool connects different platforms, enabling you to send any WordPress form submissions to one or more third-party applications seamlessly.
Bit Integrations supports a wide range of third-party services for popular WordPress tools such as Forms Builder, WooCommerce, Learning Management Systems (LMS), and Membership plugins. With Bit Integrations, you can link your forms, WooCommerce, LMS, and membership systems to over 140 different third-party platforms. Additionally, it offers Webhook support for even greater flexibility.
Some of the notable integrations include Zoho, Mailchimp, Telegram, WooCommerce, Google Sheets, WhatsApp, various LMS, CRM systems, and email marketing tools. Bit Integrations ensures a smooth connection between your WordPress setup and these platforms, enhancing functionality and streamlining workflows.
Installing the Plugin
- Download the FREE Bit Integrations from the link below:
https://wordpress.org/plugins/bit-integrations/#1.%20what%20is%20bit%20integrations%3F
Optionally, buy and download the Pro version –
https://bitapps.pro/bit-integrations/#pricing
- Extract the downloaded zip file to the WordPress plugins folder yourhostname/wordpress/wp-content/plugins
OR
Go to your WordPress Dashboard > Plugins > Add New. Click the Upload Plugin button. Browse to the download file location, select Bit Integrations & install the plugin. - Click the Activate Plugin button to activate the Bit Integrations plugin on your website. OR
To activate the plugin on your website site go to WordPress Dashboard > Plugins and click the Activate button for Bit Integrations.
Setting Up the Plugin
- From your WordPress dashboard > Bit Integrations > Create Integration.

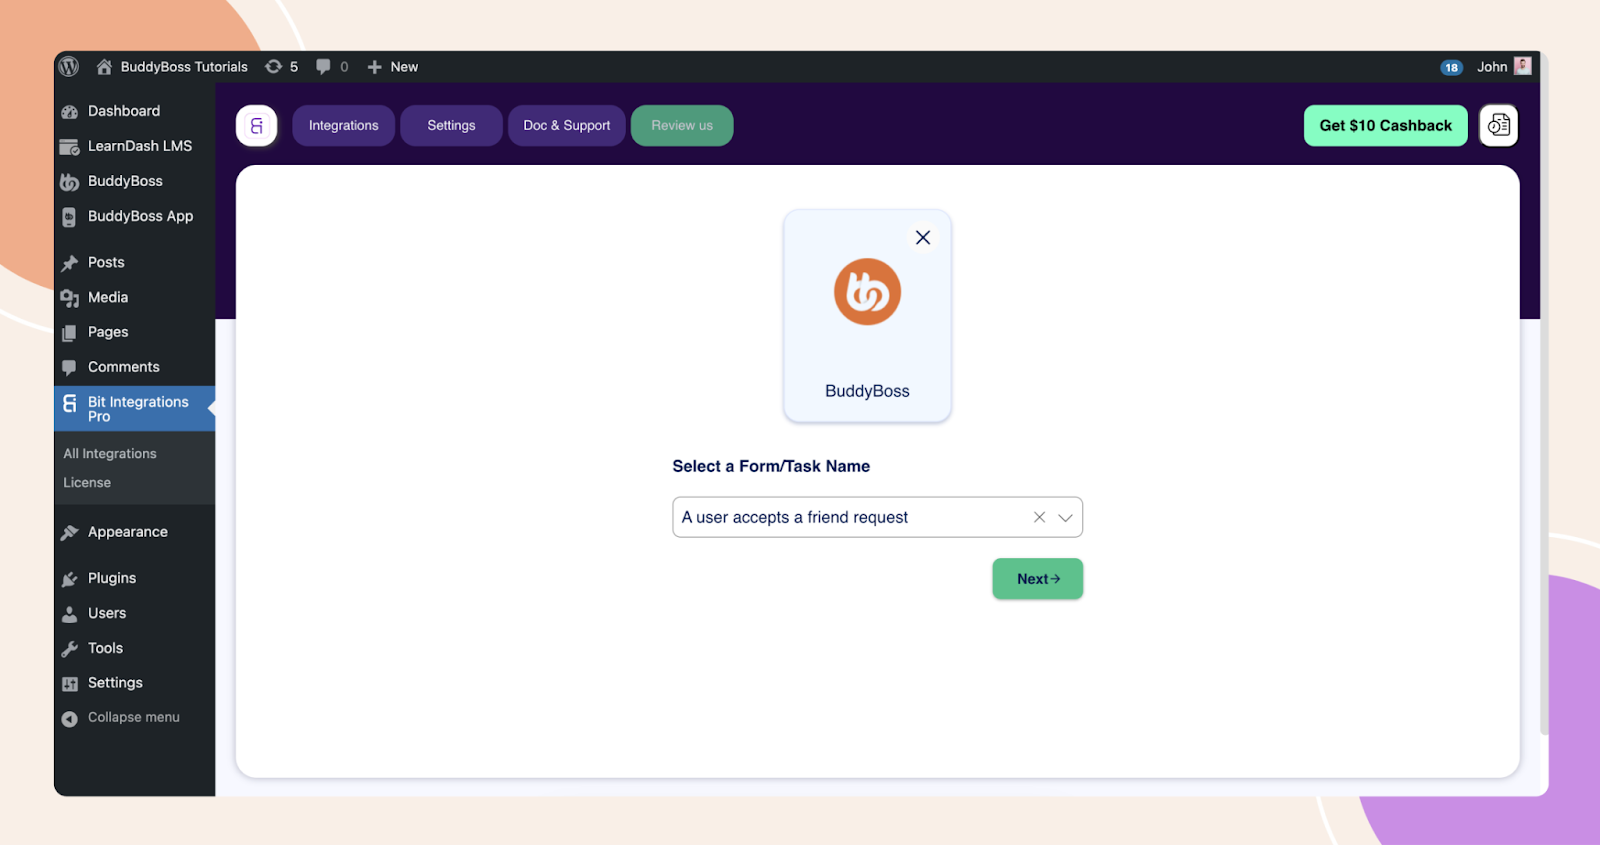
- Select Buddyboss as the Trigger.

- Select the “Form or Task” you wish to connect with Bit Integrations from the provided dropdown menu. For Example: “A user accepts a friend request” then click on “Next“.
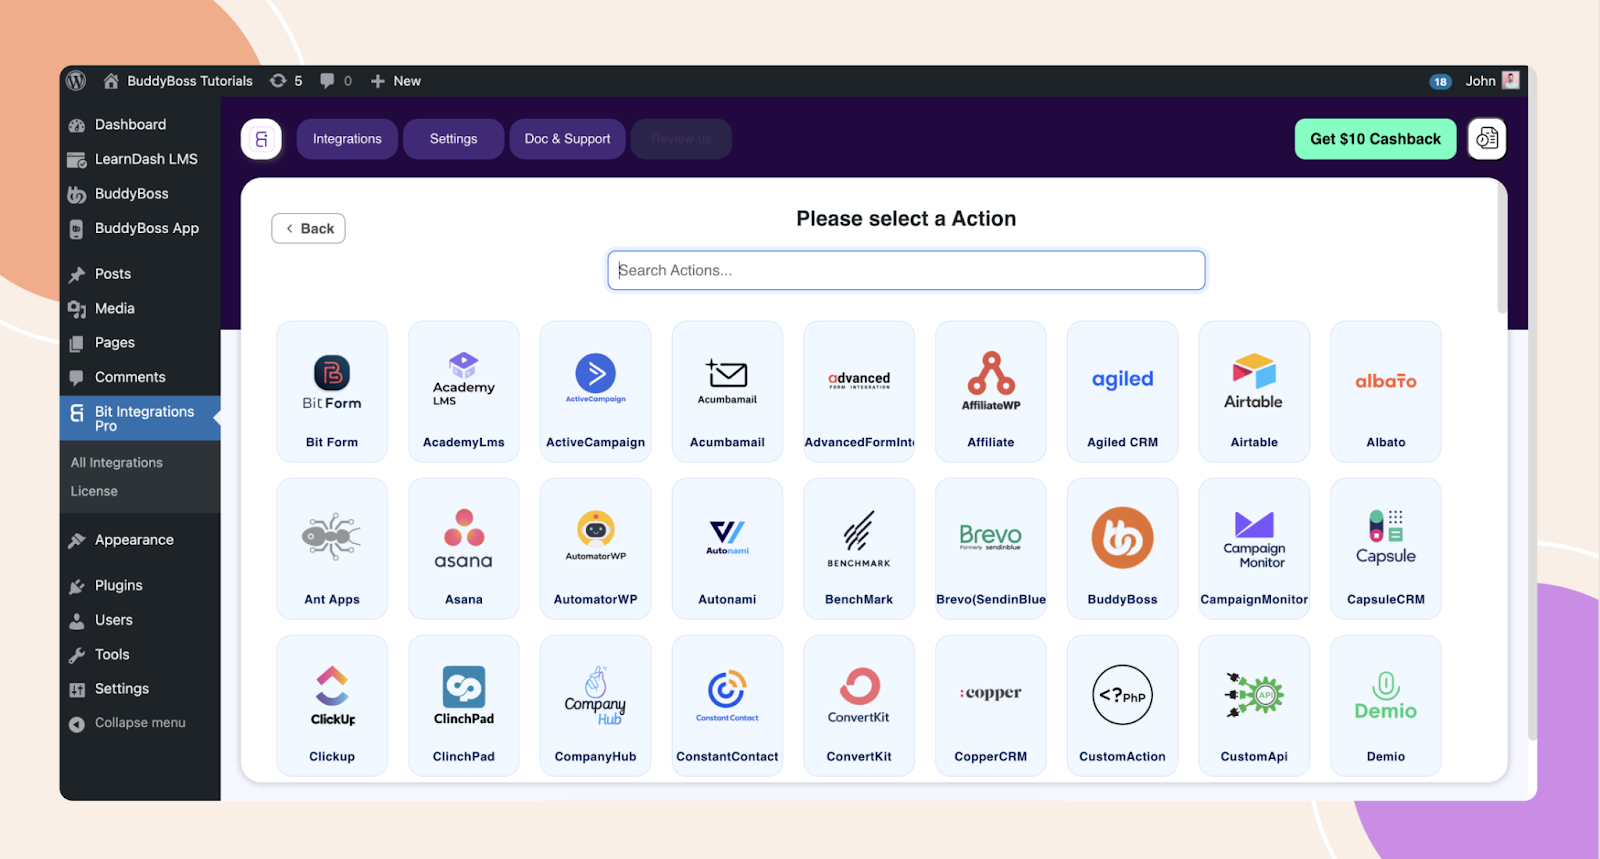
- Lastly, select an Action you want to integrate with your selected Trigger. Then, you have to authorize the Action.
For further setup and usage tutorials, refer to the official documentation of Bit Integrations.
Other plugins from Bit Apps