Groundhogg is a freemium marketing automation WordPress plugin. Groundhogg is the only open source Marketing Automation tool of its kind, built for power WordPress users. The plugin is the perfect solution for capturing leads, profiling subscribers, automating the customer journey. sending personalized emails and text messages, collecting unlimited customer data, increasing membership retention, improving e-commerce sales, and so much more.
The plugin does not impose a limit on the number of emails you send and the number of contacts you can have. The plugin can be integrated with the popular WordPress plugins with minimal setup. It offers unlimited custom fields so you can collect data about your customers to help you make crucial decisions about your business. The plugin also features a drag-and-drop email builder and an automated funnel builder. Groundhogg lets you import & export EVERYTHING – emails,funnels, contacts, settings, EVERYTHING! Groundhogg makes sharing strategies with customers or clients a breeze as it lets you push your funnels from one site to another.
The FREE plugin features include:
- Send emails
- Create funnels
- Complete CRM
- Send broadcasts
- Top tier reporting
- Lead source tracking
- CASL/GDPR compliant
- REST API
The PRO version features the following premium add-ons and includes:
- Integrations with 25+ WordPress plugins and services.
- 15+ extensions to improve Groundhogg and add additional features
- Premium technical support
Installing the plugin
To install the Groundhogg plugin:
- Download the Groundhogg plugin from the link below
https://wordpress.org/plugins/groundhogg/ - Extract the downloaded groundhogg.zip file to the WordPress plugins folder yourhostname/wordpress/wp-content/plugins OR
Go to your WordPress Dashboard > Plugins > Add New. Click the Upload Plugin button. Browse to the download file location, select the groundhogg.zip & install the plugin. - Click the Activate Plugin button to activate the Groundhogg plugin on your website. OR
To activate the plugin on your website site go to WordPress Dashboard > Plugins and then click the Activate button for Groundhogg.
Setting up the plugin
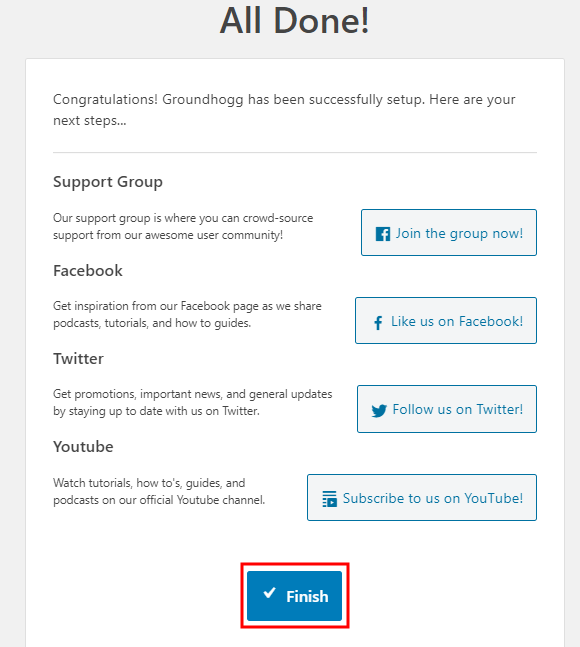
To set up the plugin, click the Start Guided Setup button, follow the instructions and then click the Finish button to complete the setup.


Creating a new funnel
Funnels can turn cold traffic into revenue generating leads. To create a new funnel in Groundhogg:
- Go to WordPress Dashboard > Groundhogg > Funnels and click the Add New button.
- Click the Start Building button for using one of the funnel templates. For example, click the Start Building button for New Subscriber Welcome funnel.
- Enter a title for the funnel.
- Drag-and-drop the steps to reorder the flow of the emails and triggers in the funnel.
- Edit the email content and the settings as preferred. You can optionally add tags to funnel.
- Click the Status toggle bar to Activate the funnel
- Click the Save button to publish the funnel.

For further setup and usage tutorials, refer to the official documentation of Groundhogg.
