
The Two Factor Plugin authentication works with the BuddyBoss Classic and Next Gen App,, providing an additional layer of security when members log in. When two-factor authentication is enabled for a WordPress user, the BuddyBoss App requires an additional authentication code before completing the login.
The Two-Factor plugin and its configuration settings are provided by WordPress.org.
Install and Activate the Two-Factor Plugin
Before configuring Two Factor Plugin, install and activate the Two Factor Plugin on your WordPress website.
Configure the Two-Factor Settings
After activating the Two Factor Plugin, you can choose which authentication methods are available on your website.
- In your WordPress Dashboard, navigate to Settings > Two-Factor.
- Under Enabled Providers, select the authentication methods you want to make available.
- The available providers include:
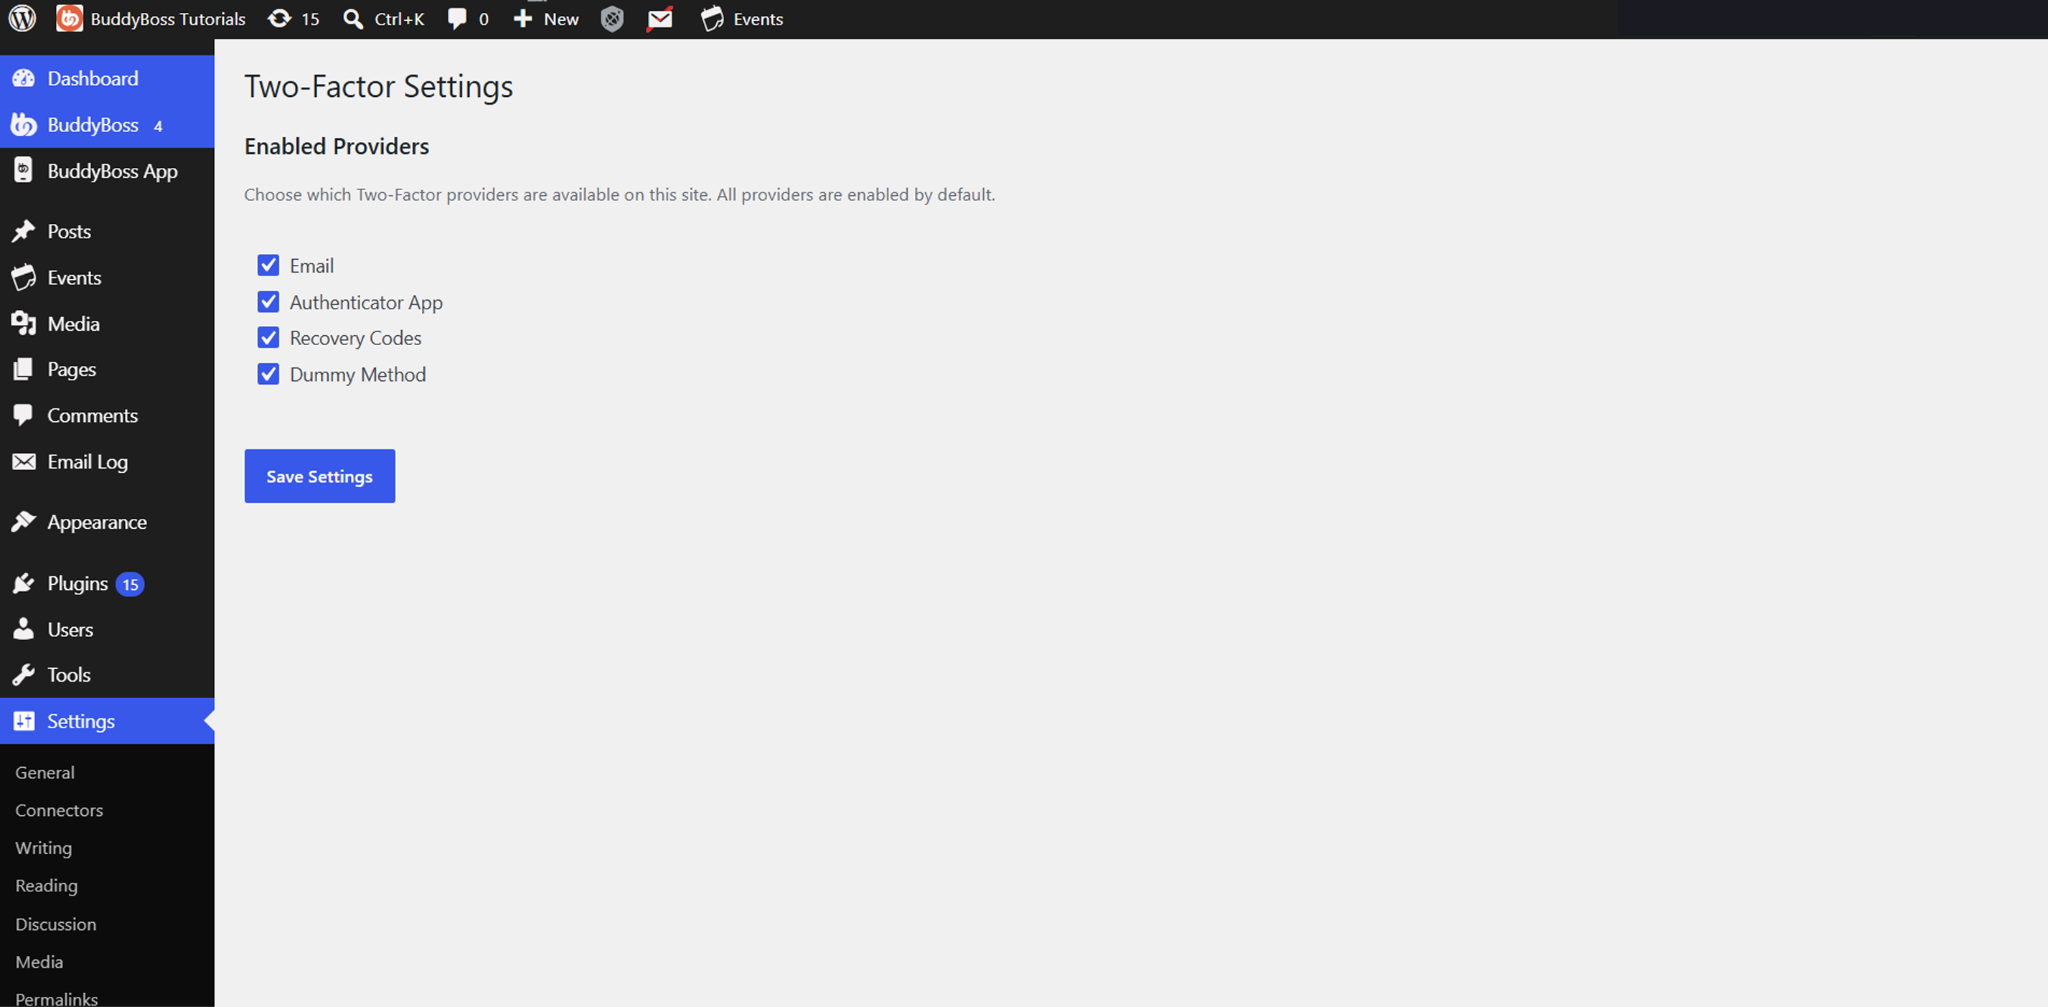
- Authenticator App – Uses a rotating authentication code generated by a TOTP-compatible app such as Google Authenticator, Microsoft Authenticator, Authy, or 1Password. This is the recommended authentication method.
- Recovery Codes – Uses one of the one-time recovery codes generated for the account. Members should keep these codes in a secure location in case they lose access to their primary authentication method.
- Email – Sends an authentication code to the email address associated with the user’s account.
- Dummy Method – Provides a test authentication method.
- Click Save Settings.
Note: These settings are provided by the Two-Factor plugin and are not BuddyBoss-specific settings.
Enable Two-Factor Authentication for a User
Two-factor authentication is enabled individually from each user’s WordPress profile.
- In your WordPress Dashboard, navigate to Users.
- Select the user for whom you want to enable two-factor authentication, and click Edit.
- Locate the Two-Factor Options in the user’s profile.
- Enable the Authenticator App option.
- Scan the provided QR code using an authenticator app on your mobile device, such as Google Authenticator or 1Password.
- Complete the authenticator setup.
- Click Update Profile to save the changes.
Note: Administrators can configure two-factor authentication from a user’s WordPress profile. If a non-admin user is permitted to access their own WordPress profile in the website backend, they can configure and enable their own authentication method in the website’s backend > user > your profile. The option to configure two-factor authentication from the website front end is not currently available.
Two-factor authentication is opt-in per user. There is no site-wide setting that requires all members to enable it. Each user must set up 2FA for their own account because the account holder needs to scan the authenticator QR code and confirm the authentication code from their own device.
How Two-Factor Authentication works in BuddyBoss App
After two-factor authentication is enabled for the user’s account:
- Open the BuddyBoss App.
- Enter the user’s regular login credentials.
- Continue with the login.
- The app prompts the user to provide an additional authentication code.
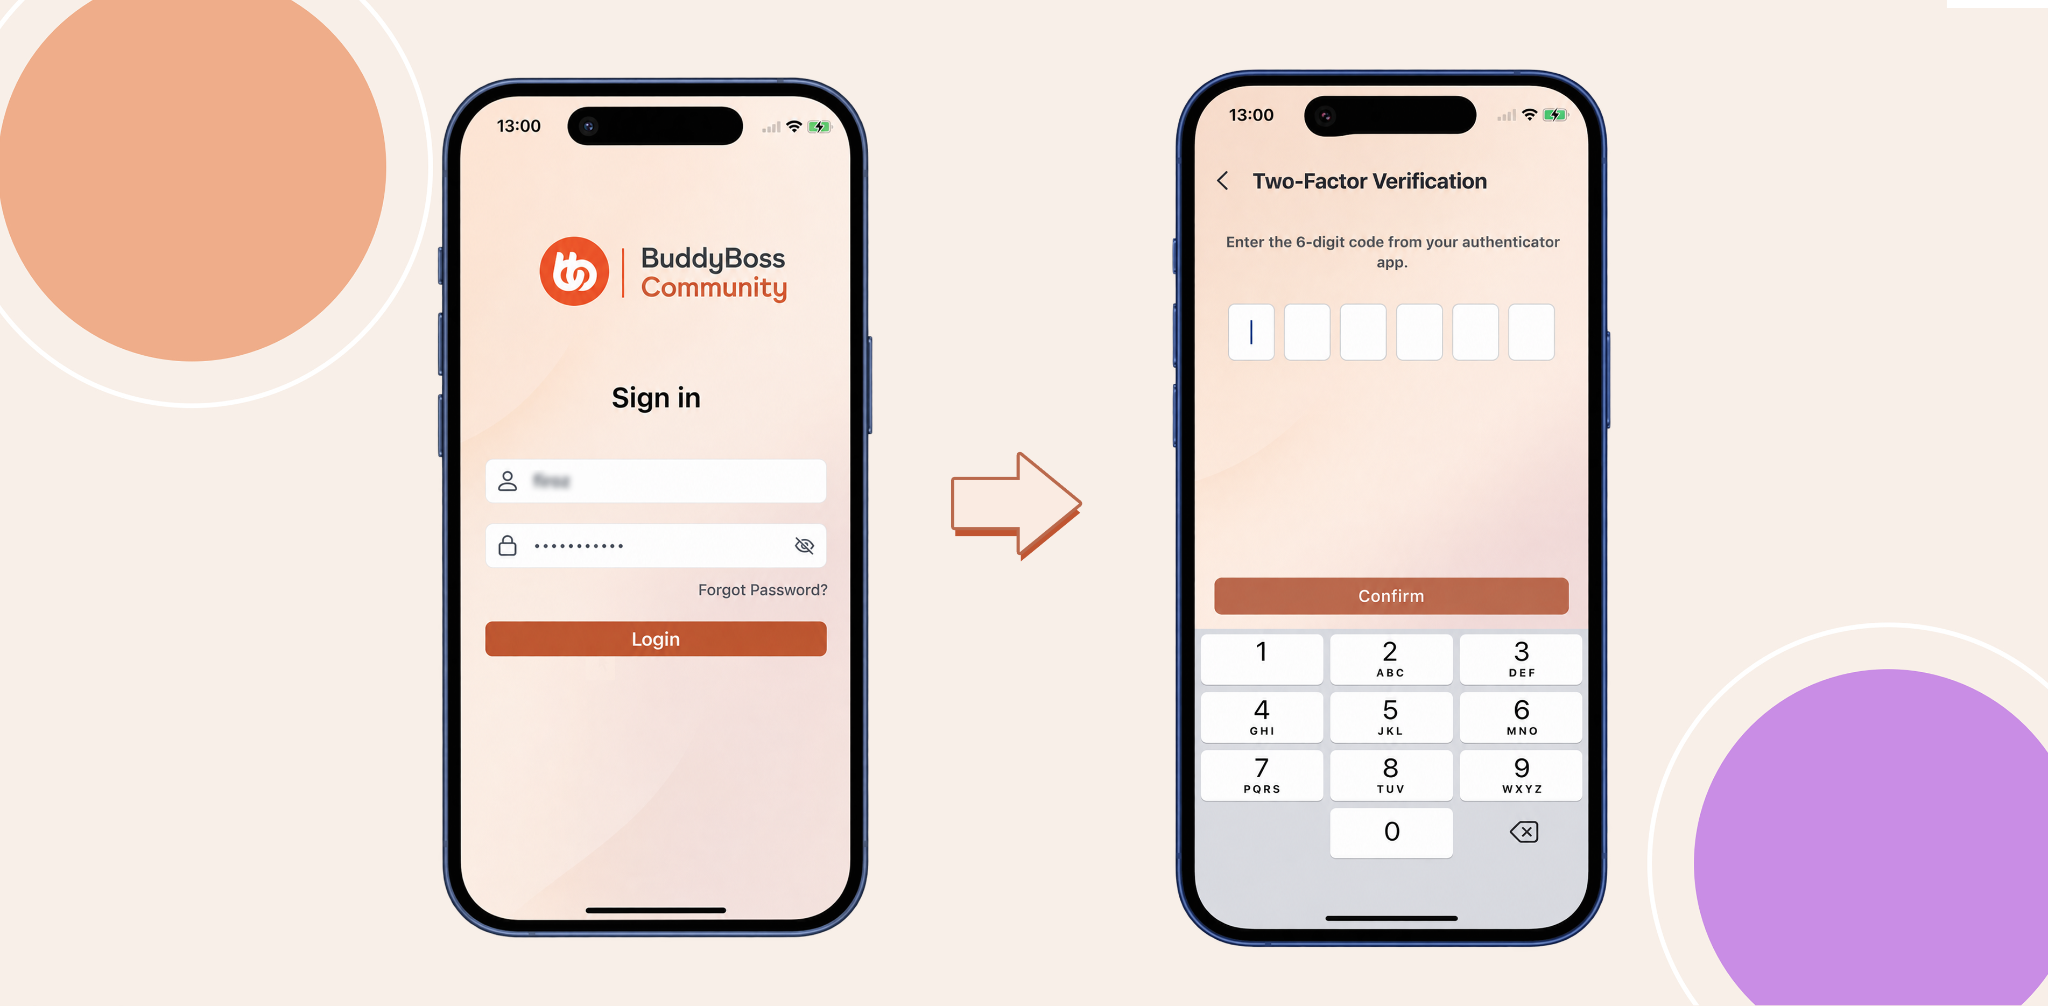
- Open the authenticator app configured for the account.
- Enter the authentication code displayed in the authenticator app.
- Complete the verification to log in.
Related Article: How Two-Factor Plugin Works in your BuddyBoss Website