
The BuddyBoss App Bookmark Feature allows members to save their favorite WordPress blog posts and quickly access them later from a dedicated Bookmarks screen. This gives members a convenient way to keep track of useful articles and return to important content directly from the app.
Once enabled, you can add the Bookmarks screen to your app navigation, where members can view and manage their saved posts. The Bookmark feature is available for standard WordPress posts.
Enable the Bookmark Feature
- In your Dashboard, go to BuddyBoss App > Settings > Blog Posts.
- Check Enable Bookmarking to allow members to bookmark posts.
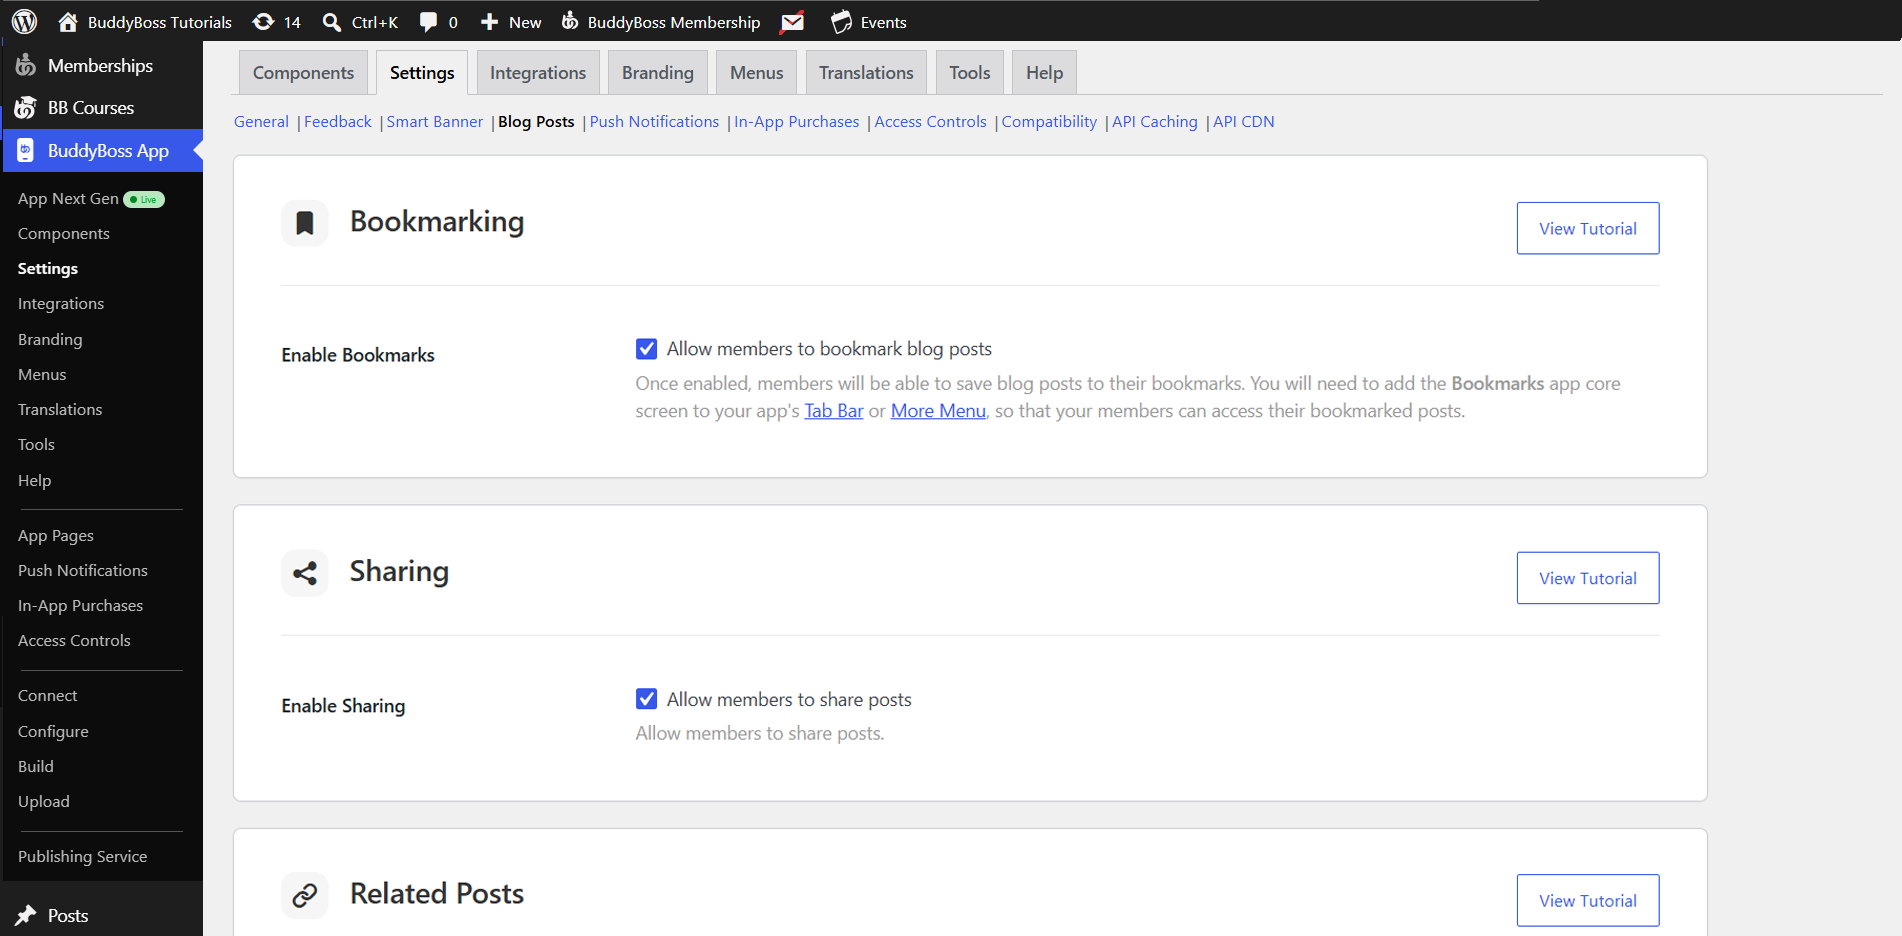
- Click Save Changes.
Add the Bookmarks Screen to Your App
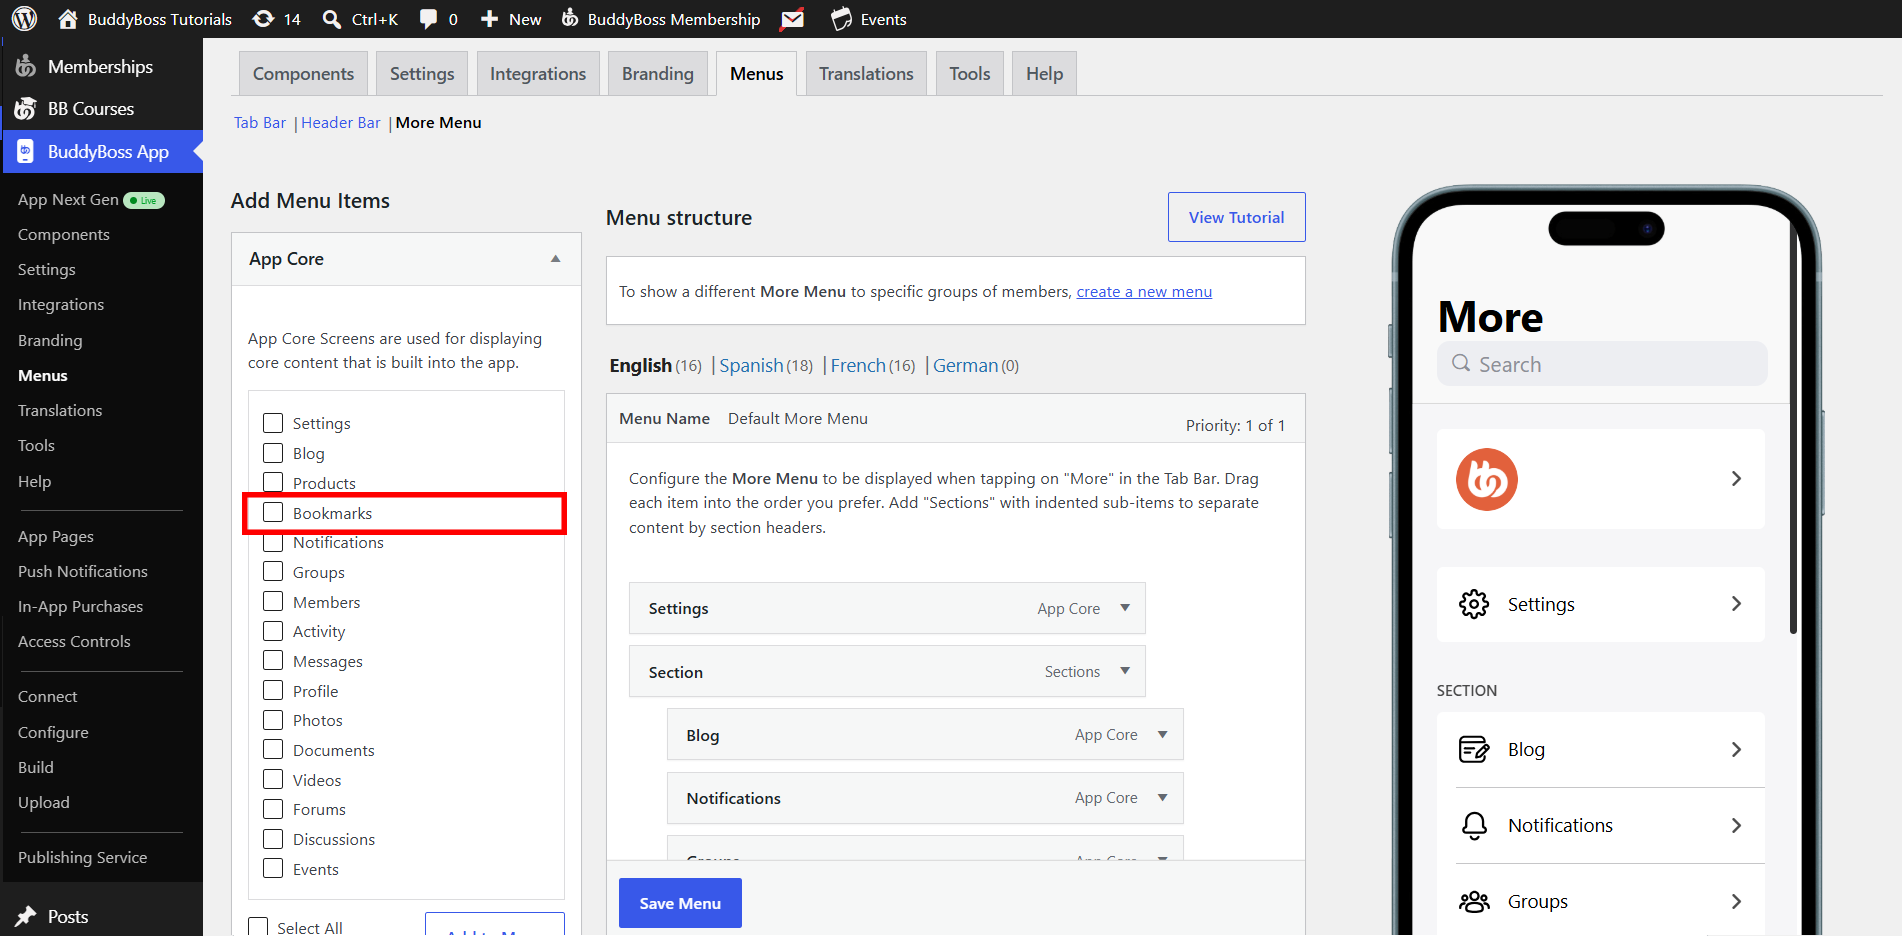
- Navigate to BuddyBoss App > Menus.
- Under Core App, select Bookmarks.
- Click Add to Menu.
Bookmarking Blog Posts
- Open the BuddyBoss App and go to your Blog Posts screen.
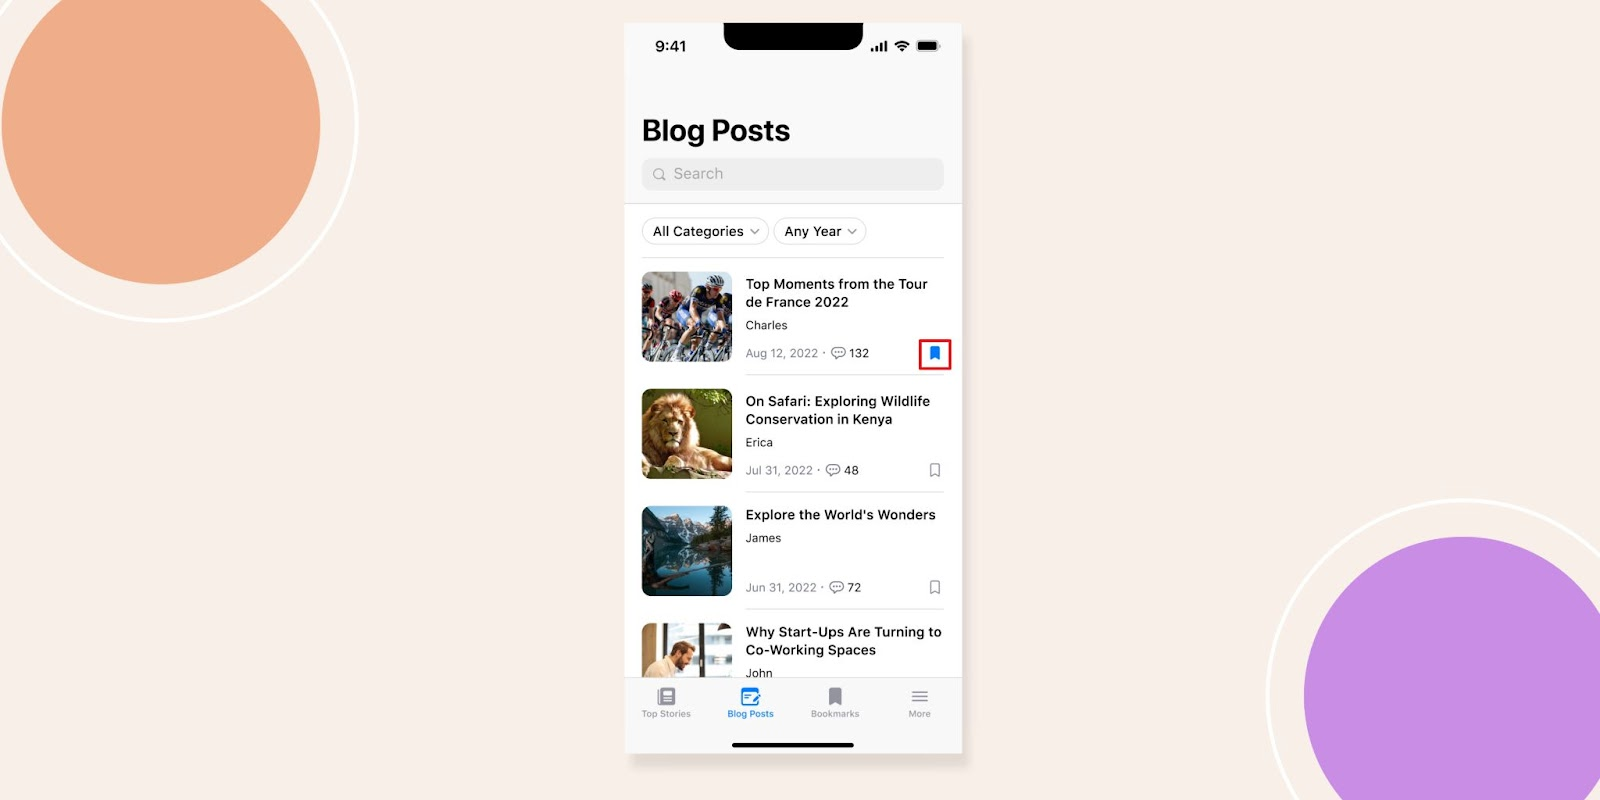
- Tap the Bookmark icon next to any post.
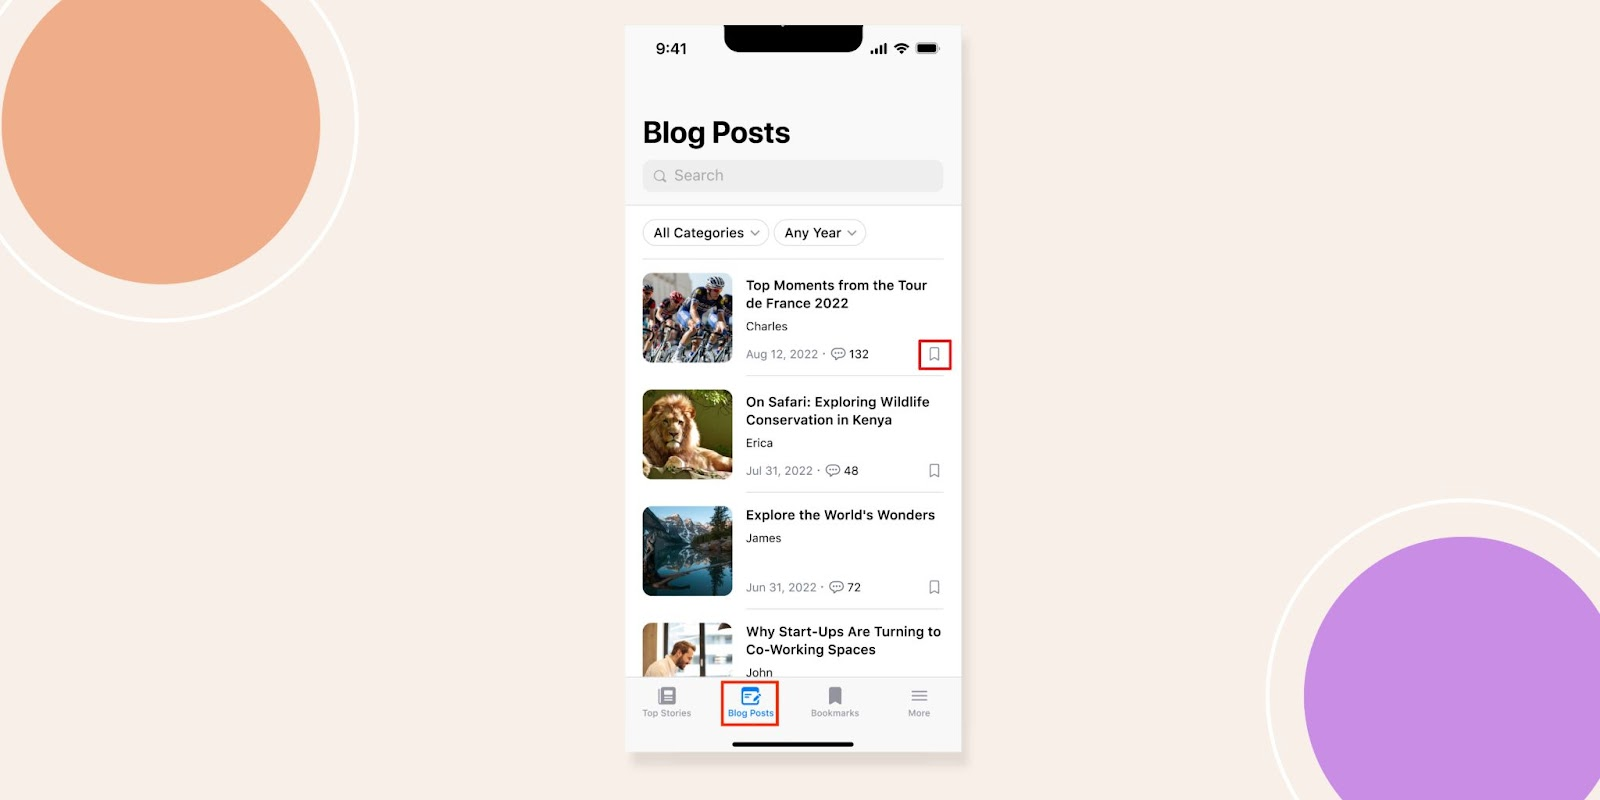
- Confirm the icon changes from an outlined to a filled bookmark.
Viewing Bookmarked Posts
- Go to the Bookmarks screen in your Tab Bar or More menu.
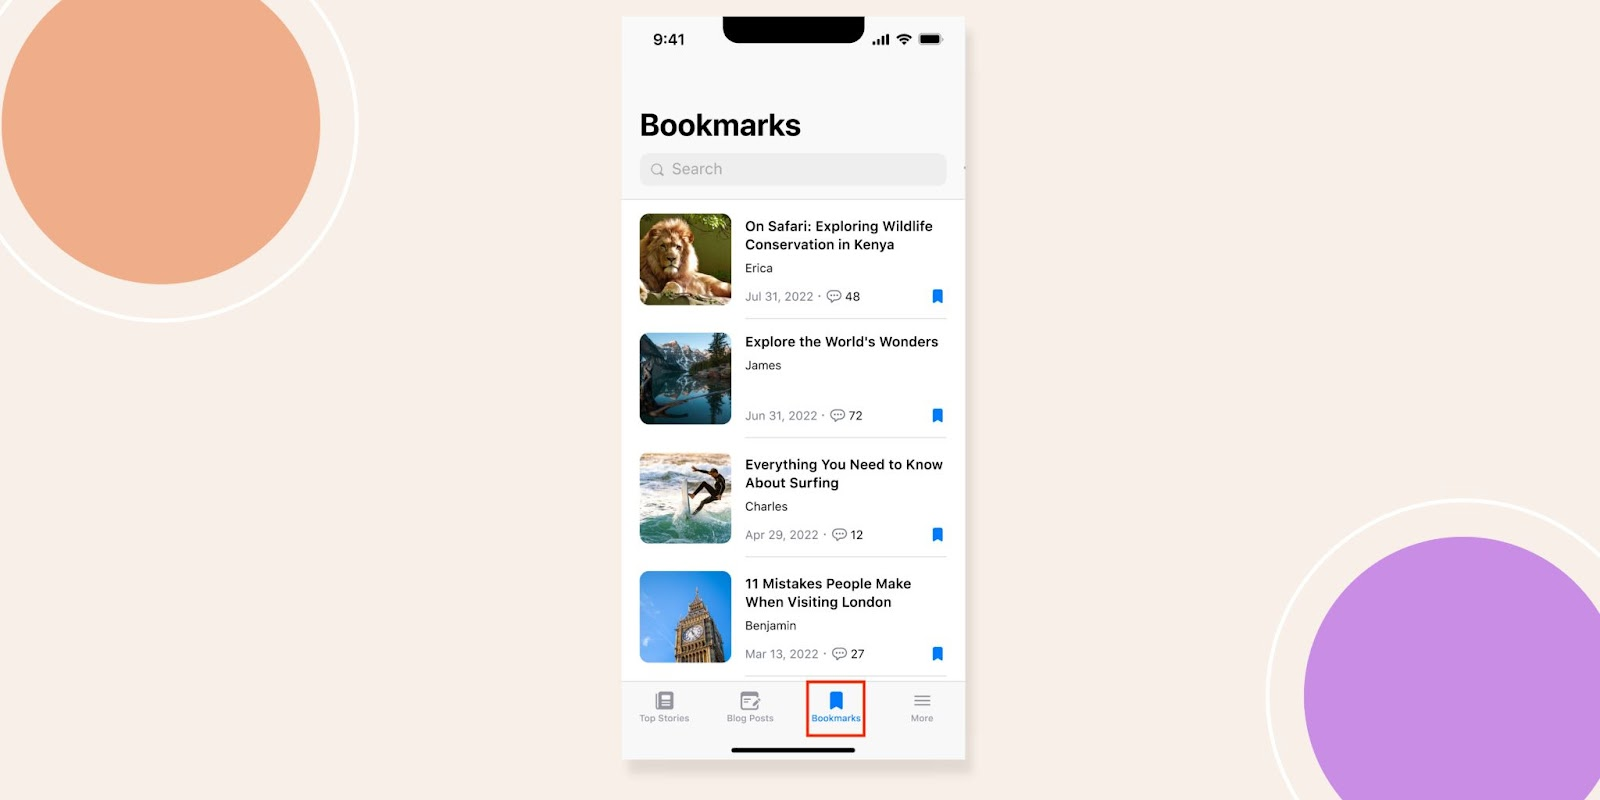
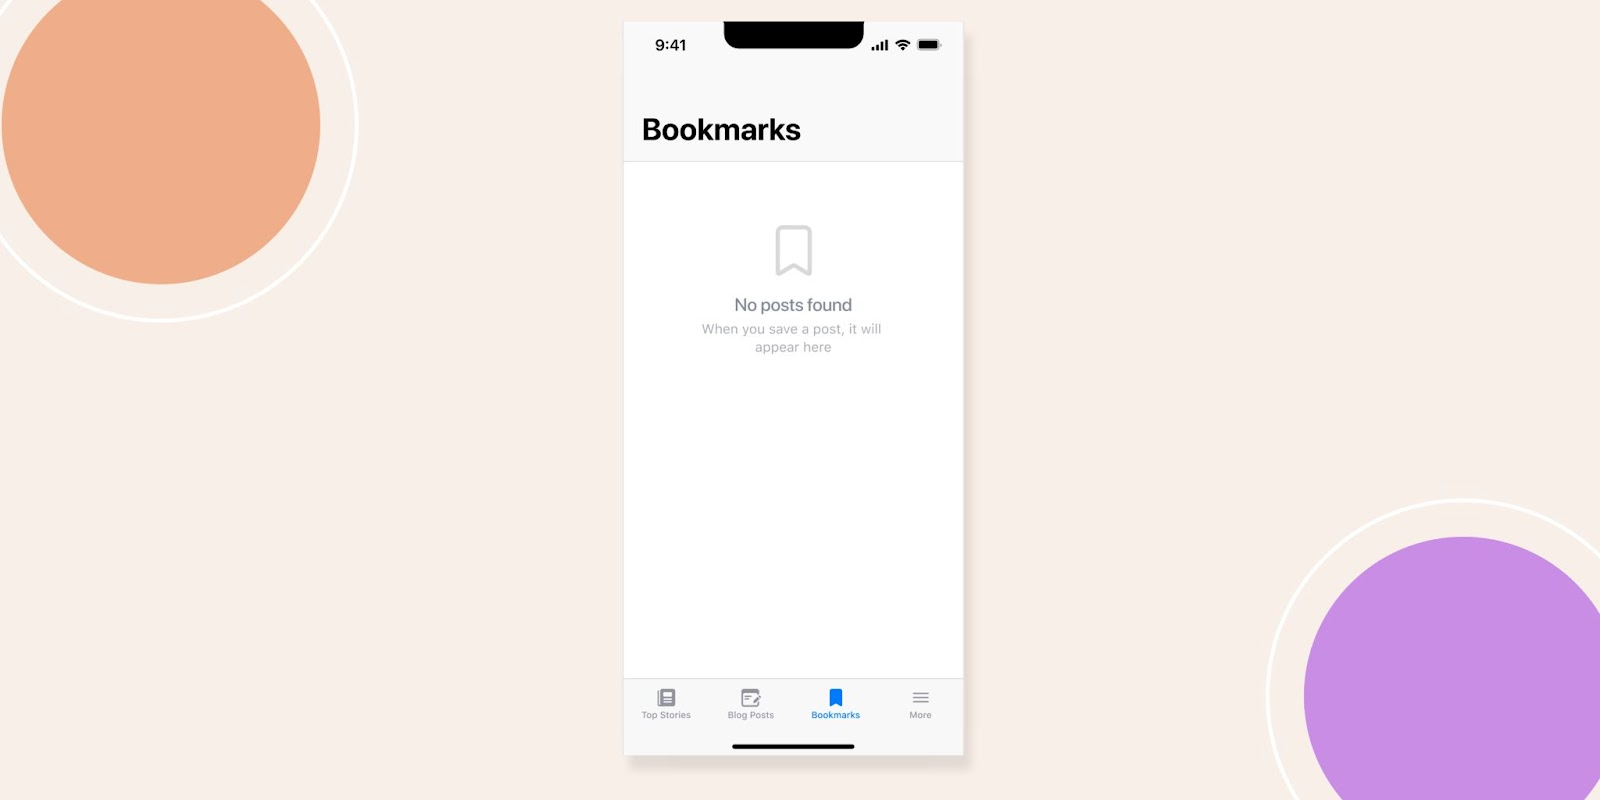
- Browse your saved posts; if none appear, you’ll see No Posts Found.
Removing a Bookmark
- In the Bookmarks list, find the post you want to remove.
- Tap the filled Bookmark icon again.
- Confirm the icon reverts to the outlined state and the post disappears from the list.