
The BuddyBoss App Typography plays a crucial role in branding, helping to establish a unique visual identity and enhance readability in your BuddyBoss App. By customizing fonts, you can ensure a consistent look and feel across your app’s interface.
This guide walks you through the process of importing and configuring custom fonts, whether from Google Fonts or your own uploaded font files.
Why Customize Typography in the BuddyBoss App?
- Enhance Brand Identity – Use custom fonts that align with your brand’s style.
- Improve Readability – Adjust font sizes and styles for better user experience.
- Consistent Design – Apply uniform typography across different sections of the app.
Accessing the Typography Settings
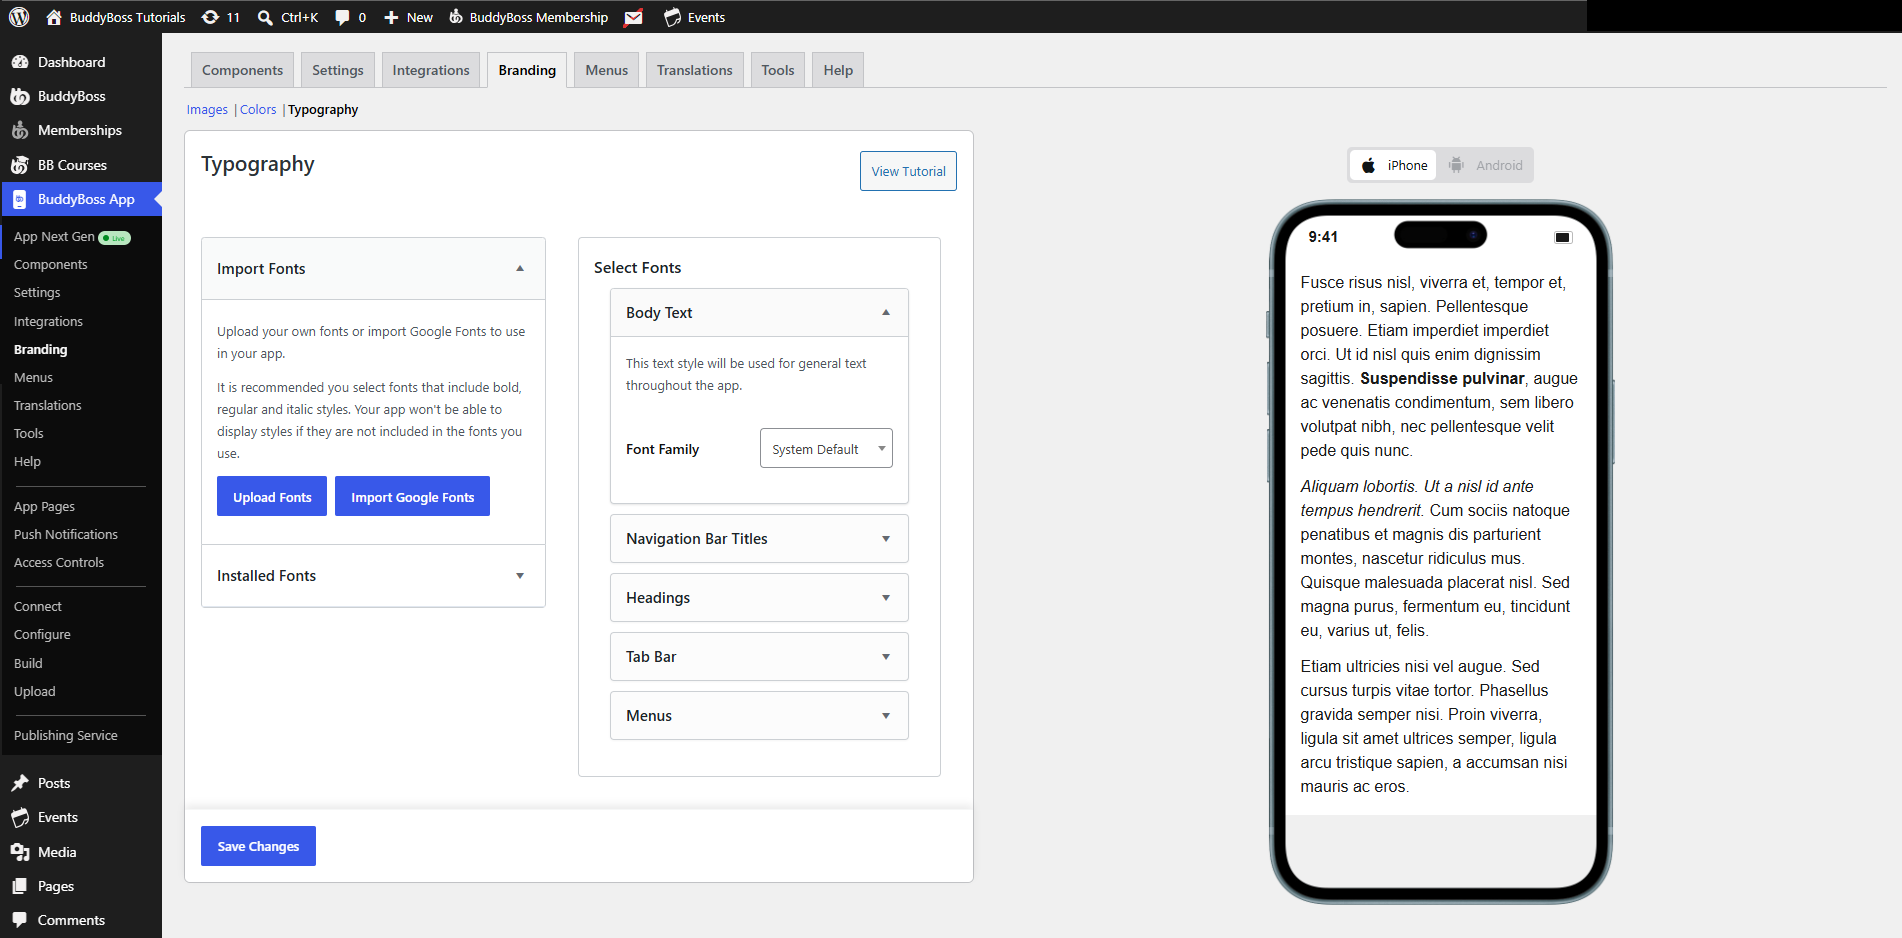
- Navigate to WordPress Dashboard > BuddyBoss App > Branding > Typography.
- Locate the Import Fonts section.
Uploading Custom Fonts
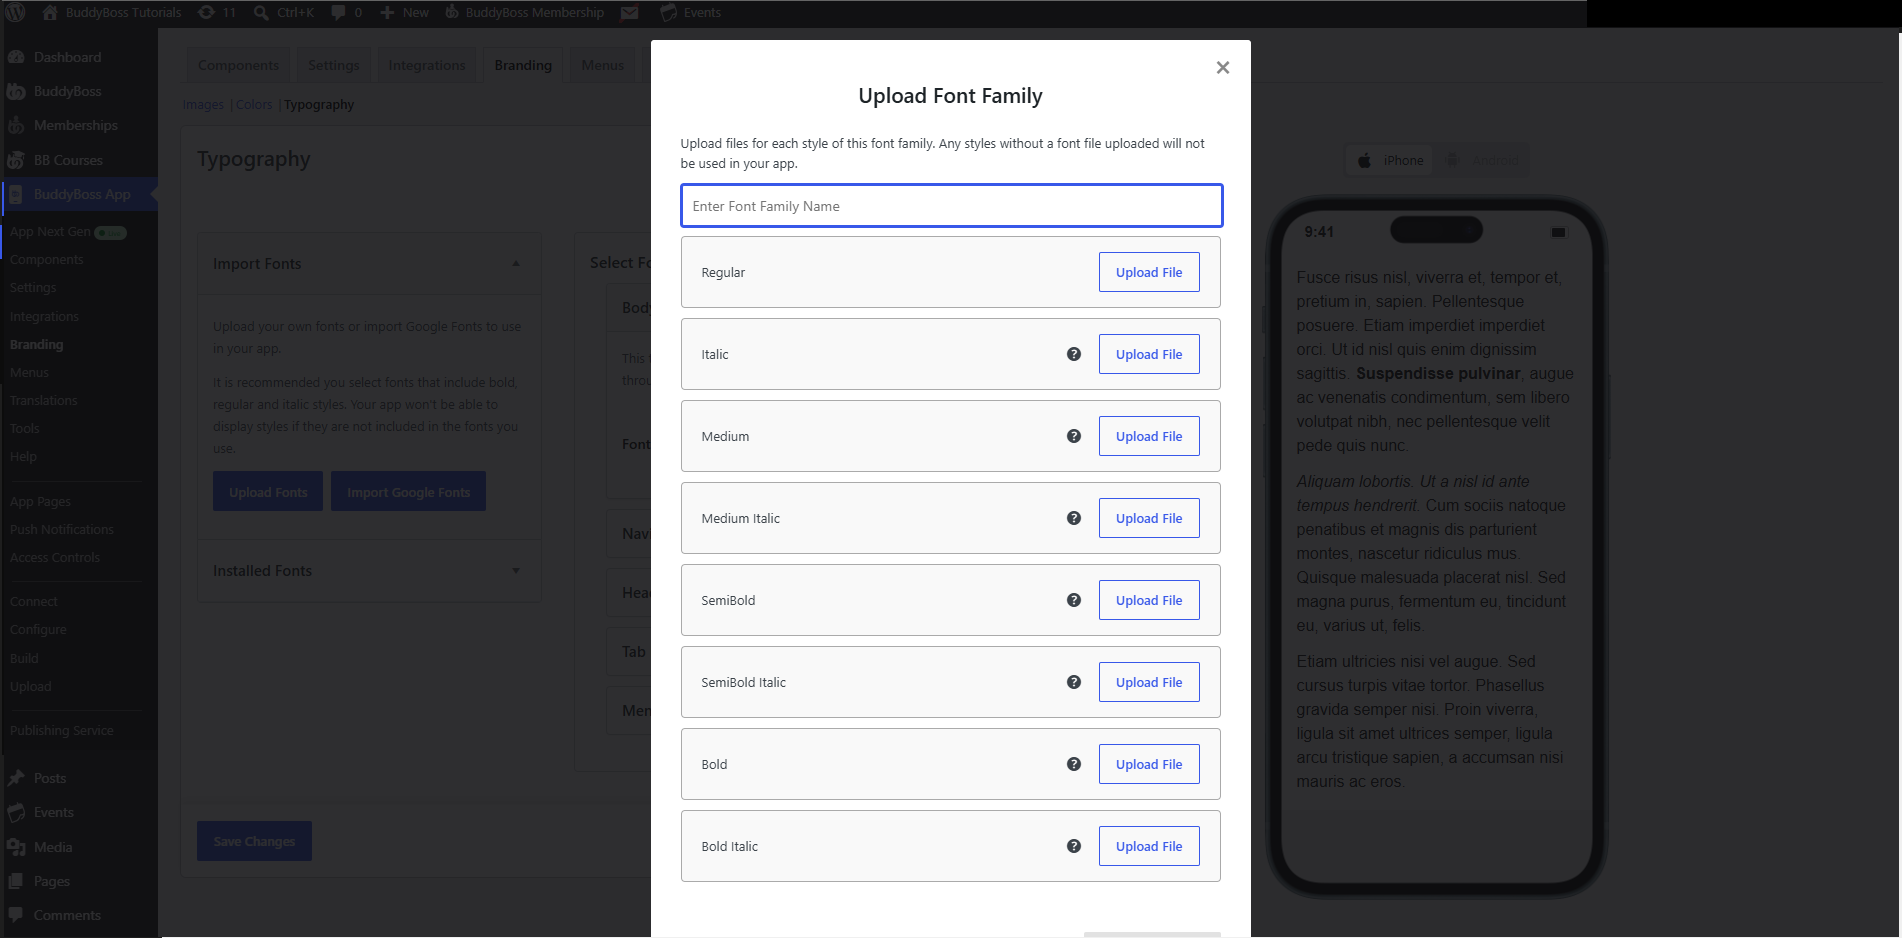
- Click Upload Fonts.
- A pop-up will appear—select your font file (must be in TTF, OTF, or WOFF format).
- Once uploaded, the font will be available under Imported Fonts.
Importing Google Fonts
If you prefer to use Google Fonts, follow these steps:
- Click Import Google Fonts.
- A pop-up will appear showing available fonts.
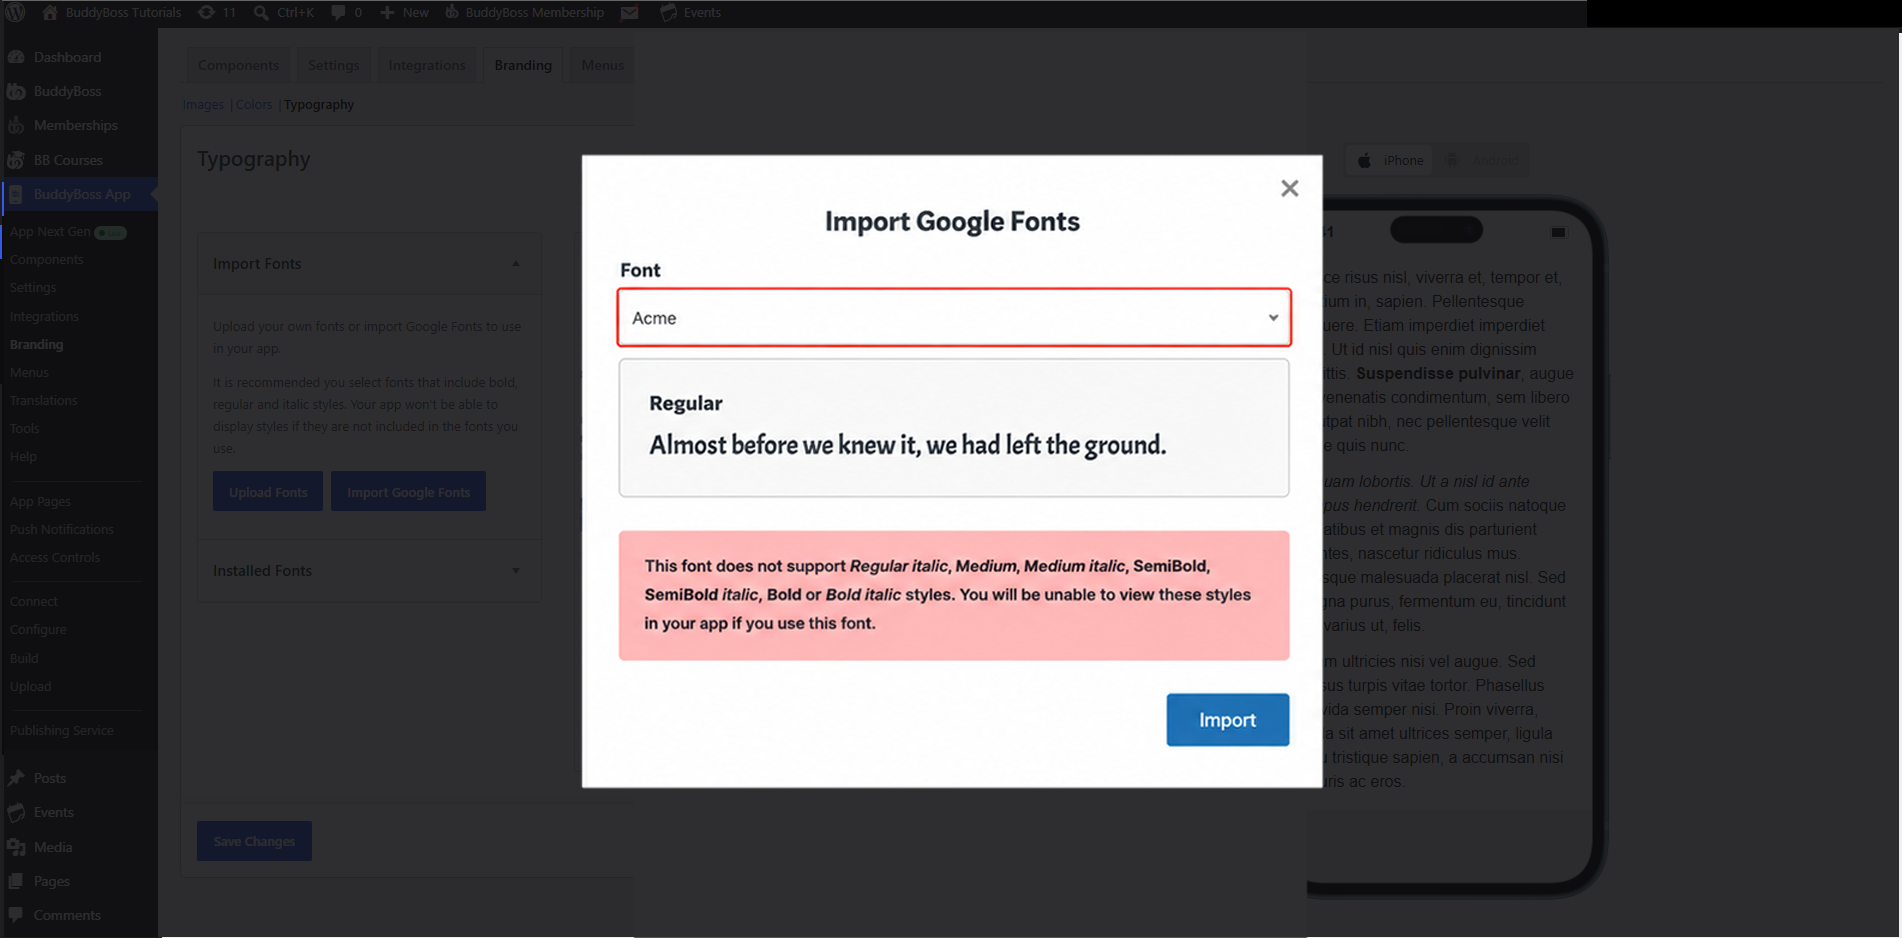
- Select a font (e.g., Acme).
- A preview demo will display the font’s style.
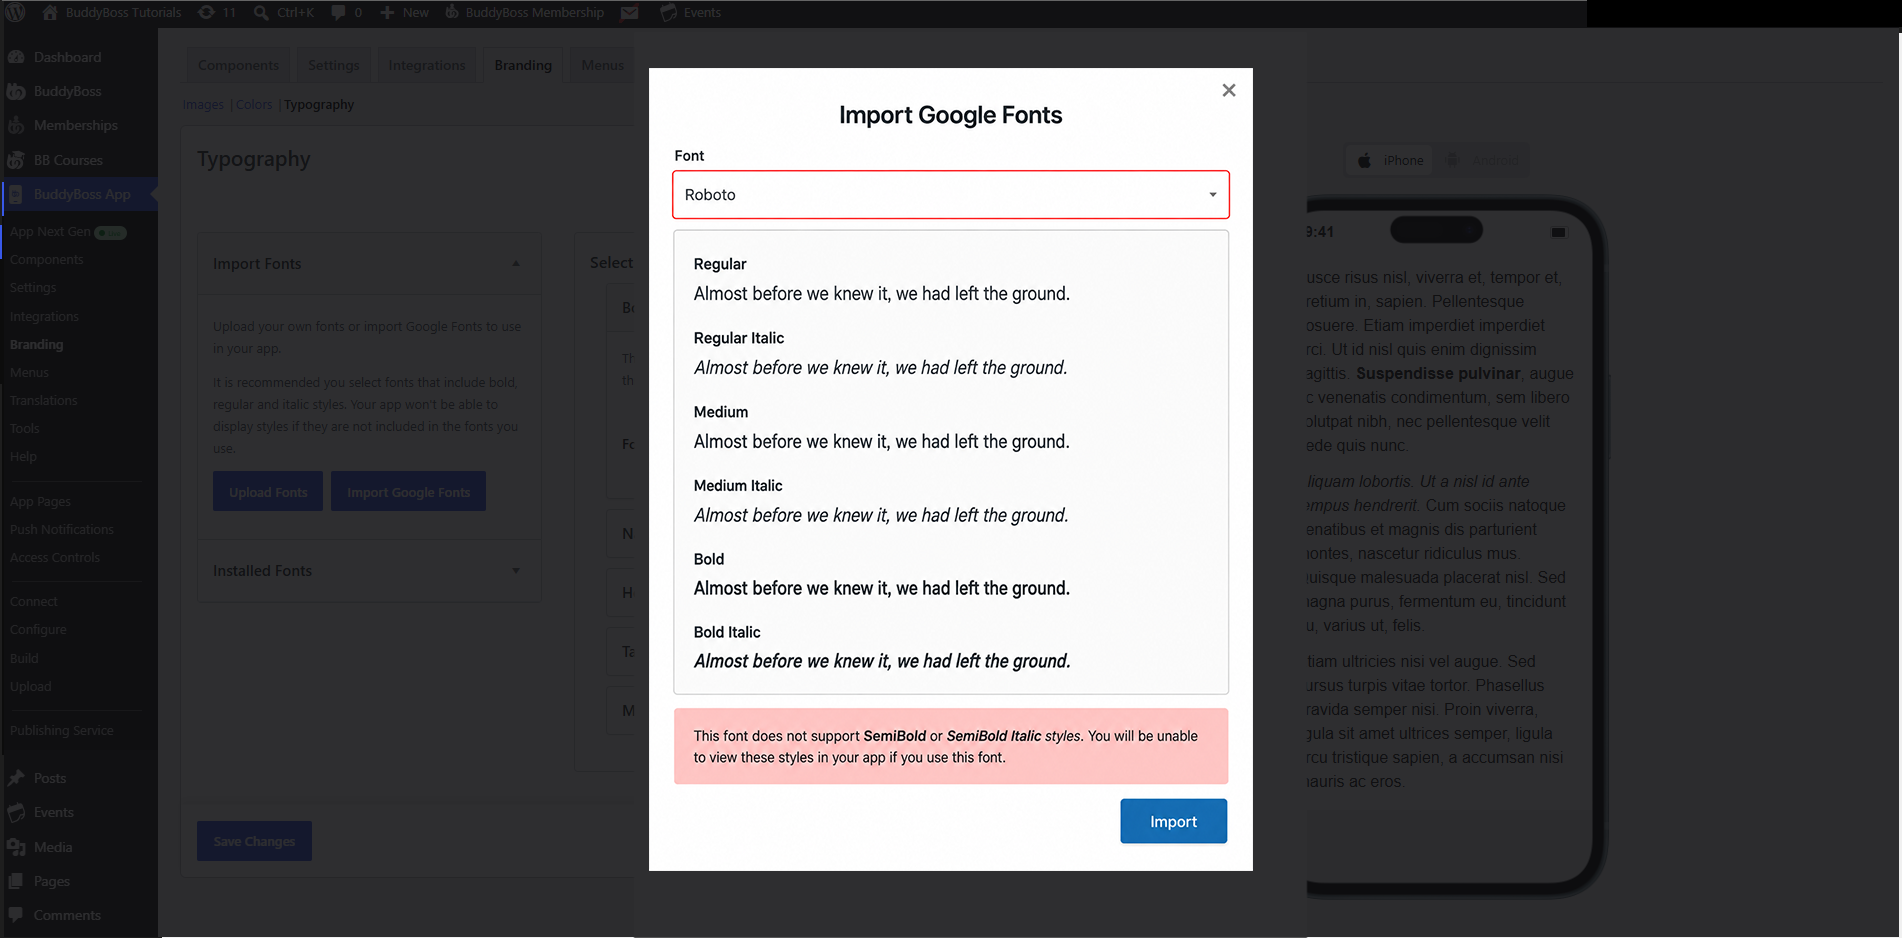
- Check compatibility warnings—some fonts do not support multiple styles in the BuddyBoss App.
- If needed, select an alternative font (e.g., Roboto, which supports multiple styles).
- Click Import to apply the selected font.
Assigning Fonts to Different App Sections
Once imported, you can assign fonts to different app elements:
- Body Text – Select a font for general text content.
- Navigation Bar Titles – Choose a font for navigation headings.
- Headings – Assign a font for H1, H2, H3, etc.
- Tab Bar Labels – Select a font to be displayed in the tab bar.
- Menus – Set a font for menu labels.
Use the preview panel on the right to see how the selected font appears in the app.
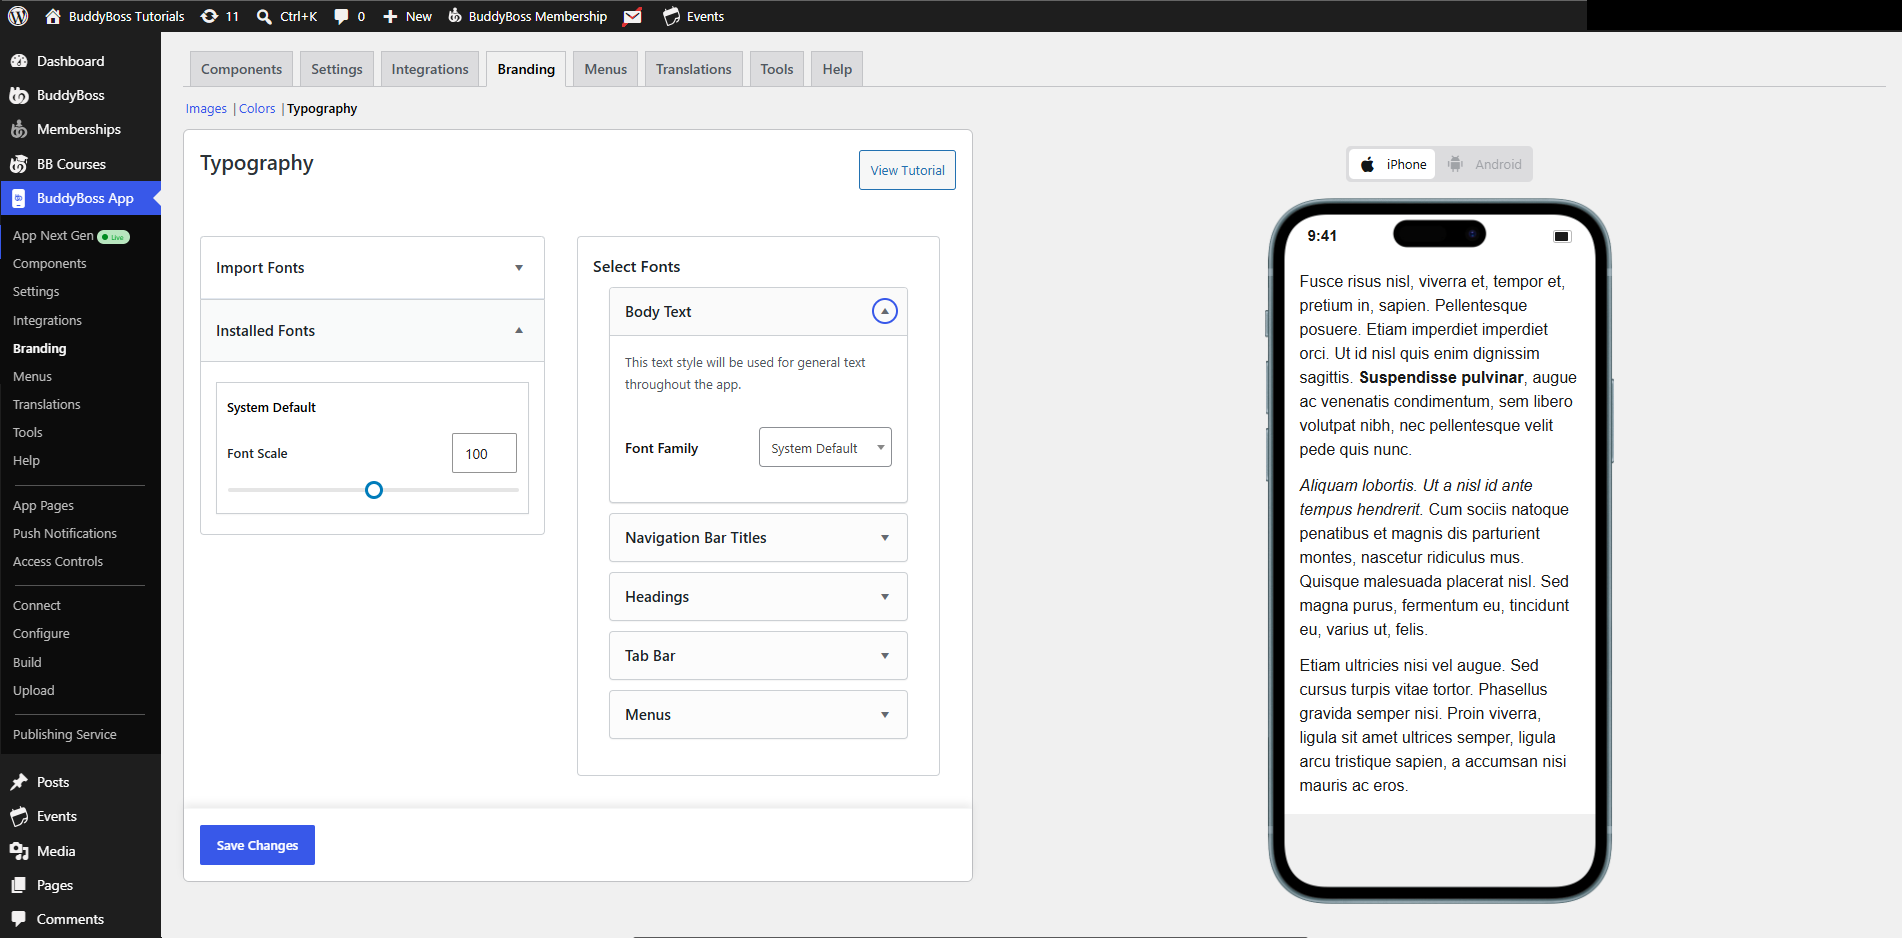
Adjusting Font Sizes
- Under the Import Fonts section, locate your selected font.
- Adjust the Font Size to match your app’s design needs.
- Apply different sizes for body text, headings, and navigation elements.
Saving Your Changes
- Click Save Changes to apply the typography settings.
- Failure to save will result in losing all font customizations.