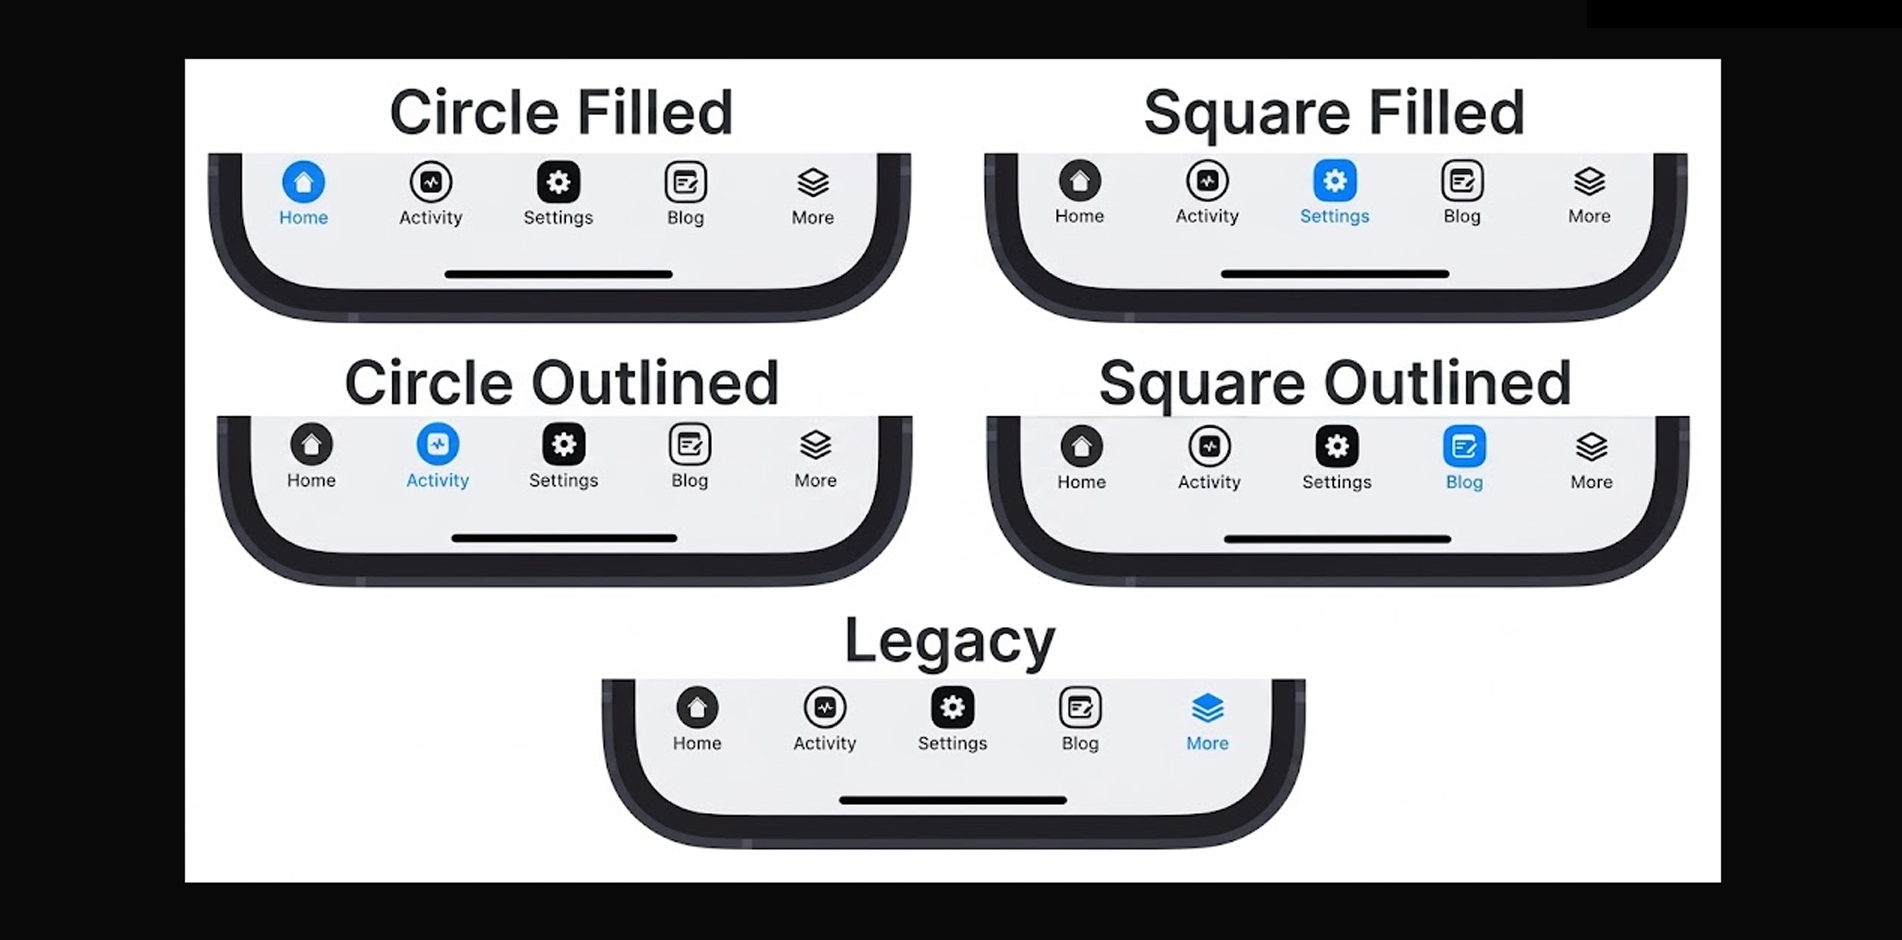
The BuddyBoss App Menu in the BuddyBoss App provides essential navigation for your community users. With recent updates, BuddyBoss has introduced a new icon pack, improving the visual experience and resolving previous icon display issues. This guide will walk you through configuring the BuddyBoss App Menu Icons, selecting icons from the updated BuddyBoss Icon Pack, and switching between the new and legacy icons.
Access the Menu Settings
- Navigate to your WordPress Dashboard.
- Go to BuddyBoss App > Menus.
- Locate the Menus section.
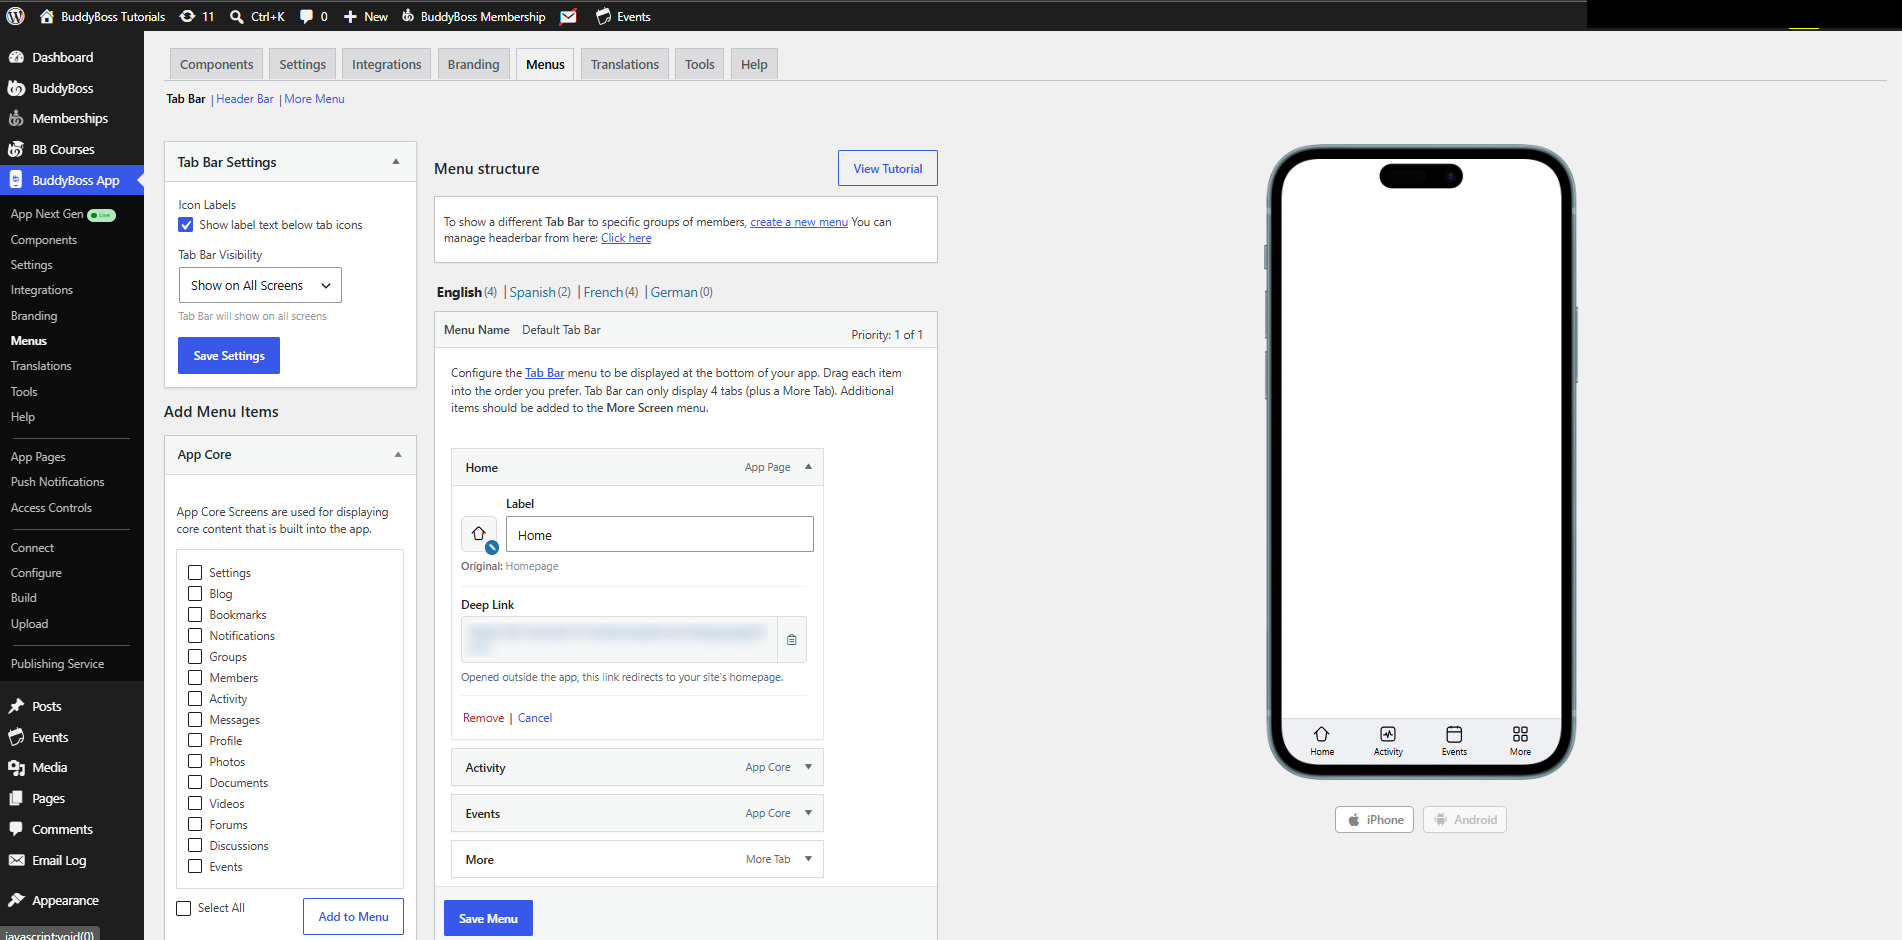
Select and Update Icons
- Locate the Item Icon setting for the selected menu option.
- Click on it to open the icon selection panel.
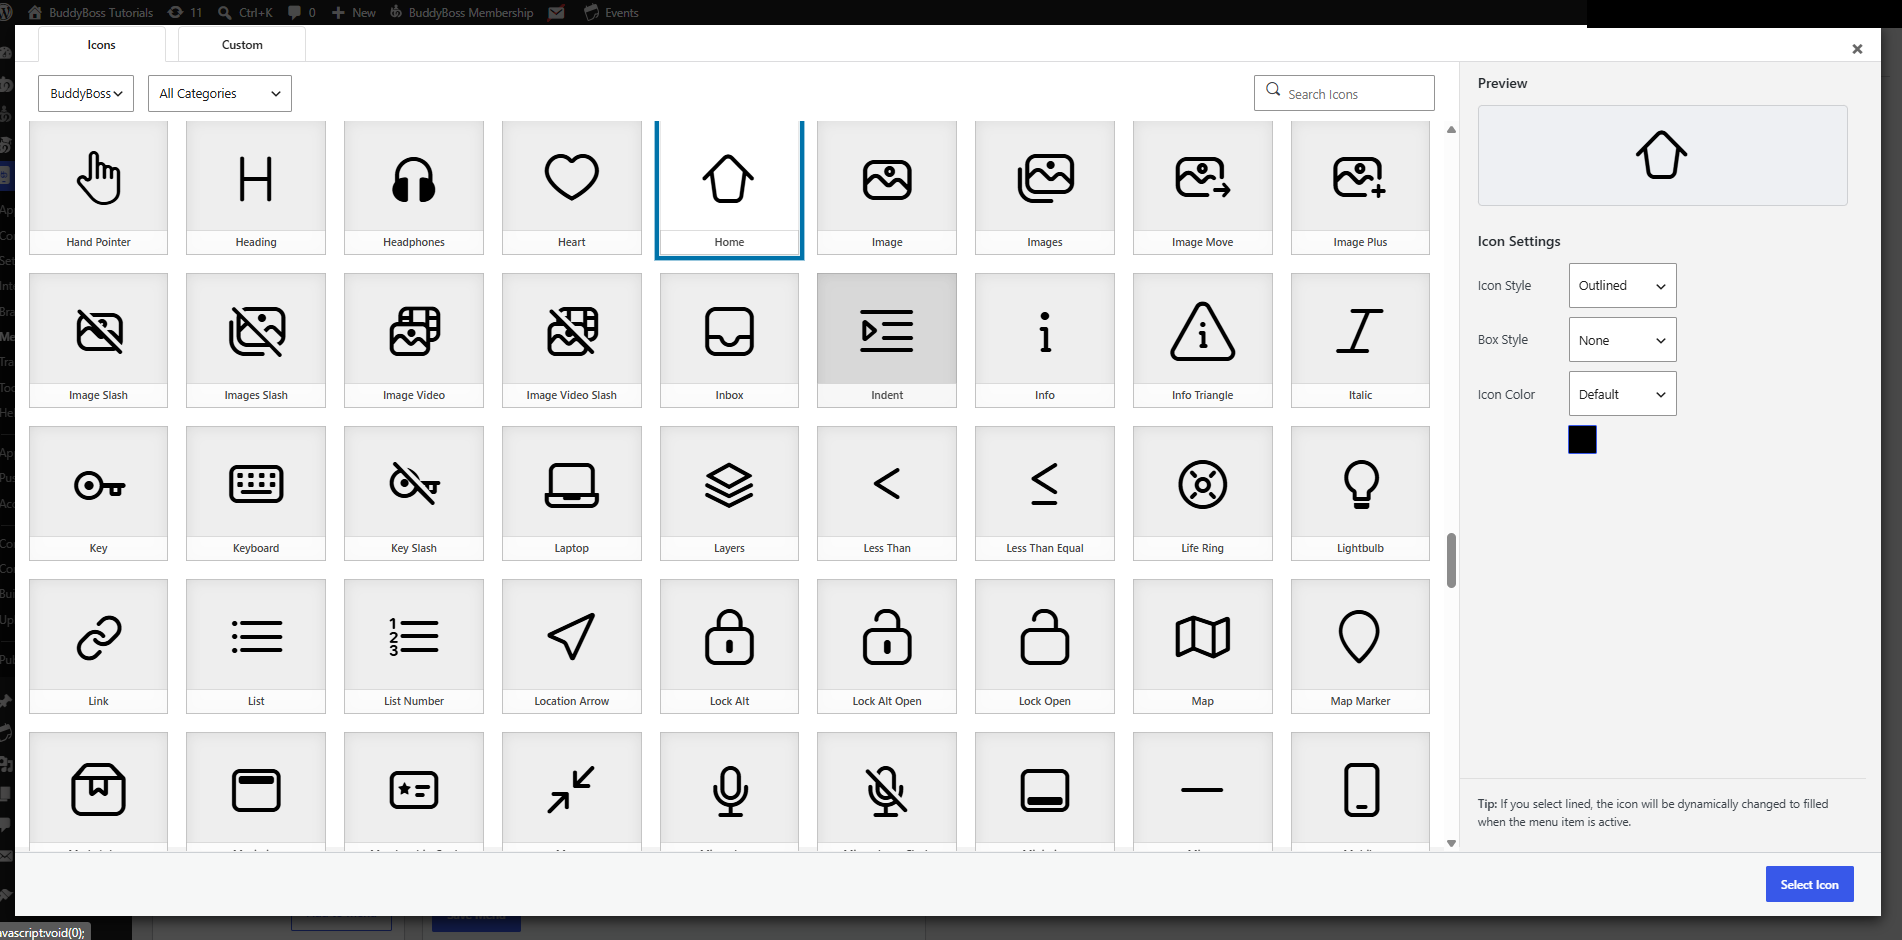
- Choose an icon from the updated BuddyBoss Icon Pack, which now aligns with the platform’s default icons.
- In the Preview section, adjust the Icon Settings, including:
- Icon Style (Filled, Outline, etc.)
- Box Style (Circular, Square)
- Icon Color
- Click Select Icon to save your selection.
Preview and Save Changes
- Once an icon is selected, the display preview model on the right side of the page will update.
- Click Save Changes to apply your selections.
- The new icons will be automatically updated on users’ mobile Menu the next time they launch the app.
Using the Legacy Icon Pack
If you prefer the older icons, now referred to as Legacy Icons, you can switch back by:
- Opening the Item Icon settings.
- Selecting Legacy from the dropdown instead of BuddyBoss.
- Saving your changes.
Note: You can mix both Legacy Icons and the new BuddyBoss Icon Pack within the same Tab Bar.
Advantages of the New BuddyBoss Icon Pack
The updated BuddyBoss Icon Pack introduces several enhancements: