











The Buddyboss Membership Pricing Page displays the available membership plans on your BuddyBoss website. It allows visitors and existing members to browse the available plans, compare their benefits and pricing, and choose the membership they want.
This page is particularly useful for existing registered users who do not have an active membership yet. Instead of creating another account, they can visit the Membership Pricing page and select a plan.
This guide explains how to create a Membership Pricing page in WordPress and assign it in your BuddyBoss Membership settings.
Create a Pricing Page in WordPress
First, create a new WordPress page that will serve as your Membership Pricing page.
To create the page:
- In your WordPress Admin Dashboard, go to Pages > All Pages > Add New Page.
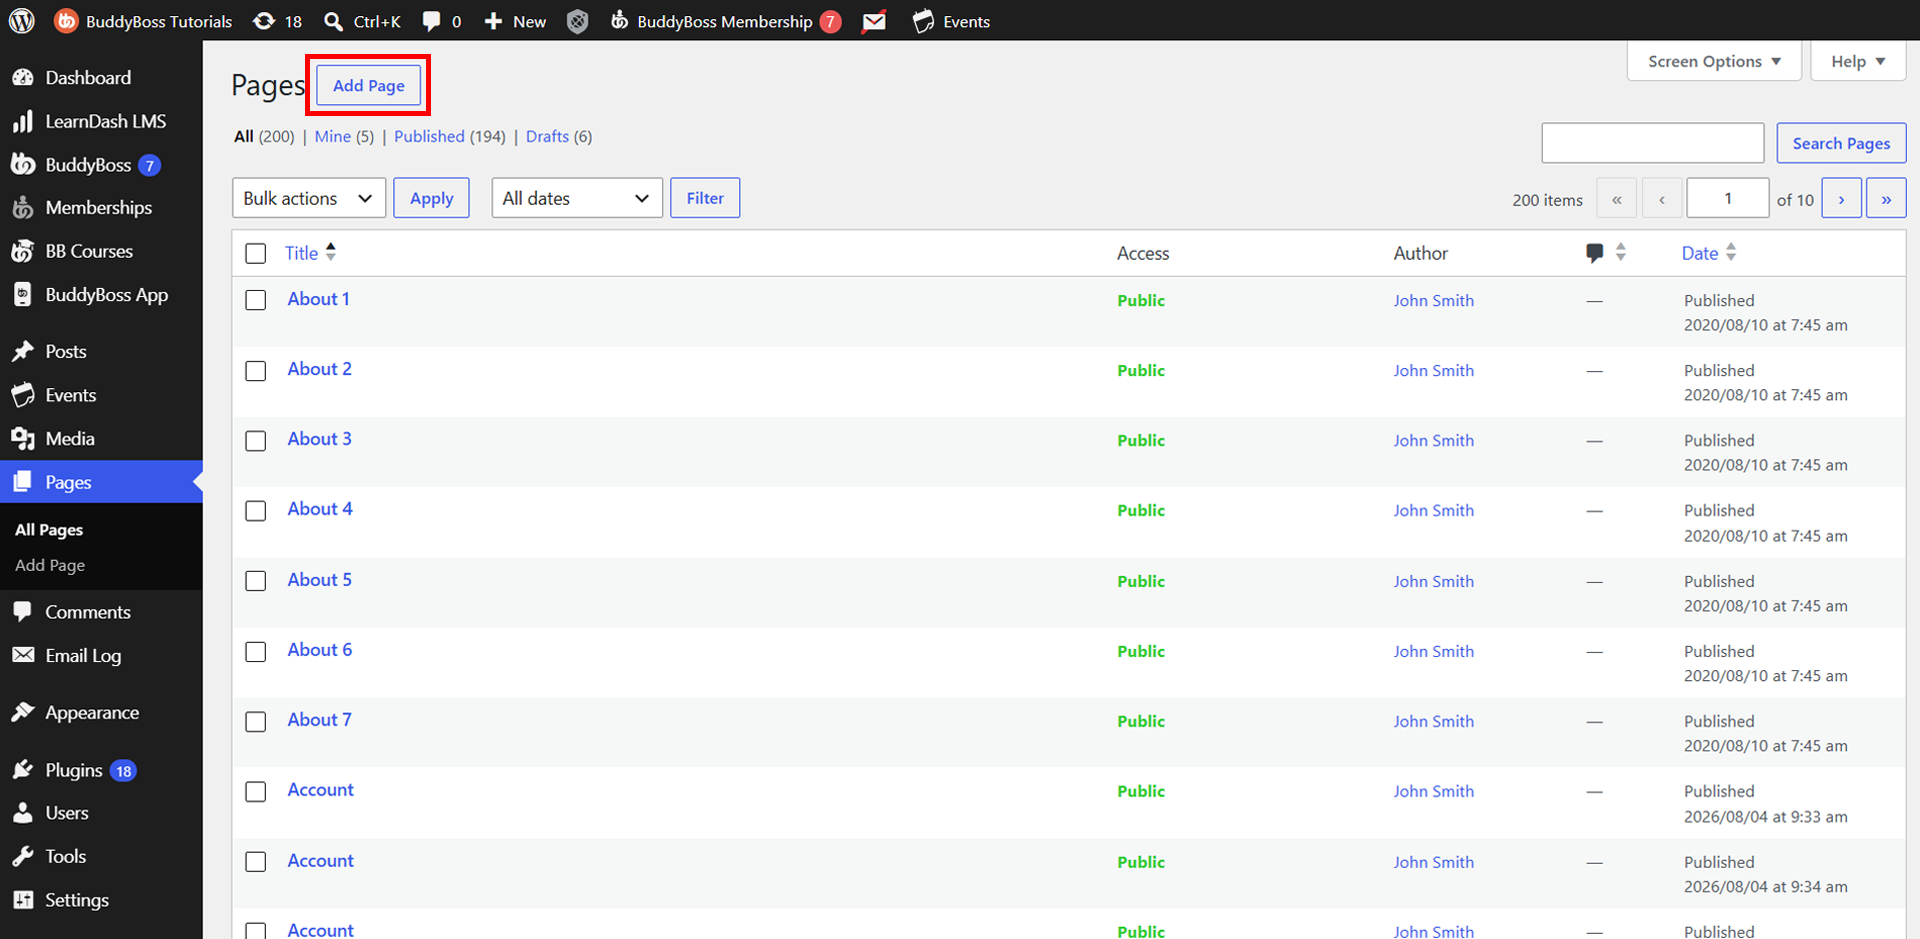
- Enter a page title, such as Membership Plans or Pricing.
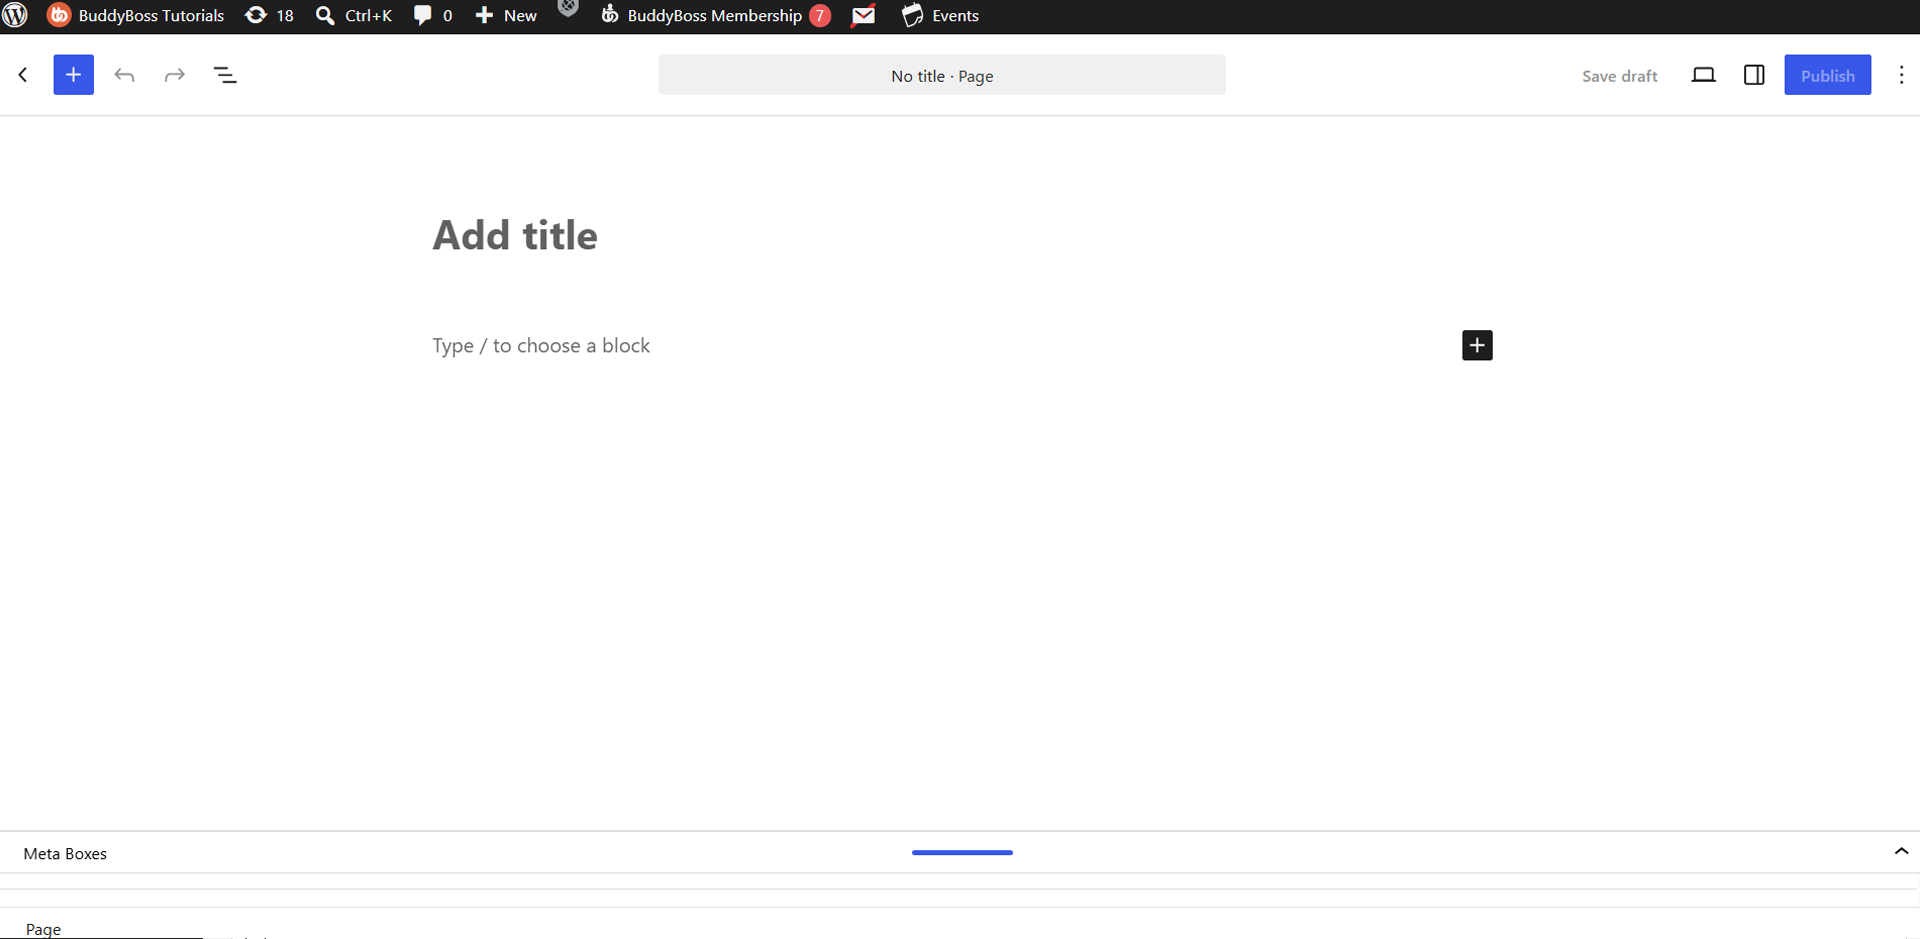
- Click Publish to make the page available.
Note: BuddyBoss automatically displays your available published membership plans on the assigned Membership Pricing page. You do not need to manually add the membership pricing boxes to the WordPress page.
Set the Pricing Page in BuddyBoss Membership Settings
After creating your WordPress page, assign it as the Membership Pricing page so BuddyBoss knows where to display your available membership plans.
To assign the page:
- In your WordPress Admin Dashboard, go to BuddyBoss Membership > Settings.
- Open the Pages tab.
- Locate the Membership Pricing Page setting under the Reserved Pages section.
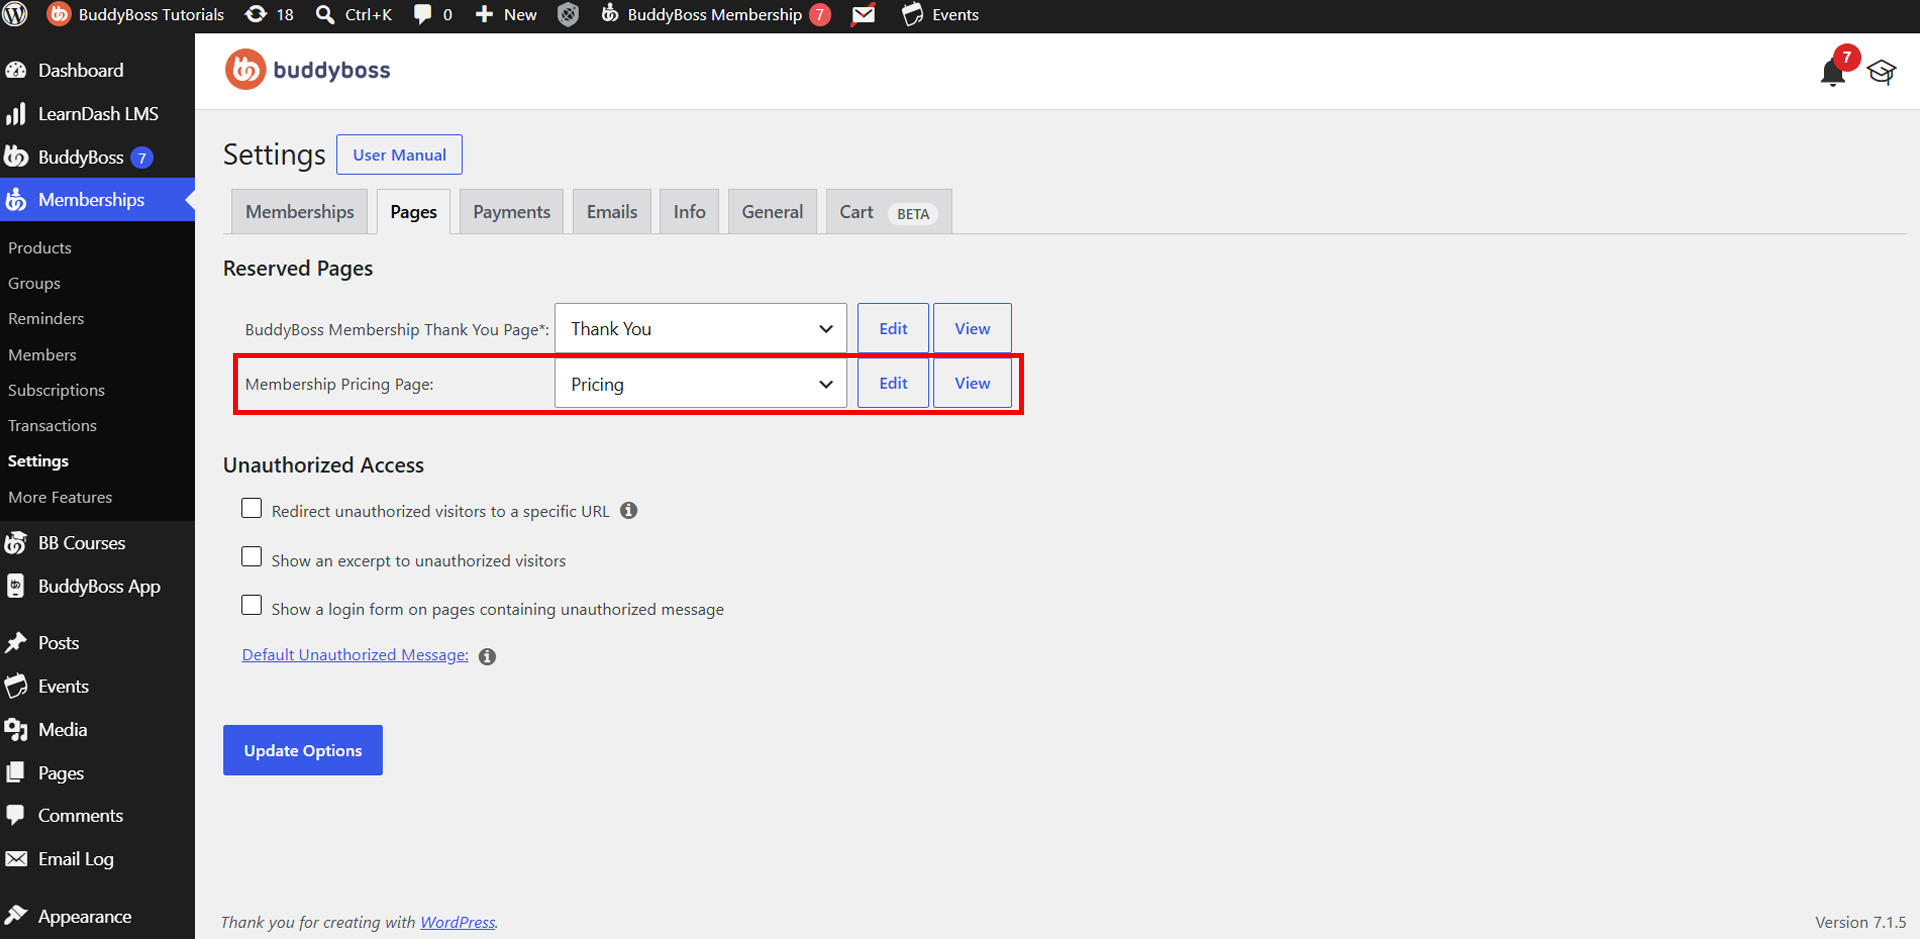
- Select the WordPress page you created from the dropdown.
- Click Update Options to save your changes.
If you haven’t created a pricing page yet, you can also leave the dropdown set to None and click Create Page. BuddyBoss will automatically create a new Membership Pricing page for you.
Once a page is assigned, you can use the available actions:
- Edit – Opens the selected page so you can modify its content.
- View – Opens the page on your website so you can preview how it appears to visitors.
Your selected page will now serve as the Membership Pricing page and display the available membership plans.