
A BuddyBoss Membership defines who can access specific content, courses, groups, profile pages, and other protected areas of your BuddyBoss website. This guide explains how to create BuddyBoss Membership. You can create free or paid memberships, customize the registration experience, and control where each membership is displayed.
Memberships can also be used to restrict access to BuddyBoss Courses, Course Categories, Course Tags, and BuddyBoss Platform profile pages, ensuring that only eligible members can access protected content and community features.
Create New Membership
- In your WordPress Admin Dashboard, go to Memberships.
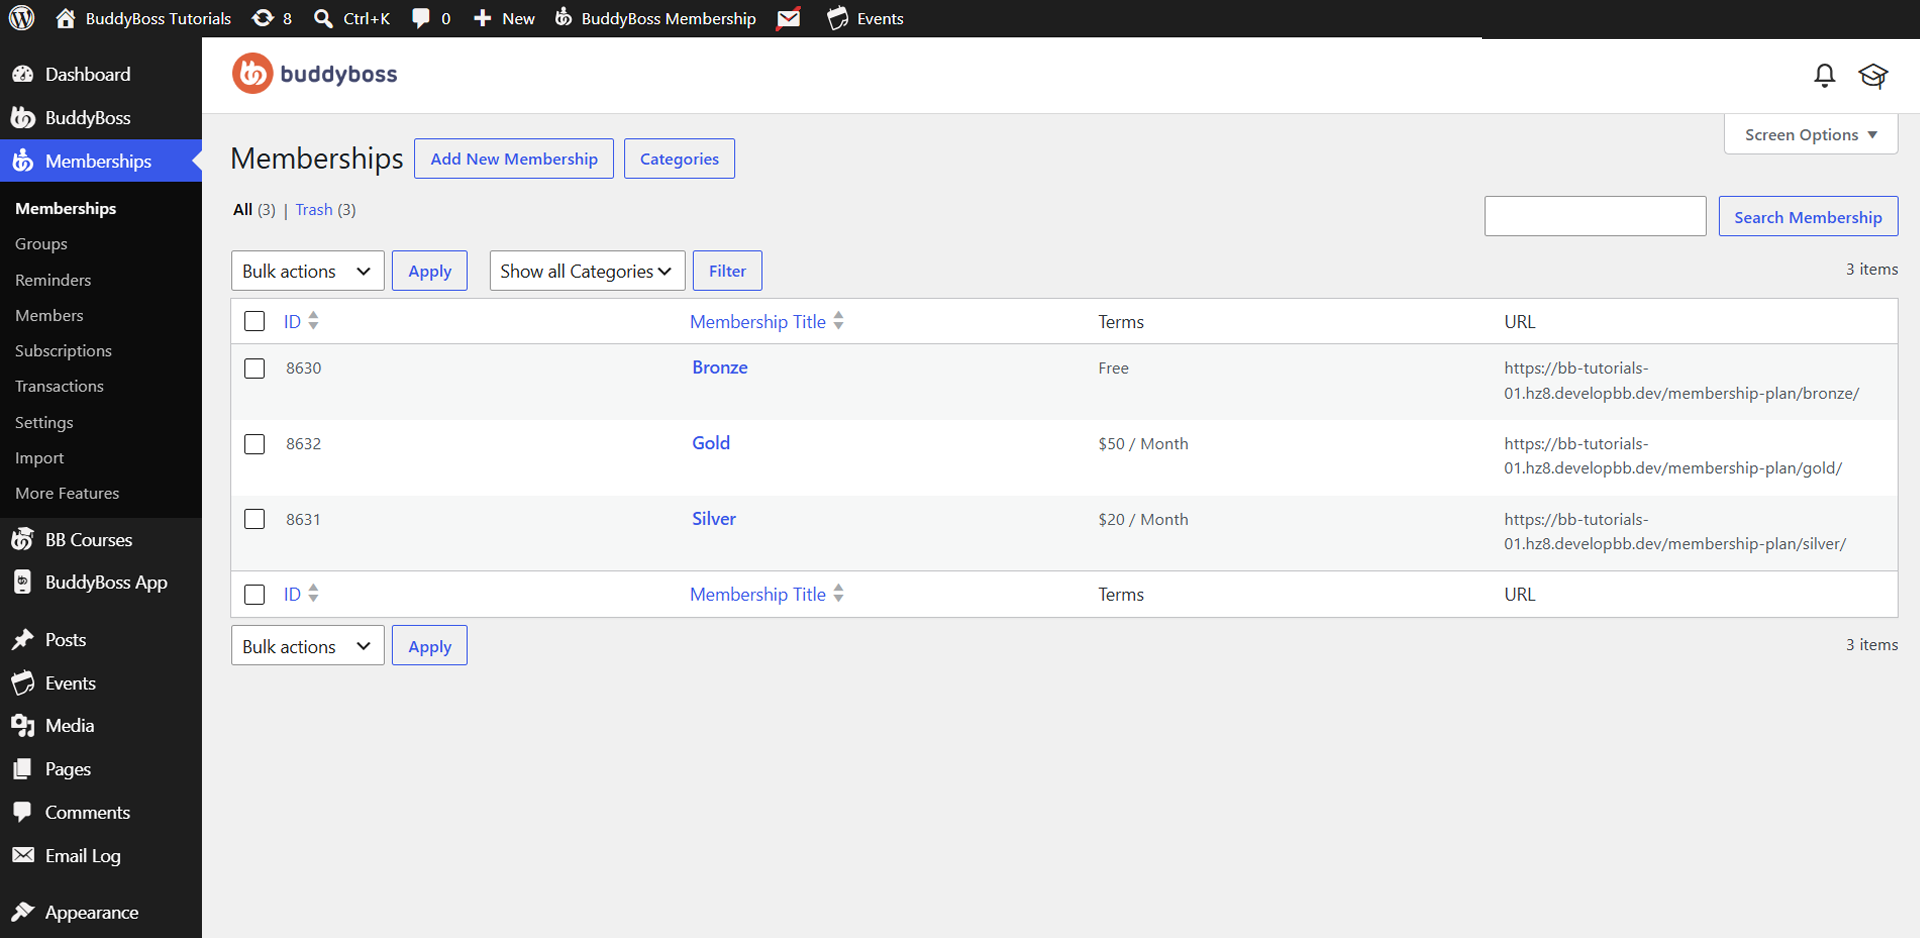
- Click Add New Membership.
Add Membership Information
- Enter a Membership Title.
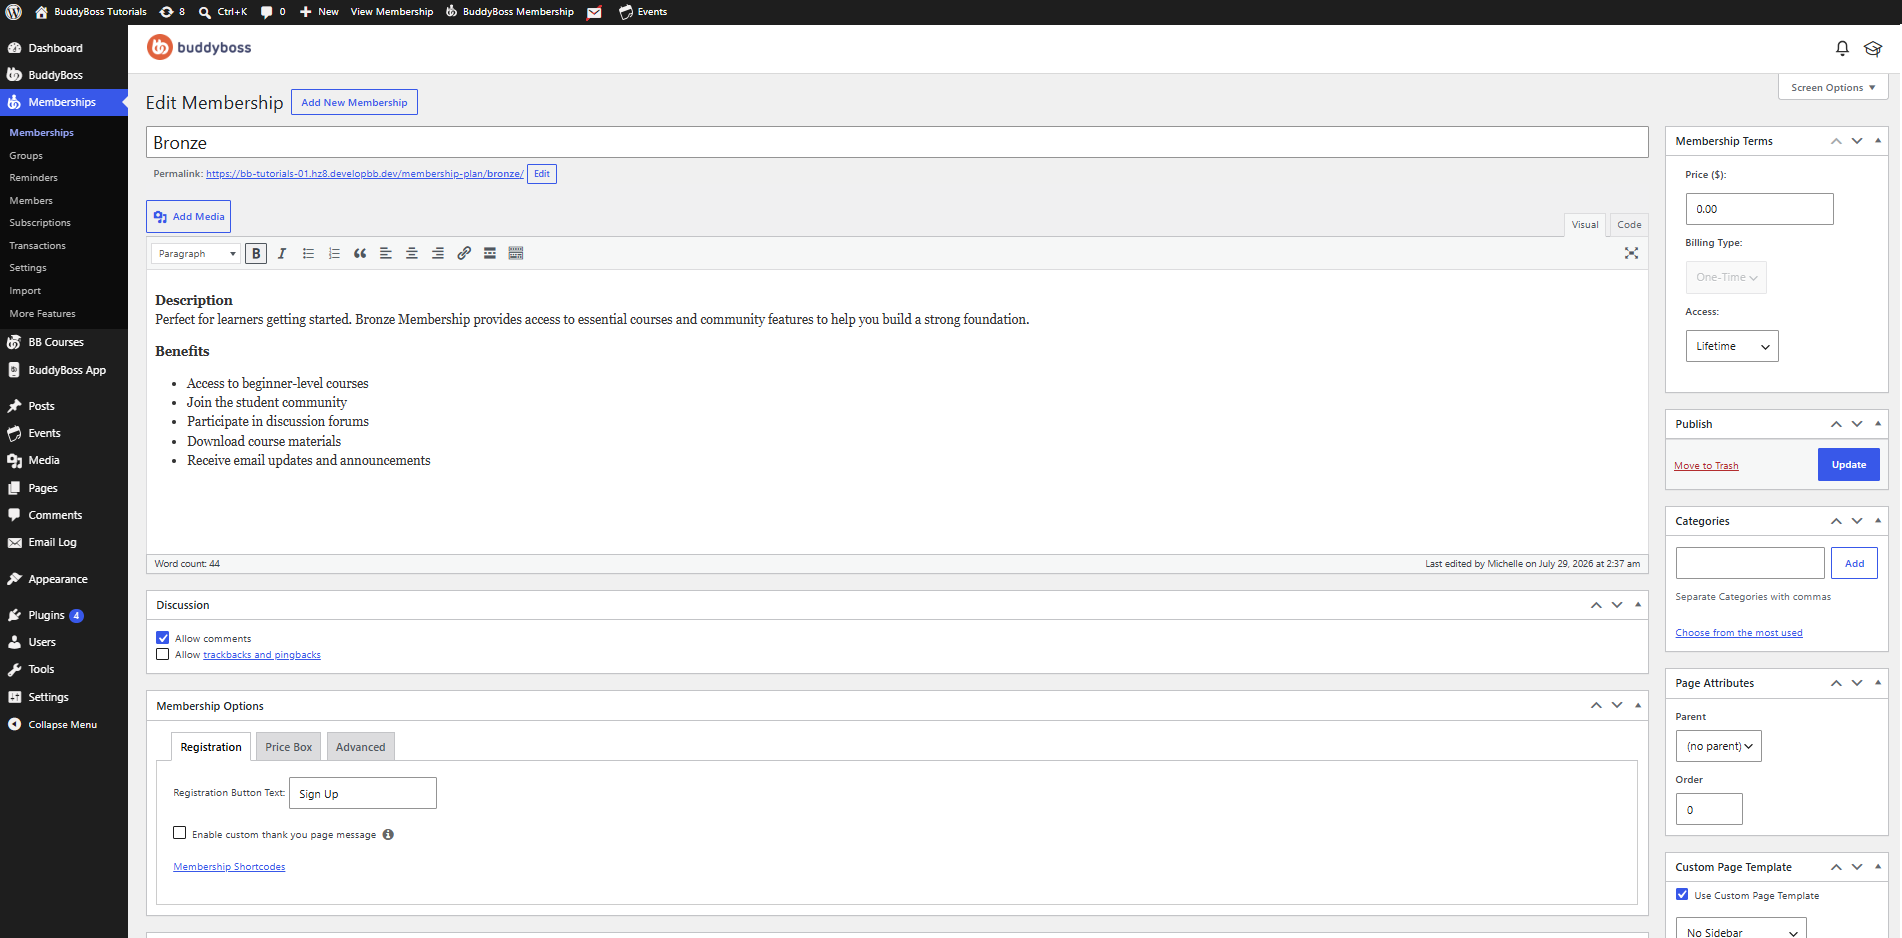
- Add a description using the content editor. This content is displayed on the membership page and can be used to explain the benefits or features of the membership.
Discussion Settings
The Discussion panel controls whether visitors can interact with the membership page.
Available options include:
- Allow comments – Enables visitors to leave comments on the membership page.
- Allow trackbacks and pingbacks – Enables notifications from other WordPress sites that link to the page.
For most membership websites, these options are typically disabled unless you want members to discuss the membership page.
Membership Options
Configure Registration Options
Under the Membership Options panel, open the Registration tab.
From here, you can configure:
- Registration Button Text – Customize the text displayed on the registration button.
- Custom Thank You Page – Display a custom message or redirect members after a successful registration.
Configure Advanced Options
Open the Advanced tab in the Membership Options panel.
The available settings include:
- Membership Access URL – Specify a custom URL for the membership.
- Show on Registration Page – Display this membership as an available option during registration.
- Show on Other Member ships Tab – Display the membership alongside other available memberships.
- BuddyBoss Platform Groups for this Membership – Associate BuddyBoss Groups with this membership.
- Protect BuddyBoss Platform Profile Pages – Restrict access to BuddyBoss member profile pages based on a member’s subscription status.
Protect BuddyBoss Platform Profile Pages – Enable Protect BuddyBoss Platform Profile Pages to automatically protect BuddyBoss member profile pages and their subpages.
Configure Price Box
Open the Price Box tab to customize how the membership appears on membership listing and registration pages. A live preview is displayed on the right, allowing you to see how your changes will appear to visitors.
Note: The Price Box settings will only appear in published memberships.
The available settings include:
Highlighted – Enable Highlighted to visually emphasize this membership plan, making it stand out from other available memberships.
Title – Enter the title displayed at the top of the membership pricing box.
Pricing Display – Choose how the membership price is displayed.
Available options include:
- Auto – Automatically displays the membership price based on the pricing configured under Membership Terms.
- Custom – Allows you to enter custom pricing text to display instead of the automatically generated price.
- None – Hides the pricing from the membership pricing box.
Heading Text – Enter a short description that introduces the membership and highlights its purpose or key value.
Benefits – Add the benefits or features included with the membership.
- Click the + icon to add additional benefit items.
- Click the × icon beside a benefit to remove it.
- Drag and drop benefits to reorder how they appear.
- The configured benefits are displayed as a checklist in the live preview.
Footer Text – Enter optional text displayed below the benefits list. This can be used for additional information, disclaimers, promotional messaging, or other membership details.
Button Text – Customize the label displayed on the membership action button, such as Sign Up, Join Now, or Get Started.
Button Position – Choose where the action button appears within the membership pricing box.
Available options include:
- Footer – Displays the button below the benefits list.
- Header – Displays the button near the top of the pricing box.
- Both – Displays the button in both the header and footer of the pricing box.
Note: The Preview panel updates as you modify the Price Box settings, allowing you to see how the membership card will appear before publishing it.
When enabled:
- Logged-out visitors cannot access /members/ pages.
- Members without an active subscription can only access membership-related pages, such as their membership details, while other profile subpages remain protected.
- Members with at least one active subscription can access their permitted BuddyBoss profile pages and subpages.
Important: Before enabling this option, delete any existing Custom URI rules that protect the /members/ section. This setting replaces those custom rules and prevents conflicts.
Configure Membership Terms
In the Membership Terms panel, configure the following:
Price
Enter the price for the membership.
- Enter 0.00 to create a free membership.
- Enter any other amount to create a paid membership.
Billing Type
If the membership is paid, choose whether One-Time, or Recurrent.
Access
Select how long members can access the membership:
- Lifetime – Members retain access indefinitely.
- Expire – Membership access ends after the configured expiration period.
Categories
Categories help organize your memberships, making them easier to manage if you offer multiple membership plans.
To assign a category:
- Locate the Categories panel.
- Enter the name of a new category and click Add, or select an existing category.
- Save your changes.
Using categories is optional but recommended for websites with multiple memberships.
Page Order
The Order field controls the display order of memberships.
To change the order:
- Locate the Page Attributes panel.
- Enter a number in the Order field.
Memberships with lower numbers are typically displayed before those with higher numbers.
For example:
- 0 displays first.
- 1 displays after 0.
- 2 displays after 1.
This setting is useful when you want to prioritize specific memberships on listing or registration pages.
Select a Page Template (Optional)
If you want to customize the appearance of the membership page:
- Enable Use Custom Page Template.
- Select one of the available templates:
- Fullscreen Page
- Full Width Content
- No Sidebar
Choose the template that best matches your website’s layout.
Featured Image
A featured image provides a visual representation of your membership and may appear on membership listings, promotional pages, or anywhere your theme supports featured images.
To add a featured image:
- Locate the Featured Image panel.
- Click Set featured image.
- Upload a new image or select one from the Media Library.
- Click Set featured image.
Publish the Membership
Once you’ve finished configuring the membership:
- Review all settings.
- Click Publish.
Your new membership will now be available according to the visibility and registration options you’ve configured.