
The BuddyBoss Membership Members section allows administrators to view and manage all users who have been assigned a membership. From this page, you can review member details, manually create new members, monitor subscriptions, and track membership activity. This guide explains how to manage BuddyBoss Membership members.
Note: Members created through the Memberships section are also added as standard WordPress users. They will appear in WordPress Dashboard > Users and can log in to your website using their assigned credentials.
View Your Members
To view your members:
- Log in to your WordPress Admin Dashboard.
- Go to Memberships > Members.
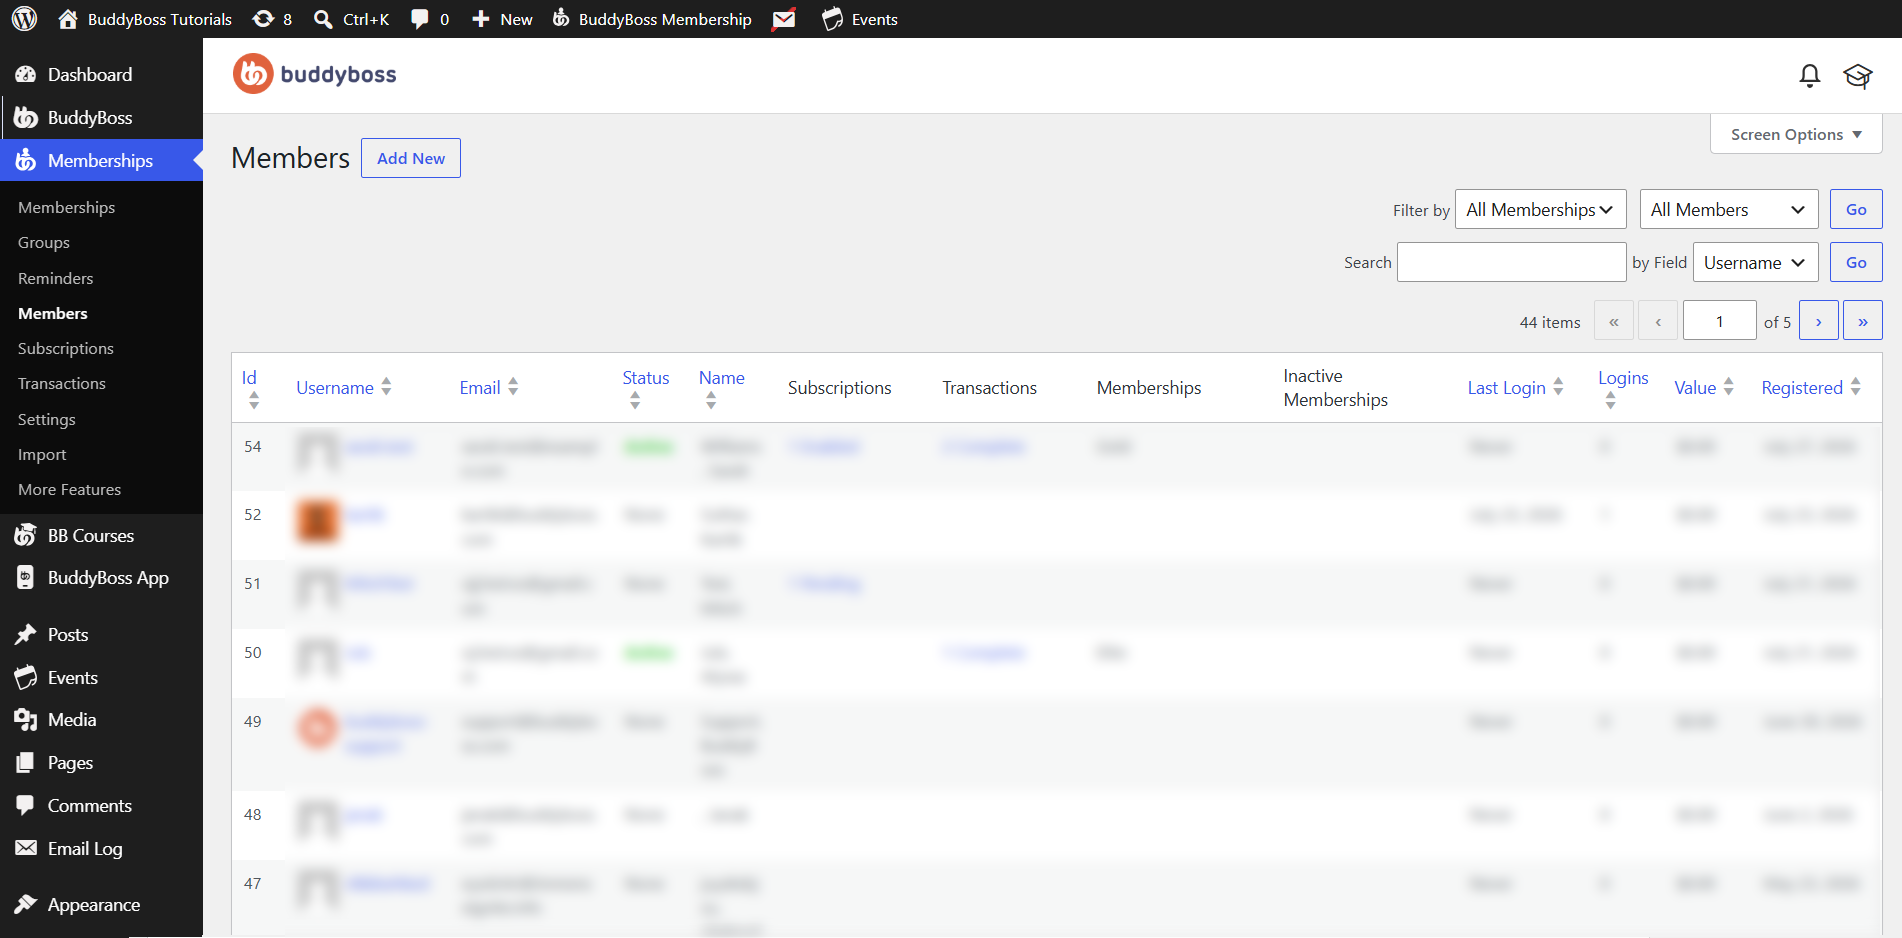
You can also use the available filters and search tools to quickly locate specific members.
Manage Existing Members
You can return to Memberships > Members at any time to:
- Search for specific members.
- Filter members by membership or status.
- View subscription and transaction history.
- Monitor login activity.
- Review assigned memberships.
- Manage existing member accounts.
This centralized view helps you monitor and manage all membership users from a single location.
Manually Add a New Member
To manually create a member:
- Go to Memberships > Members.
- Click Add New.
Fill Member Information:
- Username – Enter a unique username for the new member.
- Email – Enter the member’s email address. This email will be used for account notifications and login.
- First Name – Enter the member’s first name.
- Last Name – Enter the member’s last name.
- Password – Click Show Password to generate or enter a custom password for the account.
- Membership – Select the membership you want to assign to the user from the dropdown list.
Email Options
You can choose which emails are sent after creating the member.
Send User Notification – Enable Send the new member an email with their username if you want WordPress to send the user their account information.
Send Welcome Email – Enable Send the new member a membership welcome email to automatically send the membership-specific welcome message after the account is created.
Advanced Transaction Settings (Optional)
Click Advanced to configure the initial membership transaction that will be created when the member is added.
Note: When you manually create a member, BuddyBoss Membership automatically generates an initial transaction to grant the member access to the selected membership. These settings allow you to customize that transaction before the member is created.
The available options include:
Transaction Number – The Transaction Number is a unique identifier for the membership transaction. In most cases, the automatically generated transaction number can be left unchanged.
Amount – Specify the amount associated with the transaction.
- Enter 0.00 for free memberships.
- Enter the membership price if you’re manually recording a paid membership.
Status – Choose the transaction status. Common options include:
- Complete
- Pending
- Failed
- Refunded.
Payment Method – Select how the payment was made. For members created manually, this is typically set to Manual
Created Date – The Created field determines the date and time the transaction was created.
You can:
- Enter a custom date and time.
- Click Now to automatically use the current date and time.
Expiration Date – The Expires field controls when the member’s access ends.
You can:.
- Click Default to apply the expiration defined by the membership plan.
- Click Lifetime to grant permanent access with no expiration date.
- Enter a custom expiration date if you want to override the default access period.
These options allow you to create custom membership durations for individual members when needed.
Create the Member
After completing the required information:
- Review the member details.
- Click Create.
The member account will be created immediately and assigned to the selected membership.
Note: Every member created through Memberships > Members is automatically added as a WordPress user and can also be managed from WordPress Dashboard > Users. Any changes made to the user’s account, such as updating their name, email address, or password, are reflected across both areas since they refer to the same user account.