
The Universally integration with BuddyBoss allows you to provide members with access to your community in multiple languages. To configure Universally languages for BuddyBoss, you can add the languages you want to make available and customize how translated language URLs are structured.
Universally also supports regional language variants, allowing you to select the appropriate region and URL format for each translation language available to your members.
Add a Language from WordPress
- In your WordPress Dashboard, navigate to Universally > General.
- Under Languages, click Add Languages.
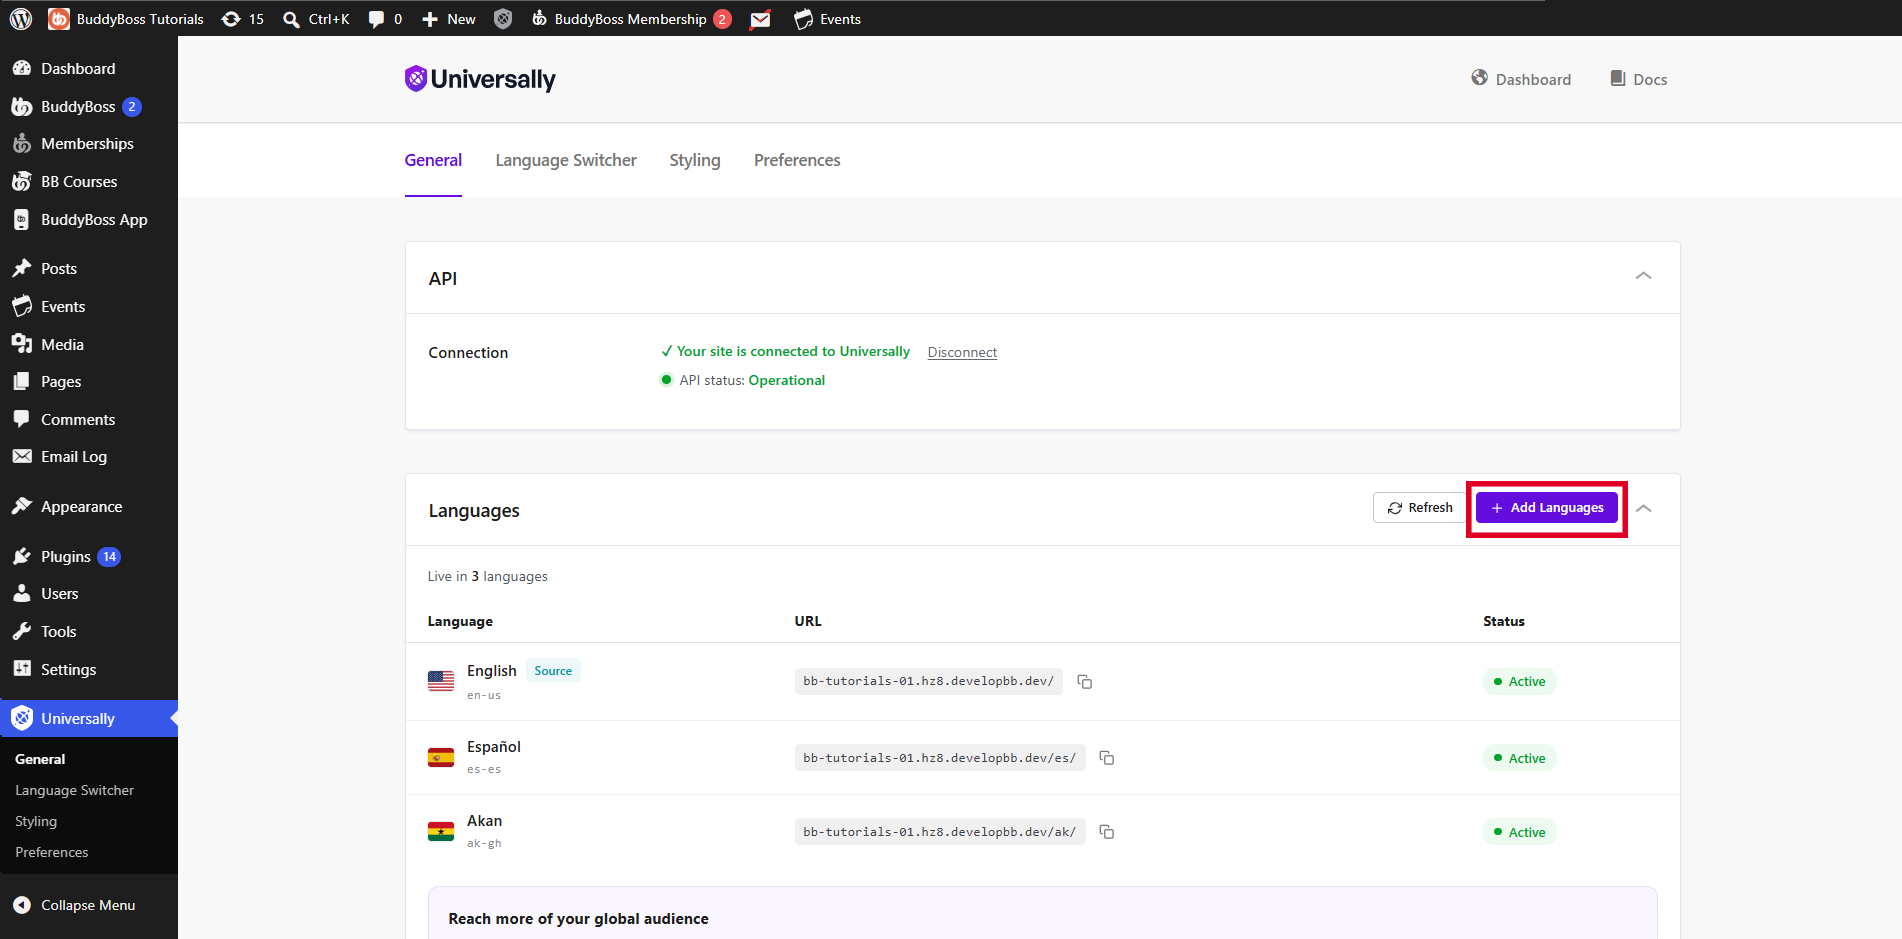
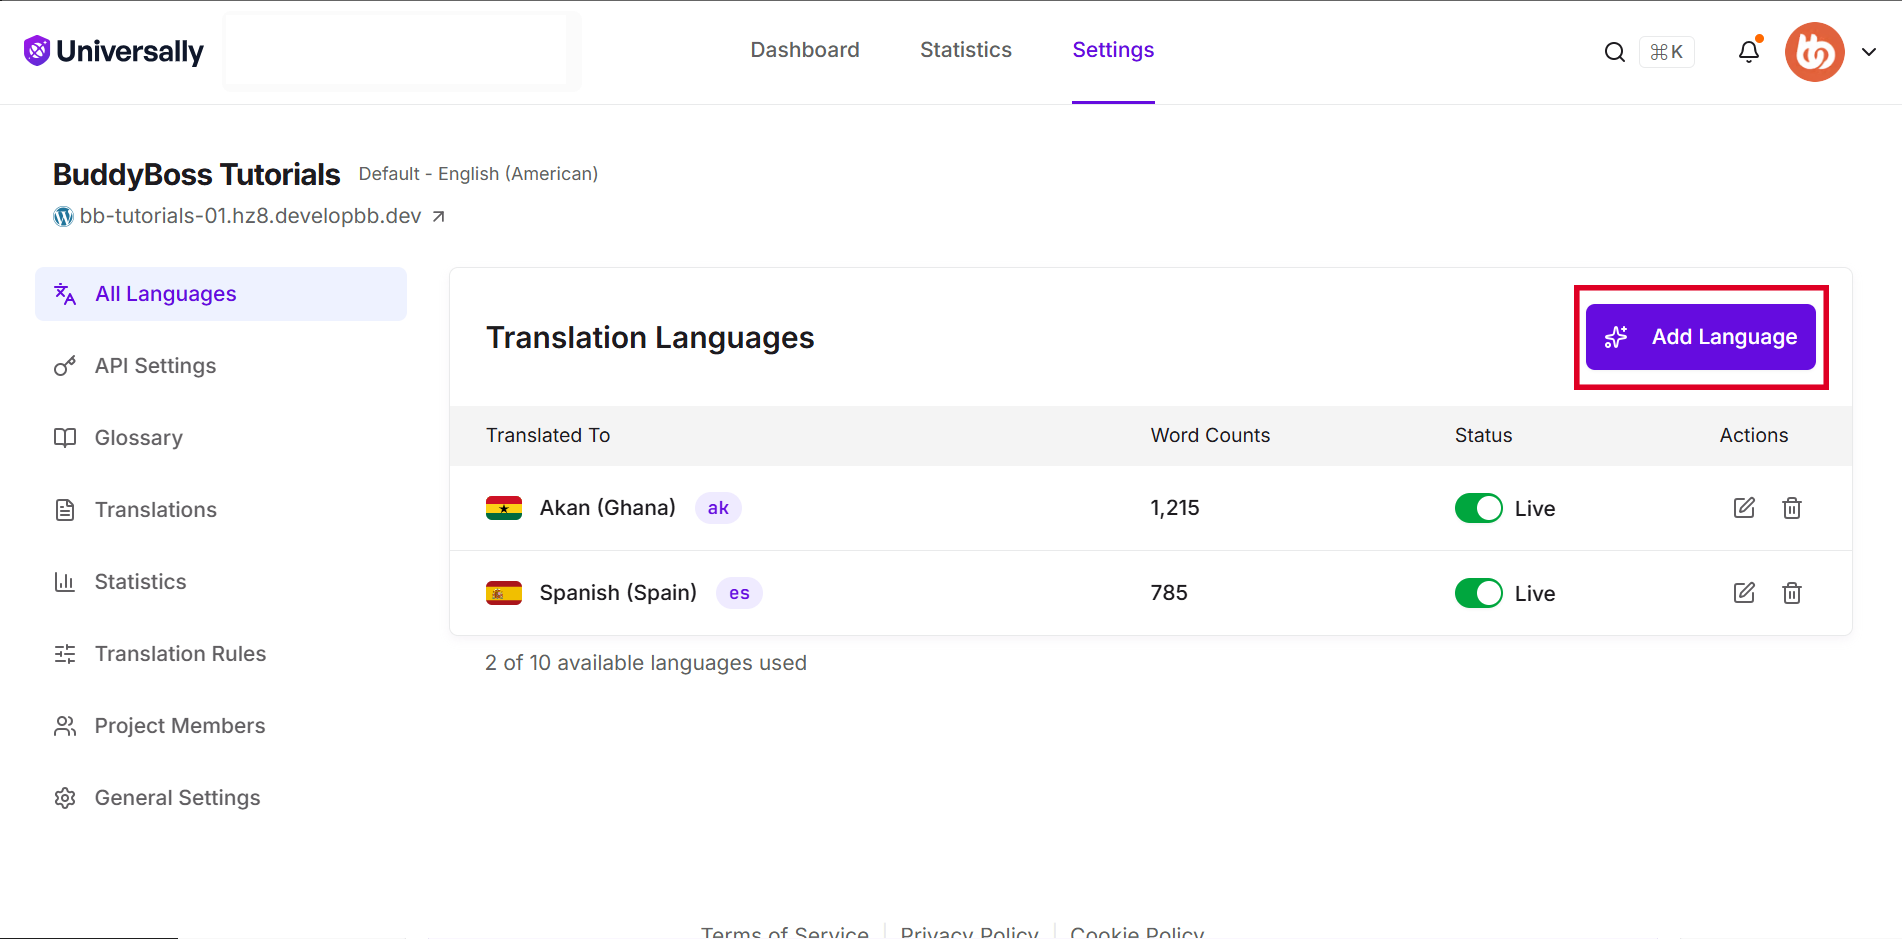
- You will be directed to the All Languages section for your project in Universally.
- Click Add Language.
- In the Add Target Language window, open the Language dropdown and select the language you want to add.
- If the selected language has multiple regional variants, select the appropriate option under Region.
- Under URL Format, select how you want Universally to structure URLs for the translated language:
- Region Code – Uses the selected region code in the URL.
- Language Code – Uses the language code in the URL.
- Custom – Allows you to specify a custom URL segment between 2–6 characters.
- Review the Preview URL to confirm how translated URLs will appear.
- Click Add Language.
The new language will appear under Translation Languages in Universally.
Add a Language from the Universally Dashboard
You can also manage languages without accessing the Universally settings in WordPress.
- Open the Universally Dashboard.
- Open the project connected to your BuddyBoss website.
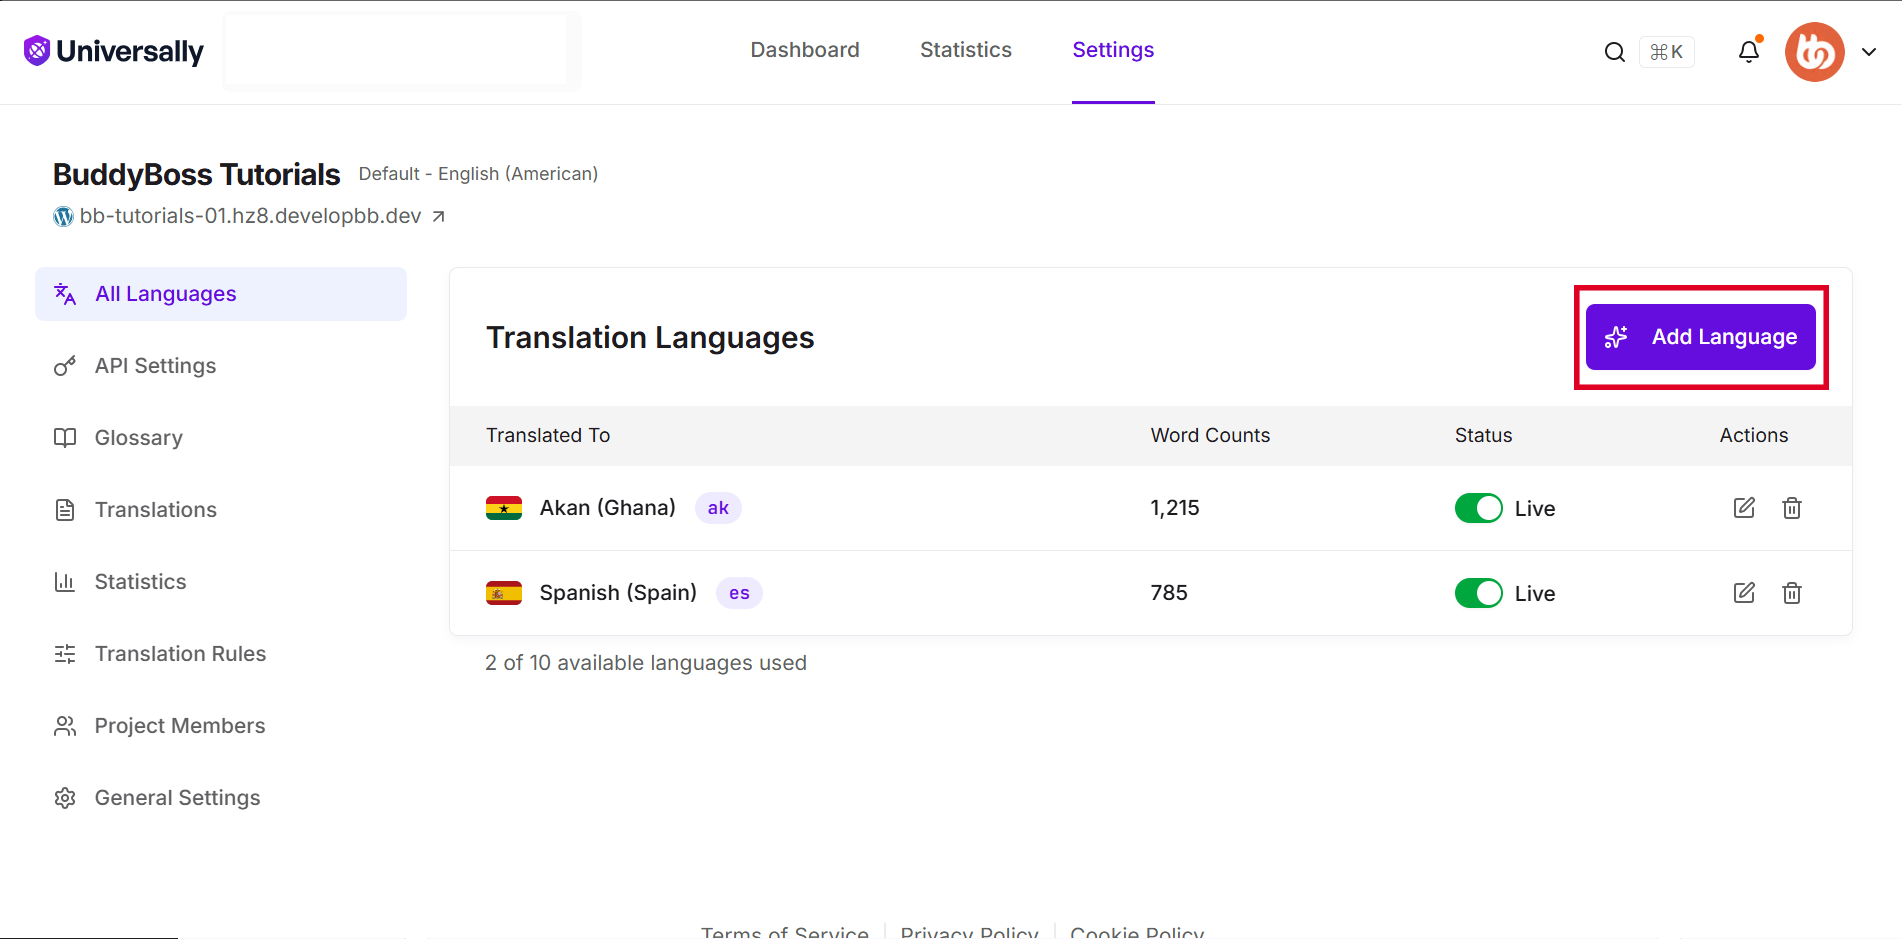
- Navigate to the All Languages tab.
- Click Add Language.
- Select the language you want to add.
- Select the appropriate Region, if available.
- Choose your preferred URL Format:
- Region Code
- Language Code
- Custom
- Review the Preview URL.
- Click Add Language.
Once added, the language appears in your project’s Translation Languages list. You can also view its status and manage the language from this screen.