
The Universally integration with BuddyBoss allows you to provide a multilingual experience across your BuddyBoss Platform website. To install and set up Universally for BuddyBoss, you need to create a Universally project, install and activate the Universally plugin, and connect it to your BuddyBoss website.
Once connected, Universally can translate activity content, groups, forums, media titles, profile fields, notifications, emails, and interface elements into your members’ preferred languages. Universally is currently supported only on the BuddyBoss Platform web Scale Plan and is not supported in the BuddyBoss App.
What the Universally Integration Supports
Once Universally is connected to BuddyBoss, translations can be applied to community content such as:
- Activity posts and comments
- Group names and descriptions
- Forum topics and replies
- Photo, video, and document titles
- Profile field labels
- Notification messages
- Notification emails
- Buttons and labels, such as Like, Comment, and More Options
- Time-based text, such as 5 minutes ago
Members can select their preferred language using a language switcher. Their selection is retained across devices, providing a consistent language experience when accessing your BuddyBoss Platform website.
Before You Begin
The BuddyBoss integration requires the Universally plugin to provide the translation service, account connection, and available languages.
Before configuring the integration, obtain a Universally subscription and account key.
Create a Universally Project
Start by creating a project for your BuddyBoss Platform website.
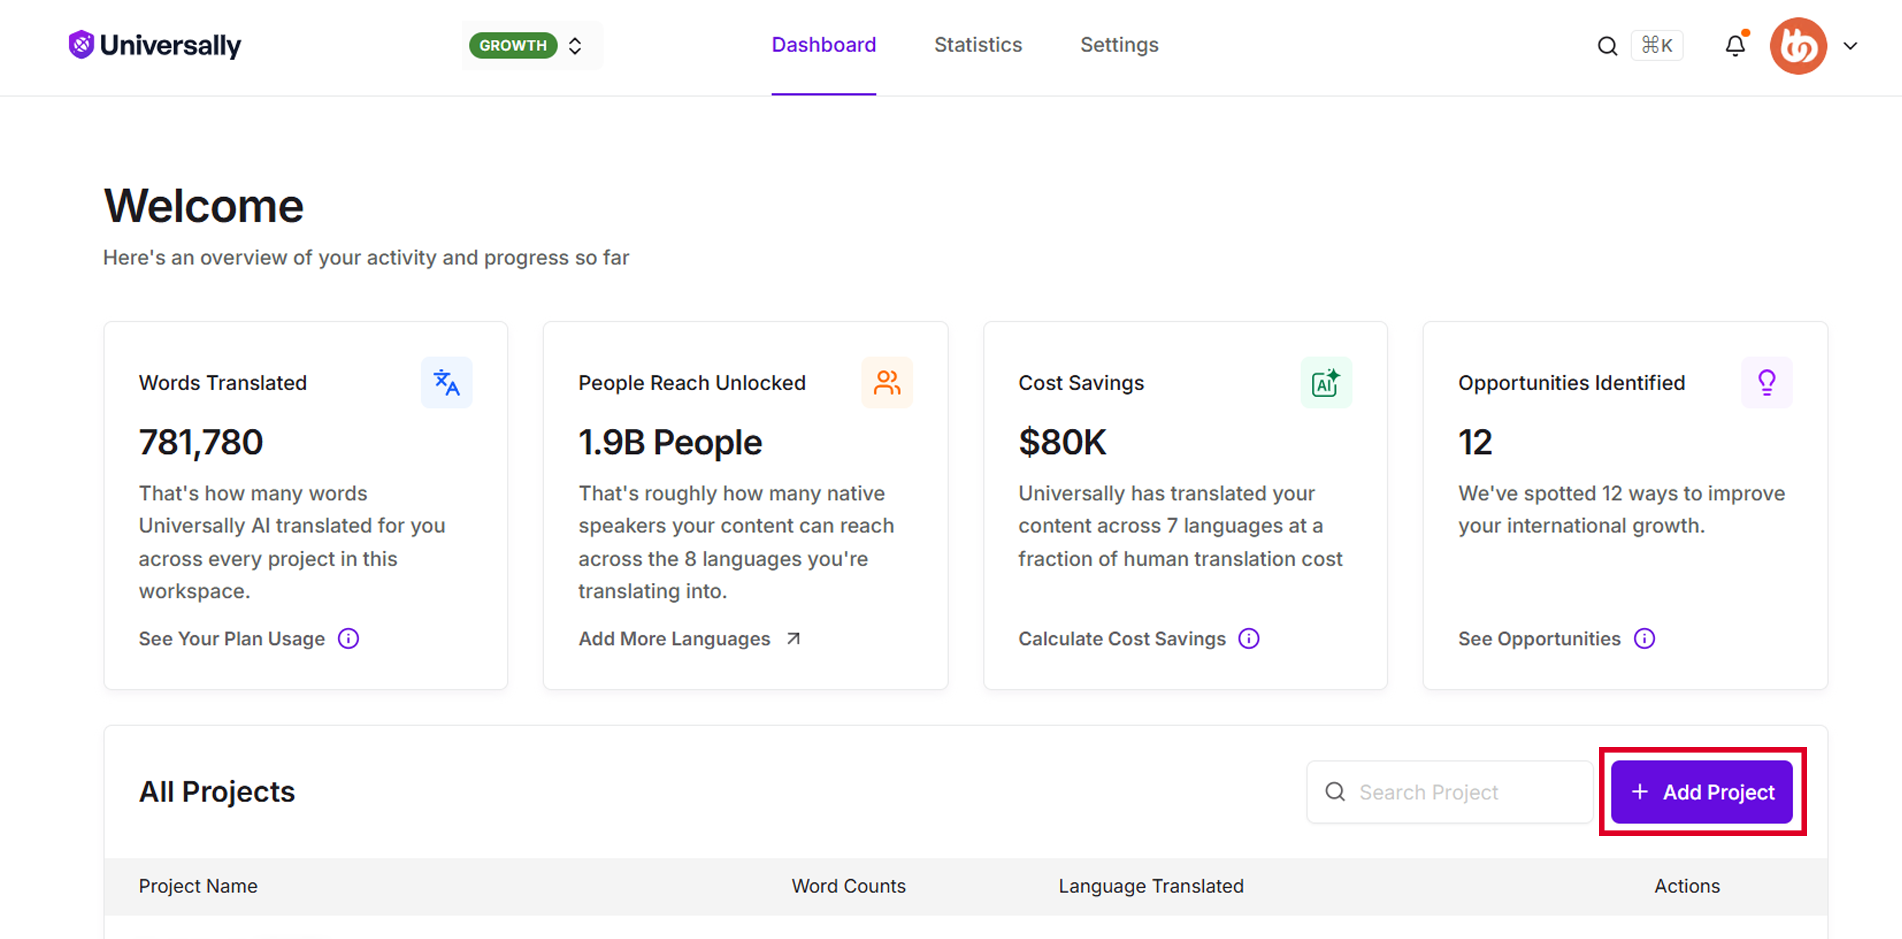
- Sign in to the Universally Dashboard.
- Click Add Project.
- In Domain, enter the fully qualified domain name where your BuddyBoss website is accessible.
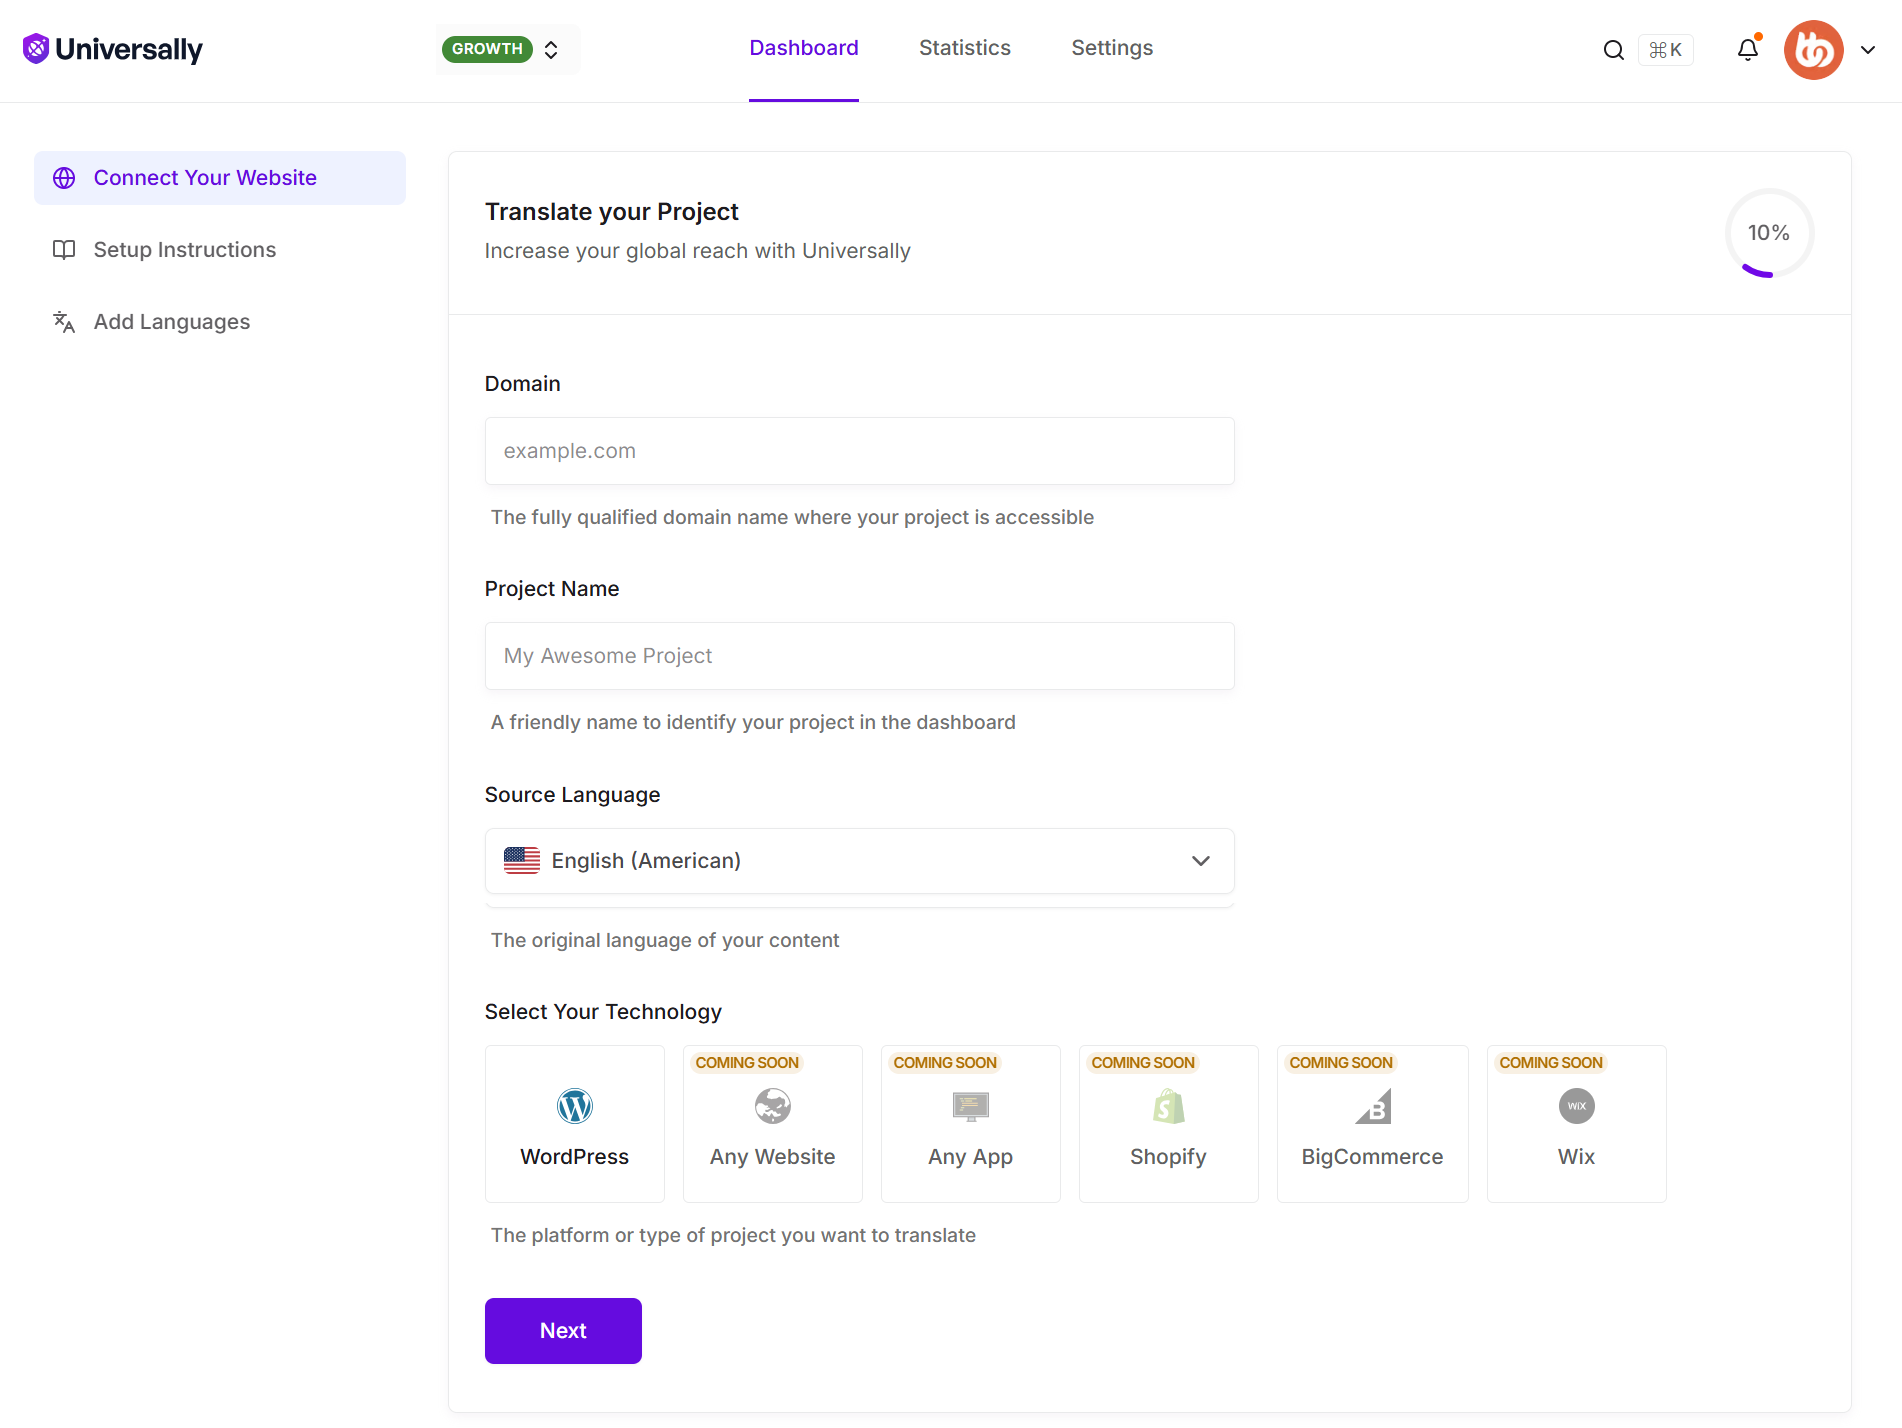
- In Project Name, enter a name to identify your website in the Universally Dashboard.
- Under Source Language, select the original language used by your website.
- Under Select Your Technology, select WordPress.
- Click Next.
Universally creates the project and provides the setup instructions for connecting it to WordPress.
Download the Universally Plugin
After creating your project, download the Universally plugin.
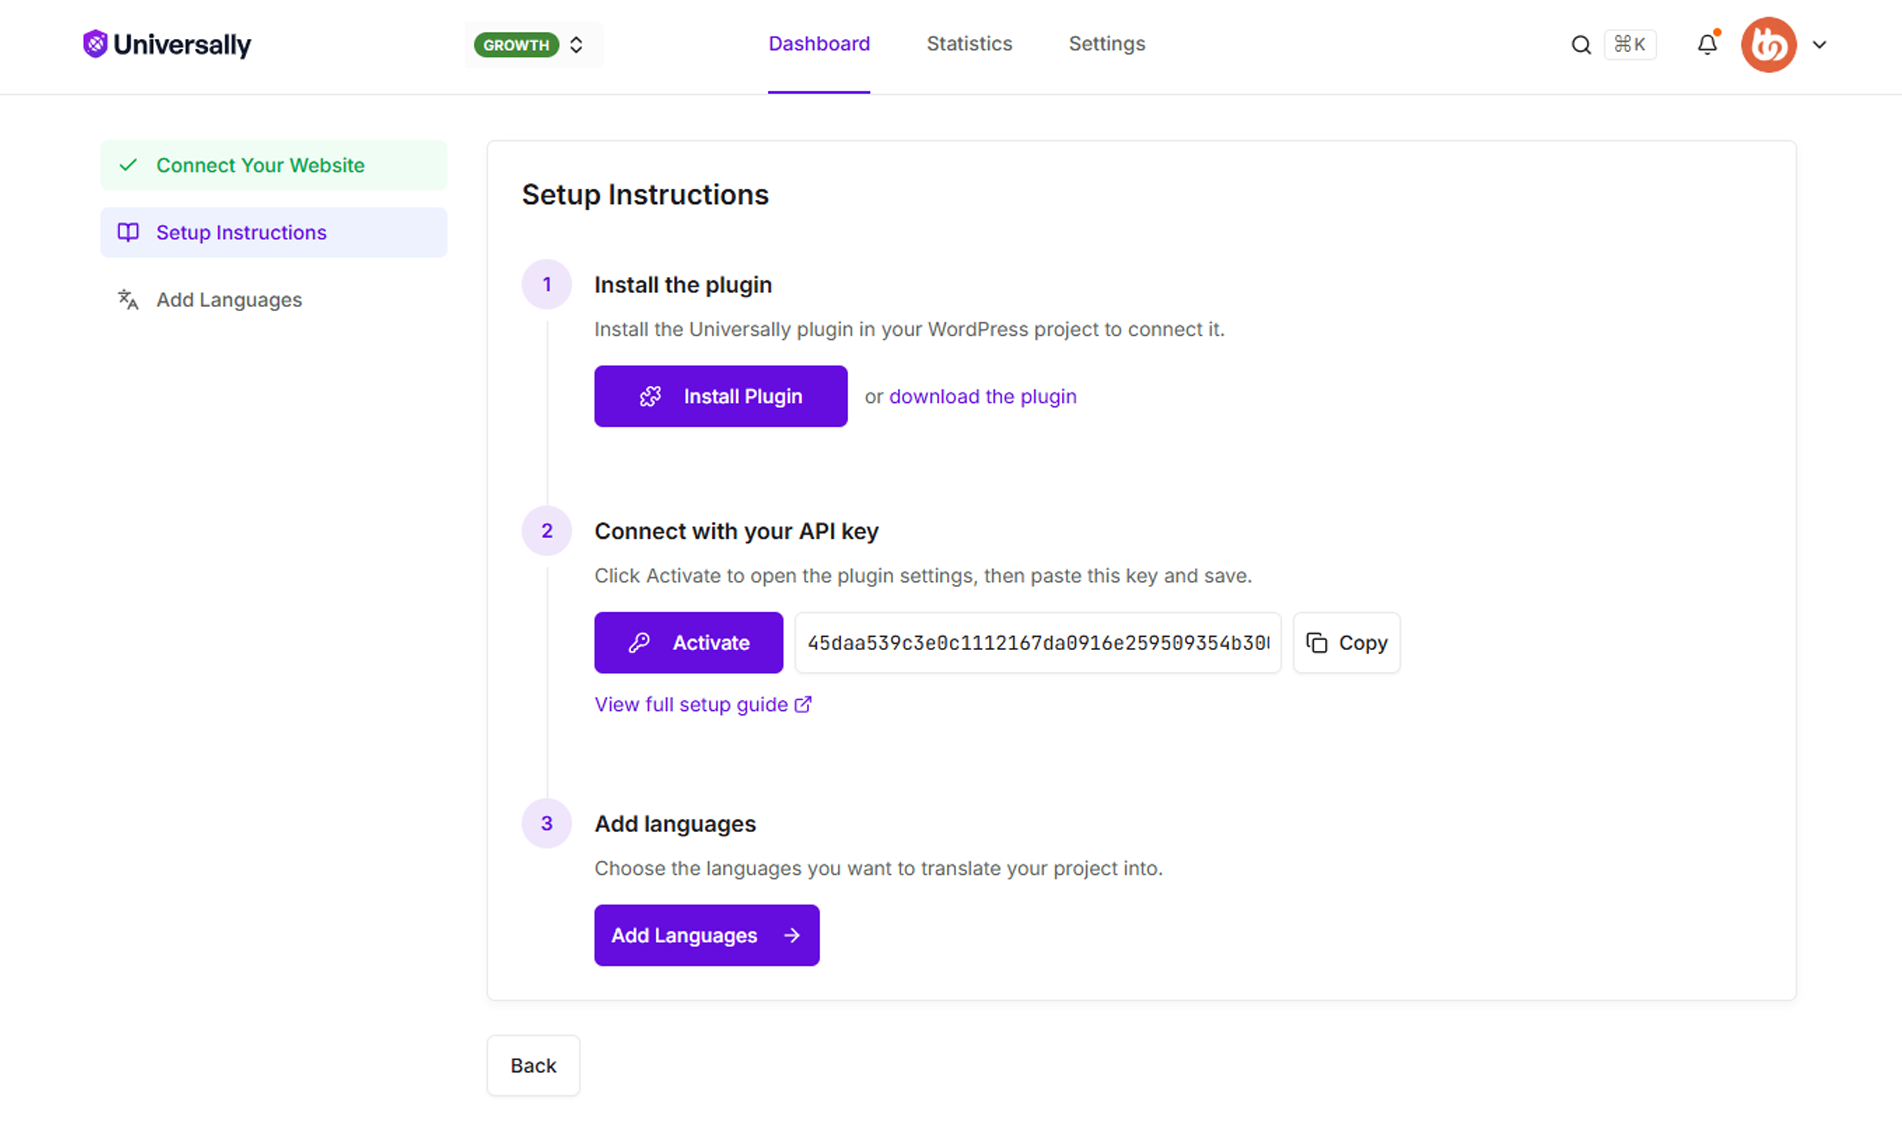
- Click the Download Plugin icon.
- Save the plugin file to your computer.
- Click Add Language.
Add Languages Setup
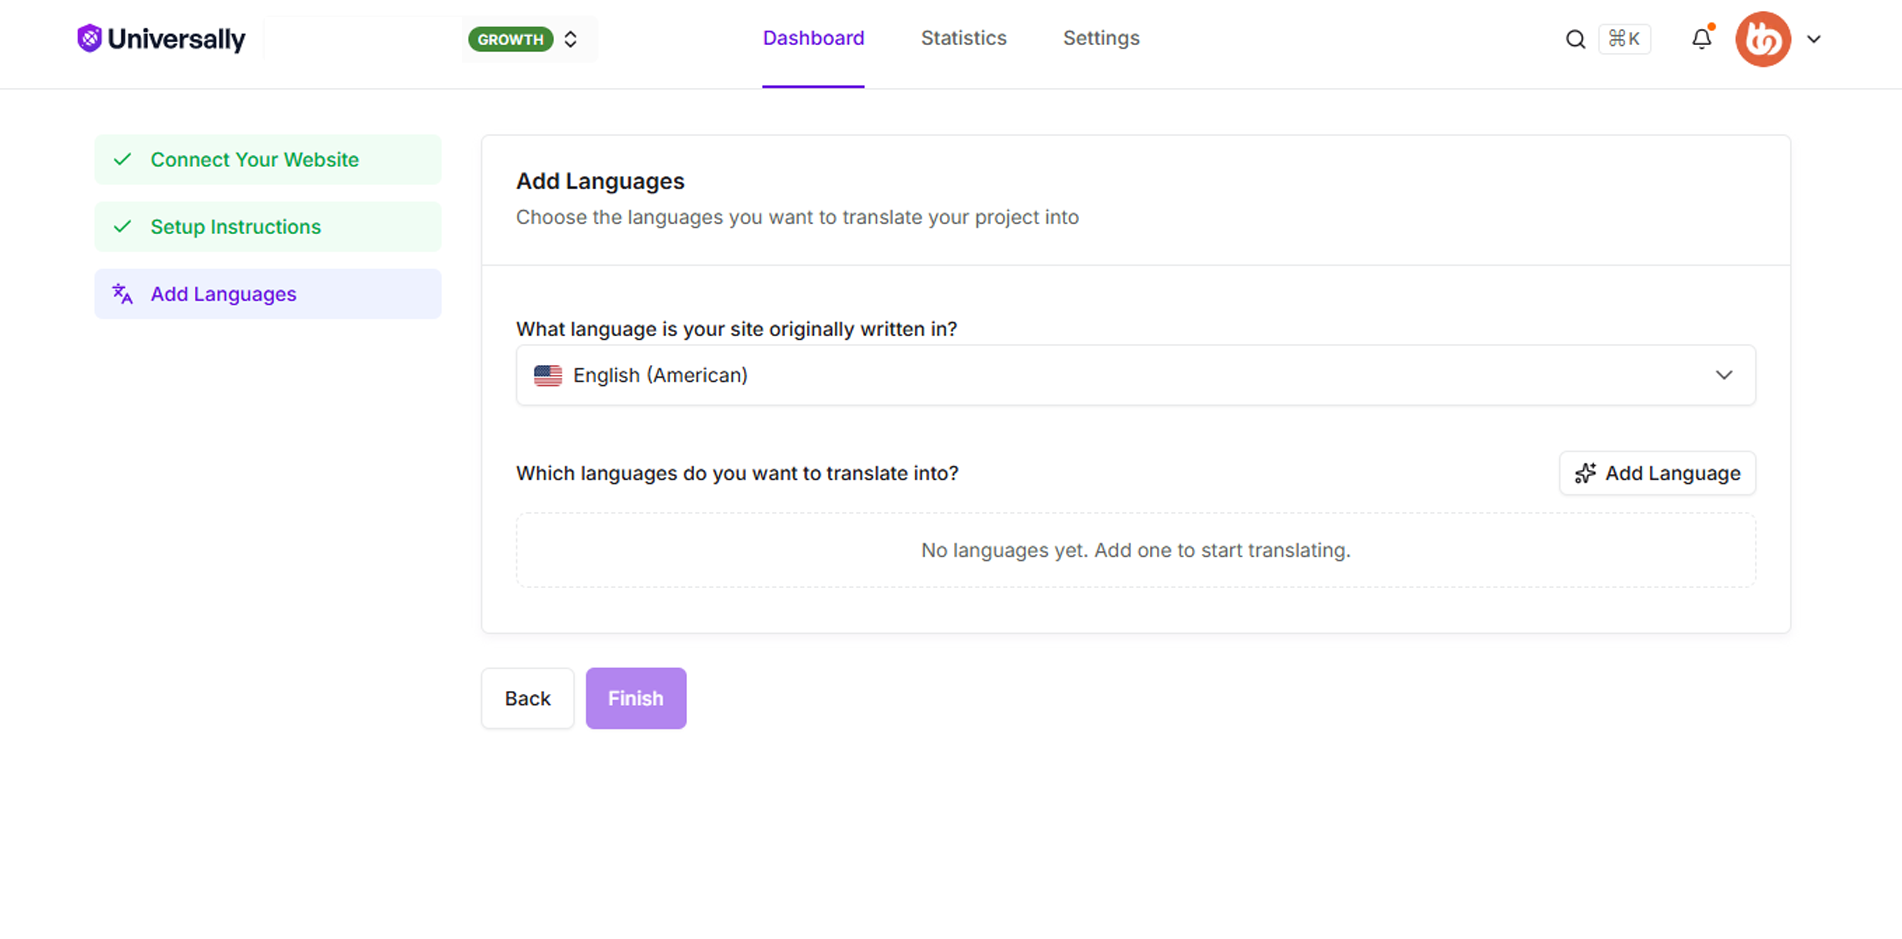
- Select the language you want to add.
- Configure the Region and URL Format, when applicable.
- Click Add Language.
- Click Finish.
Install and Activate the Universally Plugin
- Log in to your WordPress Dashboard.
- Navigate to Plugins > Add New Plugin.
- Click Upload Plugin.
- Select the Universally plugin file you downloaded.
- Click Install Now.
- Once installation is complete, click Activate.
Activate Universally in BuddyBoss
- In your WordPress Dashboard.
- Navigate to BuddyBoss > Settings
- Locate Universally under Integrations.
- Activate Universally.
Connect Universally to BuddyBoss
Once the Universally plugin is installed and activated, connect your BuddyBoss site to Universally.
- In your WordPress Dashboard, navigate to your WordPress Dashboard > Universally.
- Click Connect to Universally.
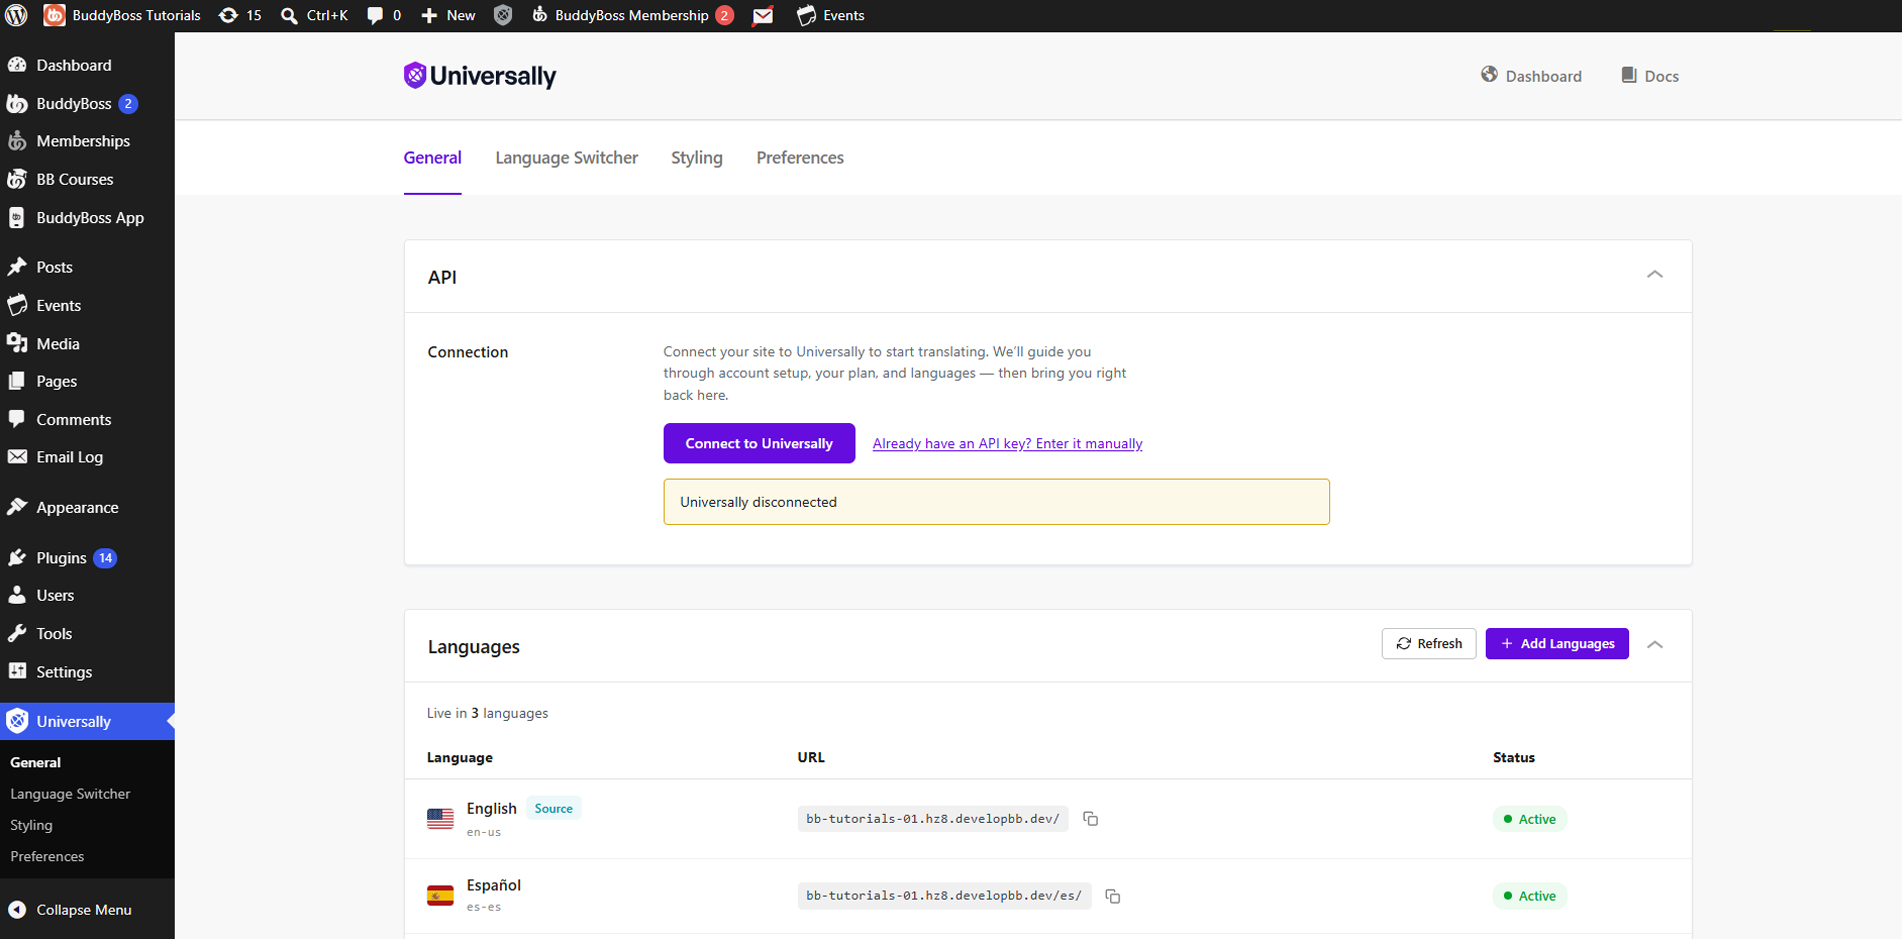
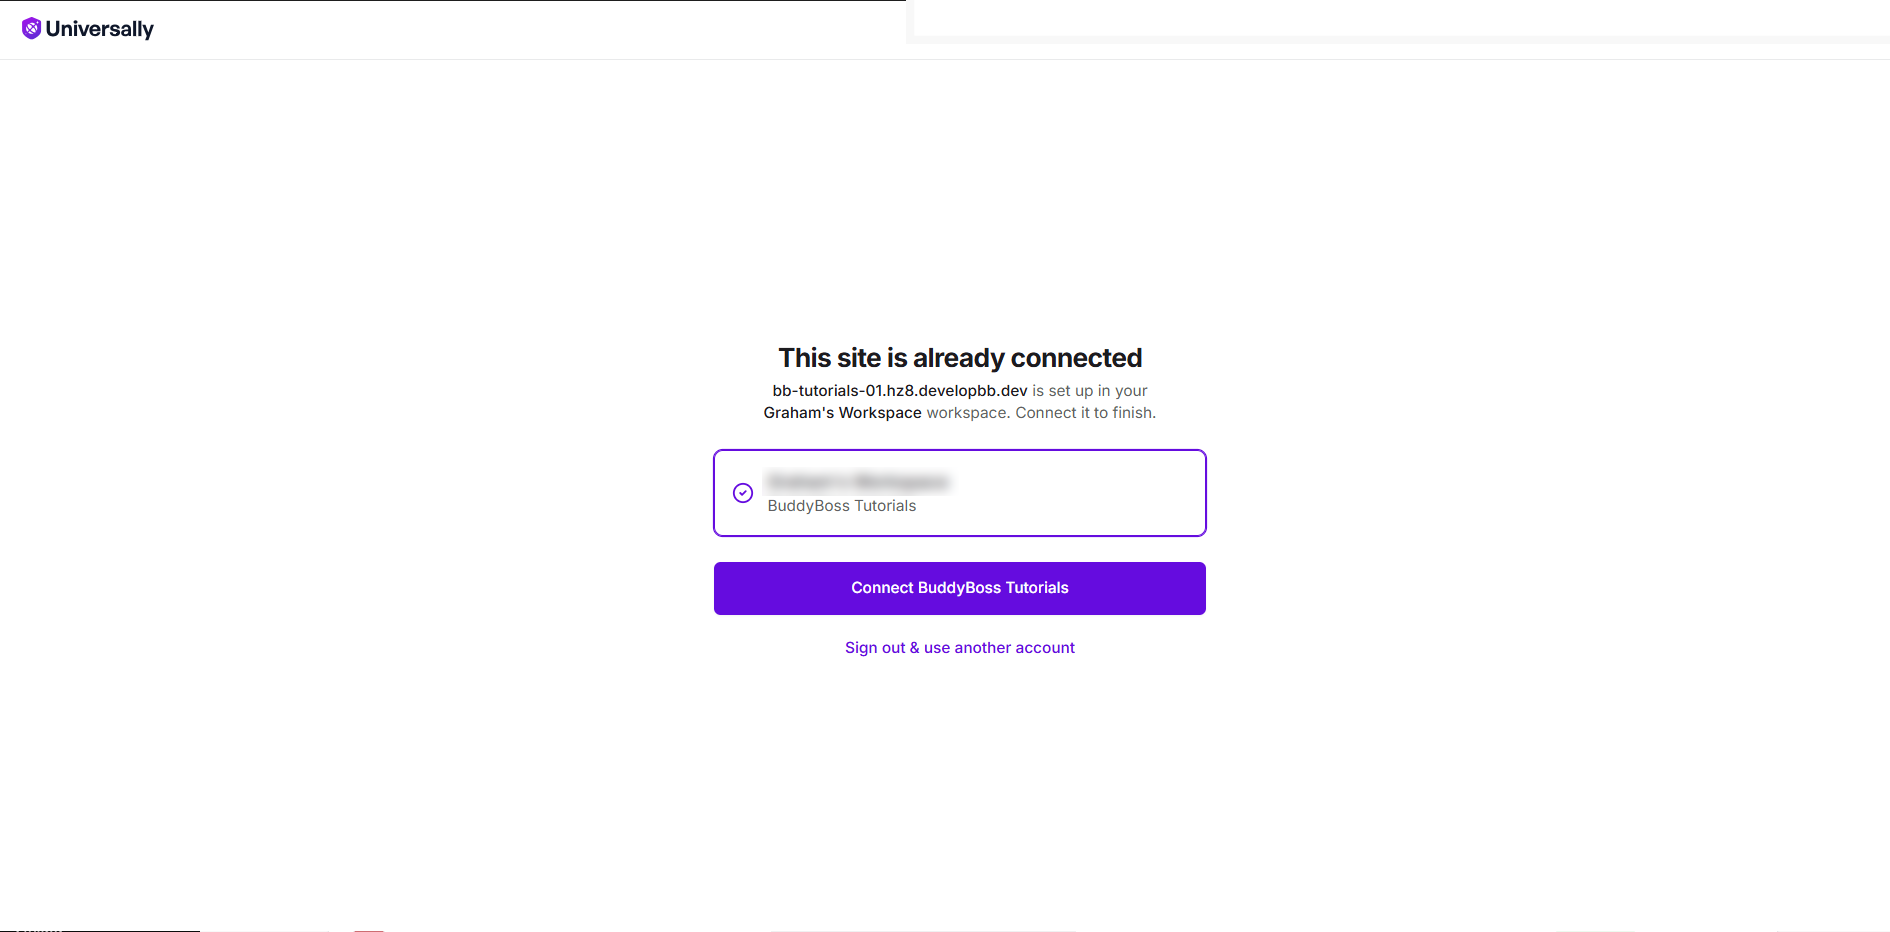
- Click the Connect your Website Button.
- Universally will display Connecting your site… while it completes the secure connection with your BuddyBoss website.
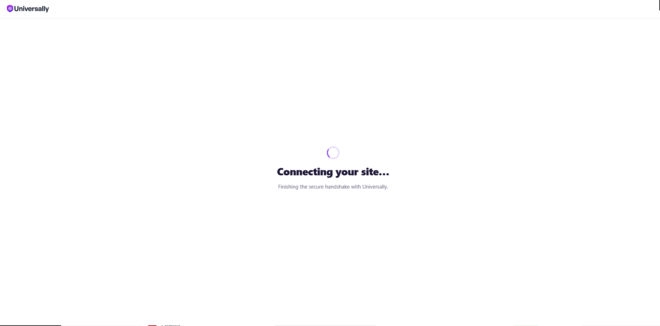
Universally will display Connecting your site… while it completes the secure connection with your BuddyBoss website.
Note: You can also click Already have an API key? Enter it manually, to enter your API key manually.
Confirm the Connection
Once the connection process is complete,
- Go to Dashboard to return to your WordPress Dashboard > BuddyBoss > Settings.
- Scroll down to the Integration section and locate Universally.
- Click Settings.
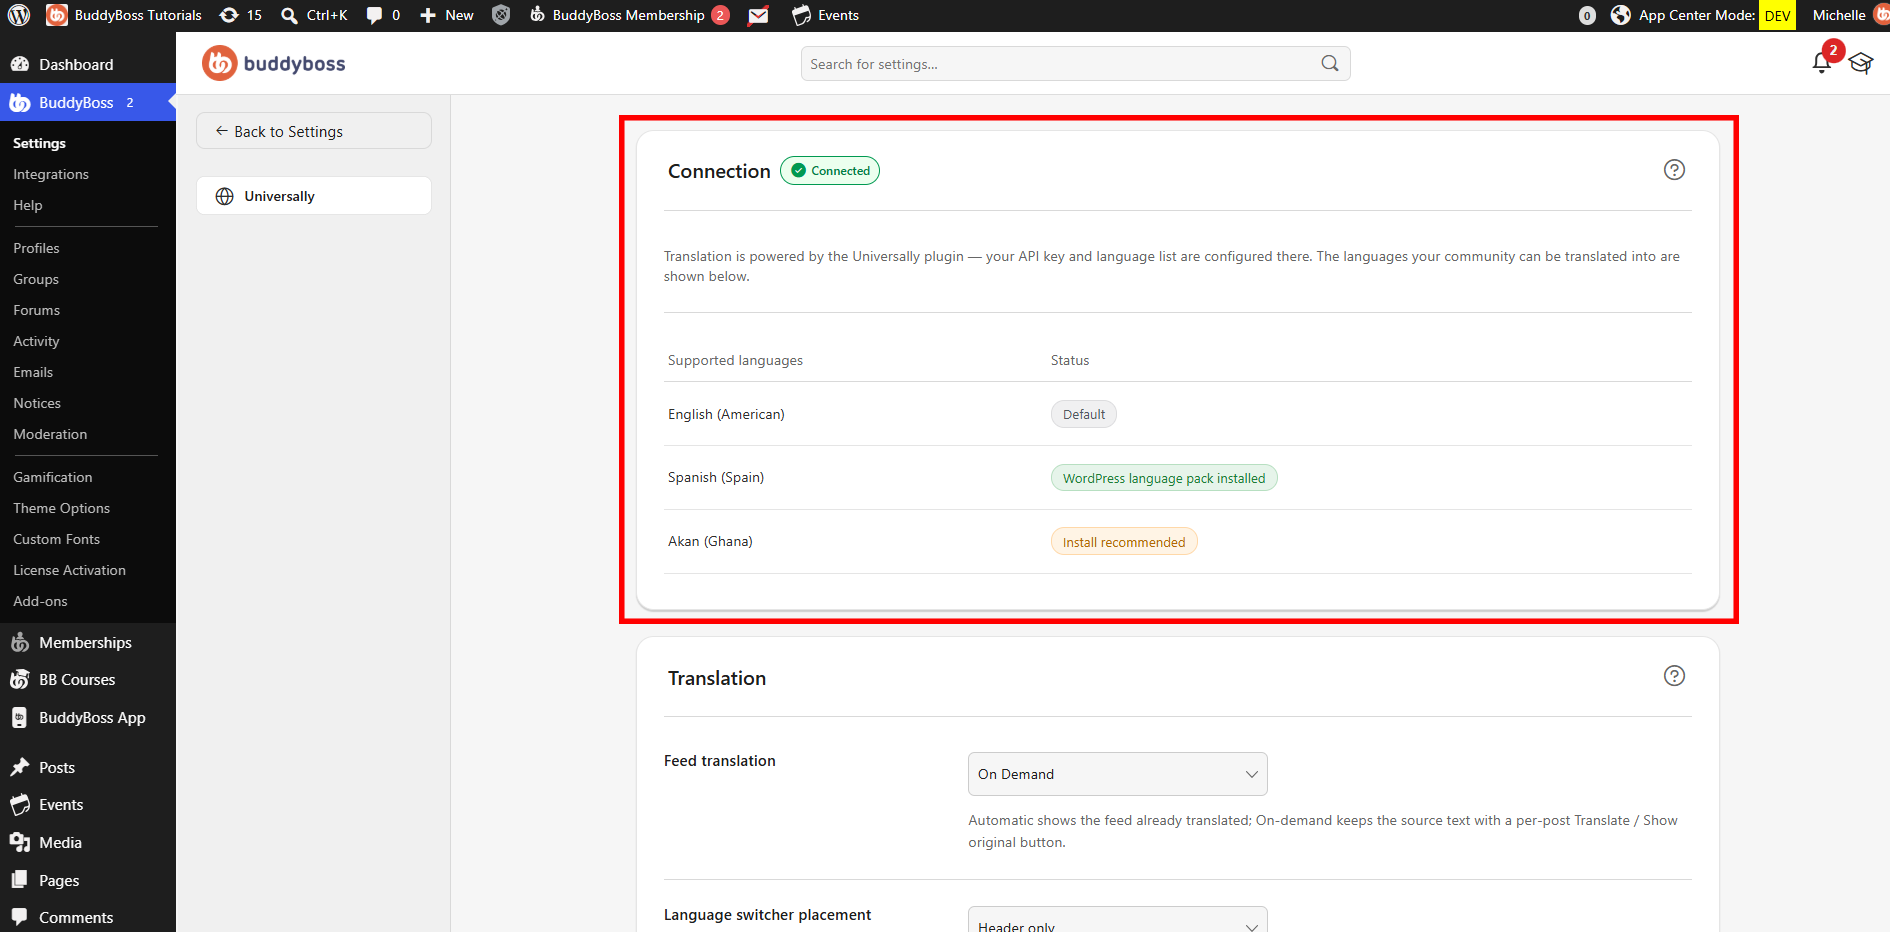
Under the API section, confirm that:
- Your site is connected to Universally is displayed.
- API status shows Operational.
The Languages section also displays your source language and any translation languages currently configured for the project.